
25 Mother’s Day Crafts for Toddlers for Sweet Handmade Gifts
Mother’s Day is the perfect time for little hands to create something big. These Mother’s Day Crafts for Toddlers are simple, fun, and full of heart — no experience needed.
Every idea on this list uses affordable materials you likely already have at home. Whether you’re a parent, teacher, or caregiver, you’ll find something here that works for your toddler’s age and skill level.
1. Fingerprint Flower Card — Mother’s Day Crafts for Toddlers Classic
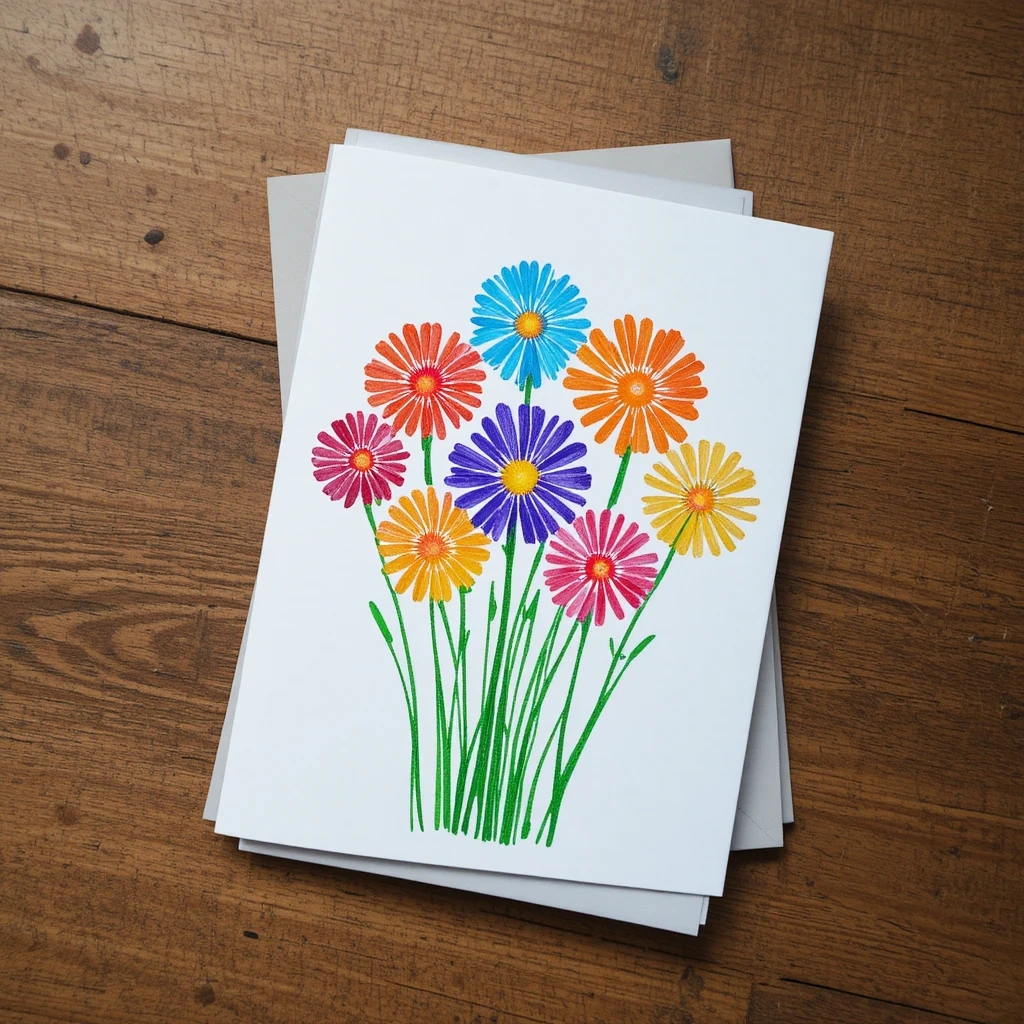
A timeless gift that transforms tiny fingerprints into a blooming bouquet. Mom will want to frame this one.
Materials:
- White cardstock
- Washable paint (pink, red, yellow)
- Green marker
- Black fine-tip marker
Steps:
- Dip your toddler’s fingertip into paint.
- Press five prints in a circle to form each flower.
- Draw green stems and leaves connecting the flowers.
- Write “Happy Mother’s Day” across the top.
Time: 15–20 minutes Difficulty: Easy
Tip: Use a foam ink pad instead of liquid paint for cleaner prints with less dripping.
2. Handprint Butterfly Canvas
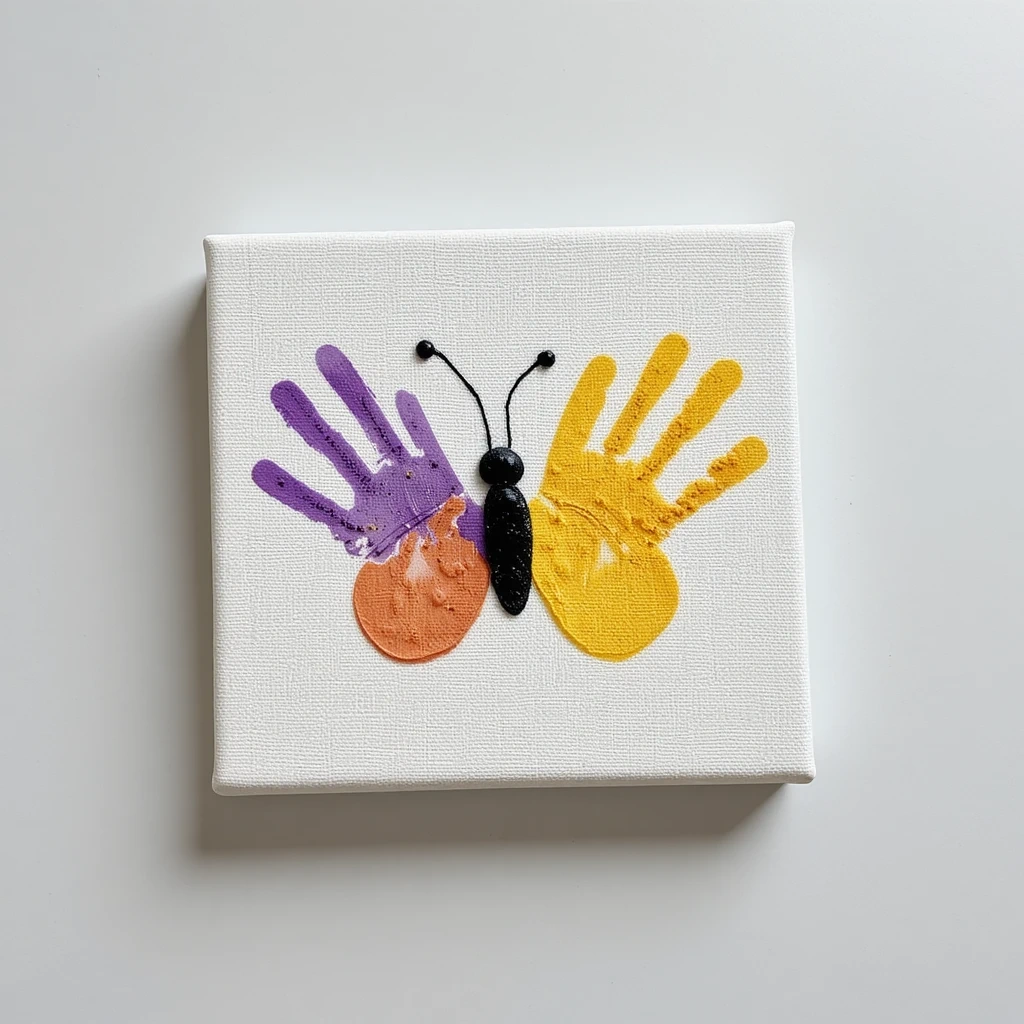
Turn two tiny handprints into a stunning butterfly that’s ready to frame and hang. A keepsake mom will display for years.
Materials:
- Small canvas (6×6 or 8×8)
- Acrylic paint (two contrasting colors)
- Black marker
Steps:
- Paint both of your toddler’s hands in different colors.
- Press both hands onto the canvas with thumbs touching — this forms the wings.
- Let dry fully.
- Draw a body and antennae between the hands using a black marker.
Time: 20–30 minutes (including dry time) Difficulty: Easy
Tip: Add glitter glue to the wings after drying for an extra magical touch.
3. Salt Dough Handprint Keepsake
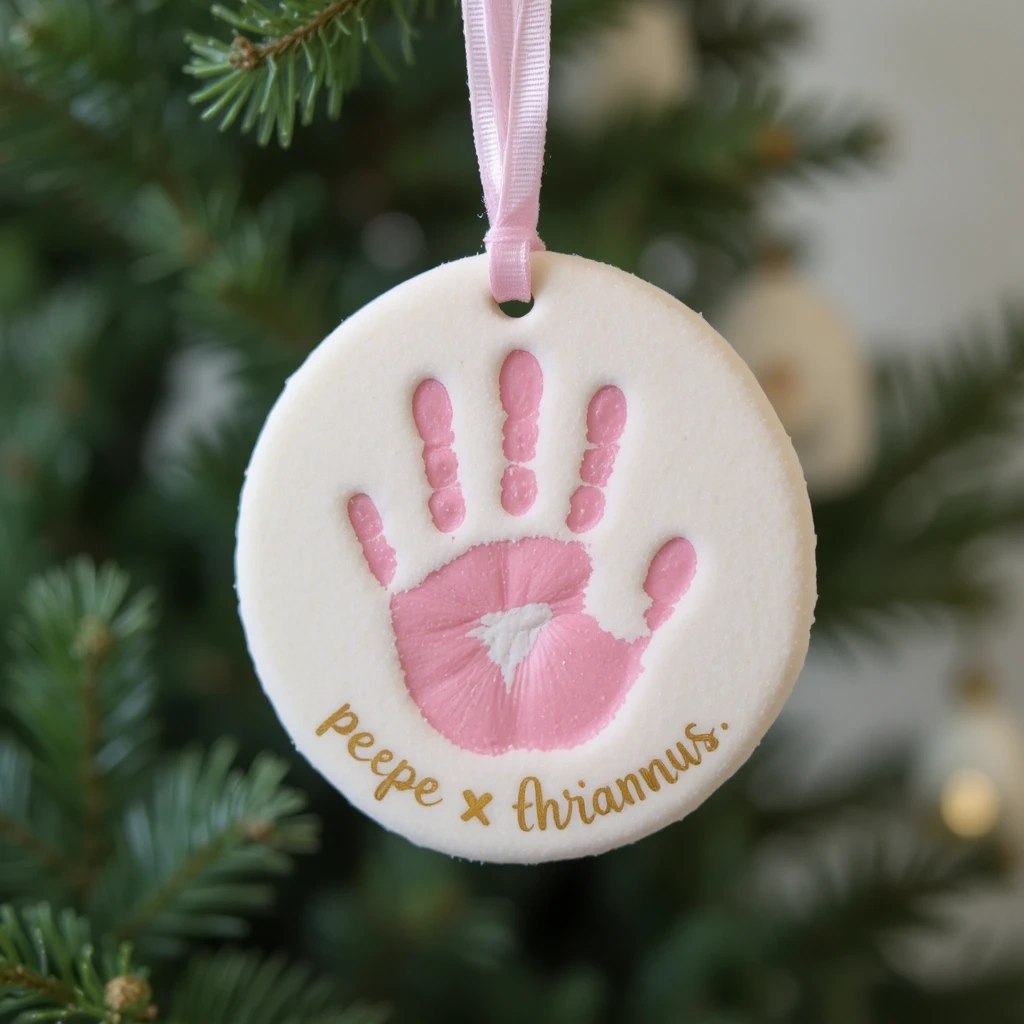
One of the most classic Mother’s Day Crafts for Toddlers — and for good reason. This one lasts a lifetime.
Materials:
- 1 cup all-purpose flour
- ½ cup salt
- ½ cup water
- Rolling pin
- Ribbon
Steps:
- Mix flour, salt, and water into a smooth dough.
- Roll out to about ½ inch thick.
- Press your toddler’s hand firmly into the dough.
- Cut a circle around the print and poke a hole at the top.
- Bake at 200°F (93°C) for 3 hours. Cool completely.
- Paint, decorate, and thread ribbon through the hole.
Time: 30 minutes active + 3 hours baking Difficulty: Easy
Tip: Scratch your toddler’s name and the year into the dough with a toothpick before baking.
4. Watercolor Resist Love Note

A magical reveal card — the hidden message appears when painted over. Toddlers absolutely love watching it happen.
Materials:
- White cardstock
- White crayon
- Watercolor paints
- Paintbrush
Steps:
- Write “I Love You Mom” in white crayon on white paper (press firmly).
- Let your toddler brush watercolor paint freely across the paper.
- Watch the message appear through the color wash.
- Let dry and fold into a card.
Time: 10–15 minutes Difficulty: Easy
Tip: Add hidden heart shapes alongside the text for extra surprise.
5. Footprint Garden Stepping Stone
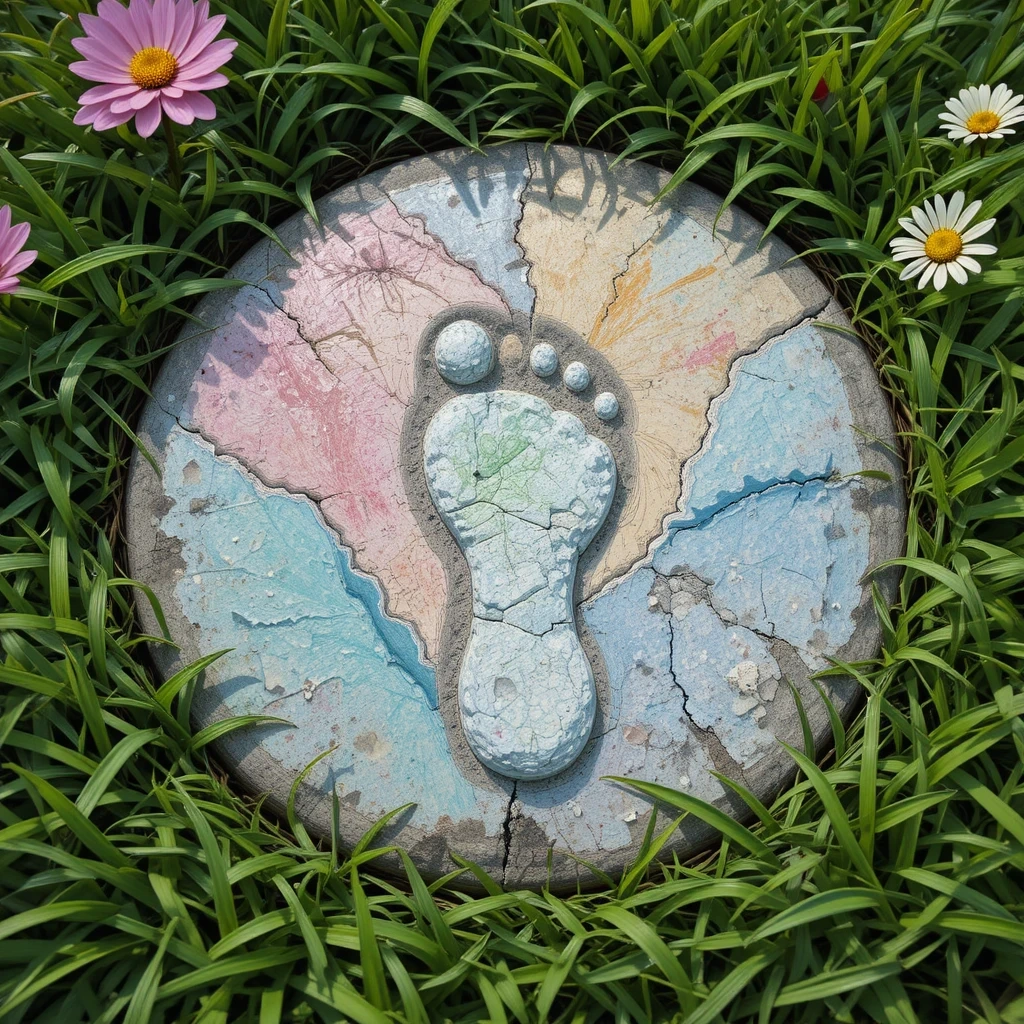
A gift mom can enjoy every day in her garden — practical, personal, and permanent.
Materials:
- Stepping stone kit or quick-set concrete mix
- Round mold
- Acrylic paint (after curing)
- Outdoor sealant
Steps:
- Mix and pour concrete into the mold per kit instructions.
- Press your toddler’s foot into the soft surface.
- Let cure 24–48 hours undisturbed.
- Once hardened, paint and seal with outdoor varnish.
Time: 20 minutes active + 48 hours curing Difficulty: Medium
Tip: Press a small twig into the concrete next to the footprint to add a name or date.
6. Paper Plate Flower Wreath
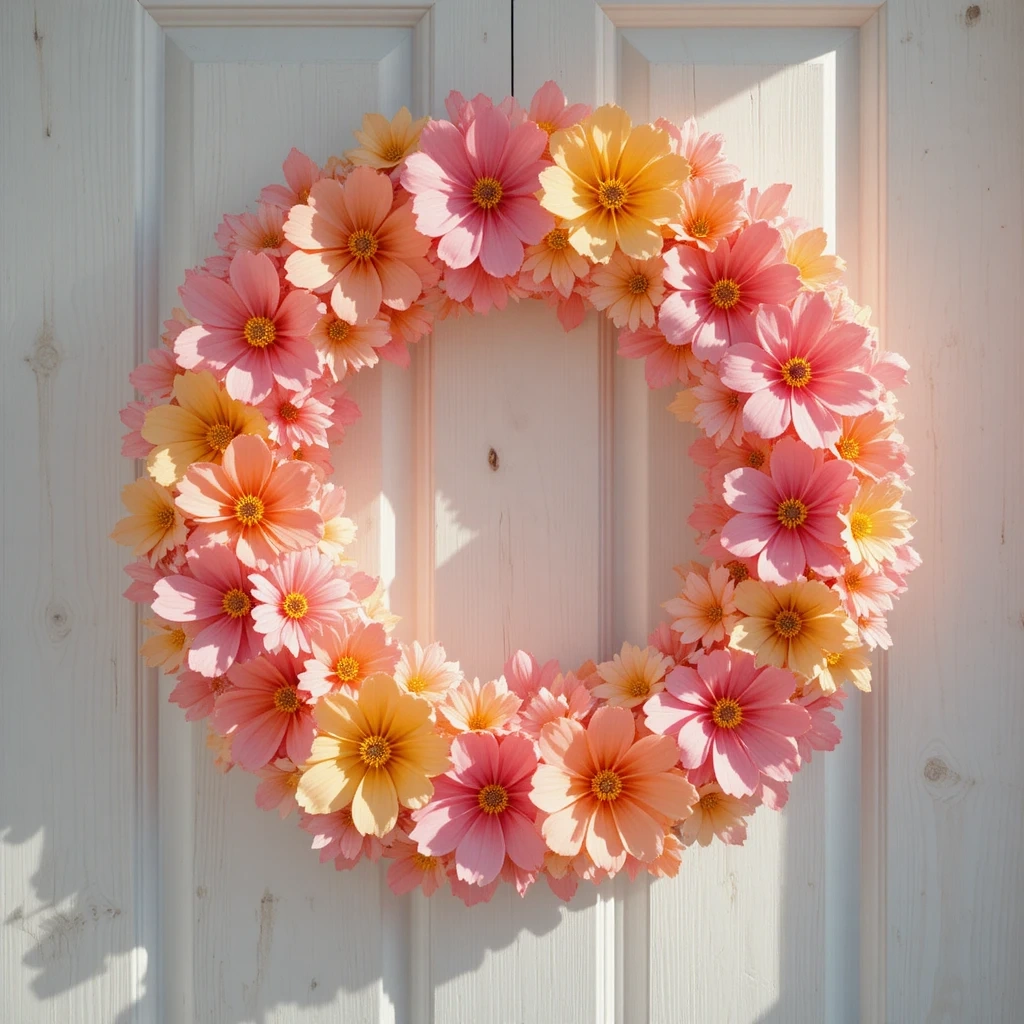
Bright, cheerful, and ready to hang on the front door the moment mom sees it.
Materials:
- Paper plate
- Tissue paper (multiple colors)
- Glue stick
- Scissors (adult use)
- Ribbon
Steps:
- Cut the center out of the paper plate to create a ring.
- Tear or cut tissue paper into small squares.
- Let your toddler scrunch and glue them all around the ring.
- Attach a ribbon loop at the top for hanging.
Time: 20–25 minutes Difficulty: Easy
Tip: Layer green tissue paper between flower colors to mimic real leaves.
7. Painted Rock Paperweight
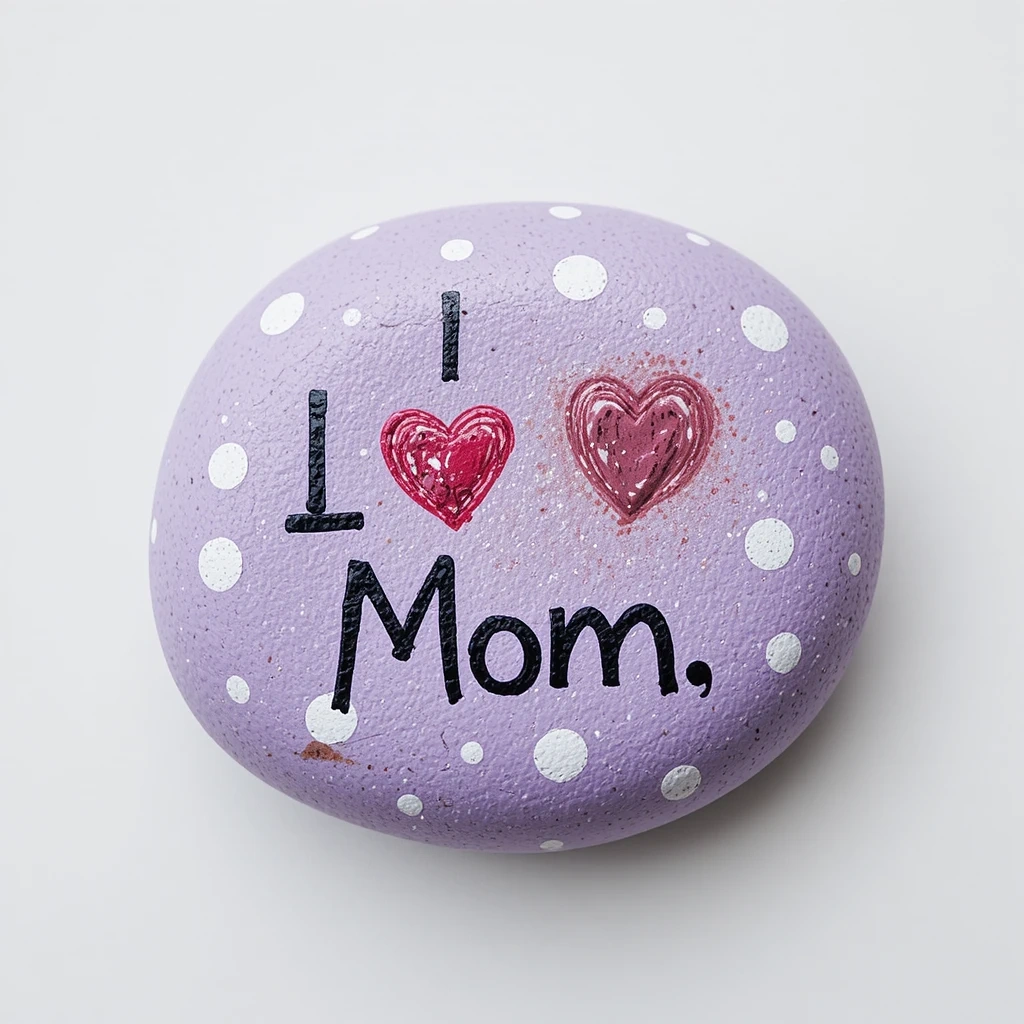
Simple, sturdy, and something mom can keep on her desk as a daily reminder of her little one.
Materials:
- Smooth flat river rock
- Acrylic paint
- Fine-tip marker
- Clear varnish
Steps:
- Paint the rock a solid base color and let dry.
- Let your toddler add dots, stripes, or handprints on top.
- Write “I Love You, Mom” with a marker.
- Seal with clear varnish.
Time: 15–20 minutes + dry time Difficulty: Easy
Tip: Choose rocks with a flat surface — they’re the easiest to paint and display.
8. Tissue Paper Stained Glass Card
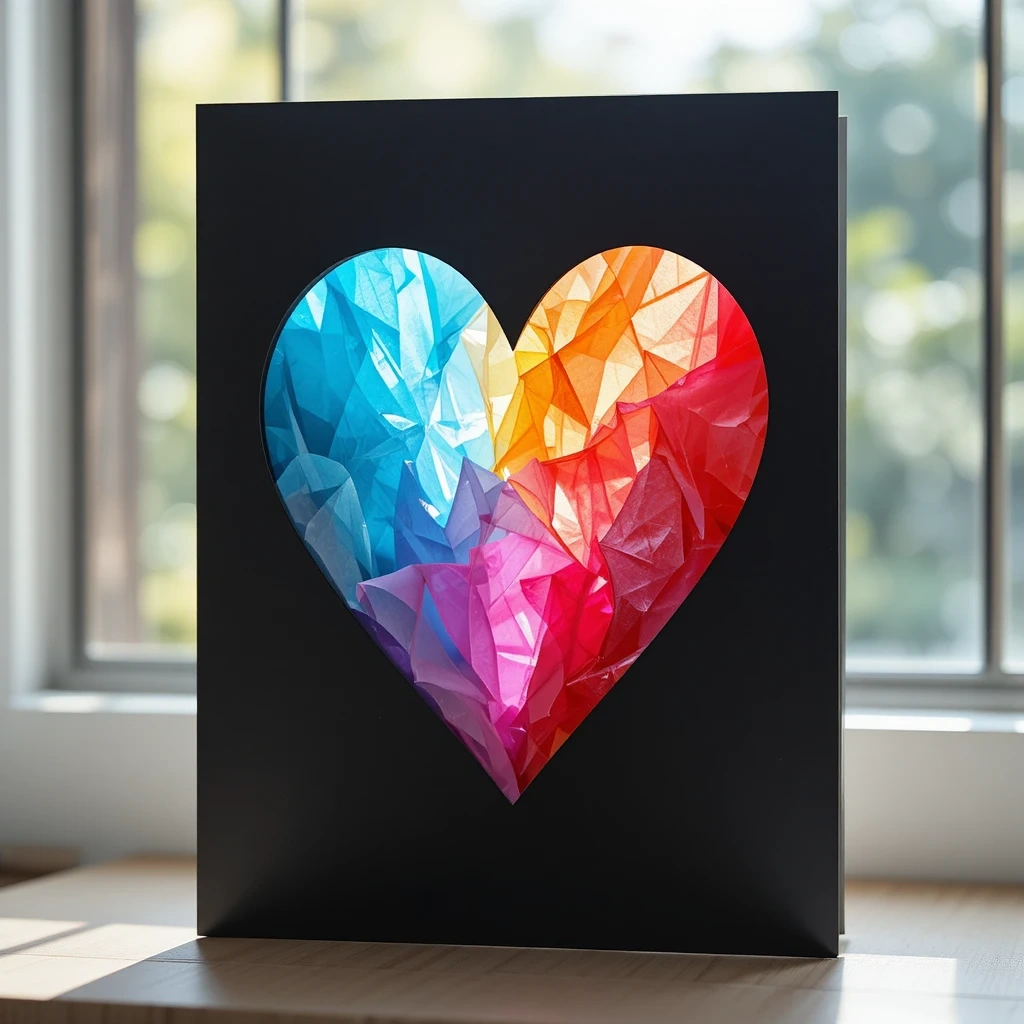
Hold it up to a window and it glows like a real stained glass panel. Simple to make, stunning to look at.
Materials:
- Black cardstock
- Tissue paper (various colors)
- Scissors
- Craft glue
Steps:
- Cut a large heart or flower shape from the center of the black cardstock.
- Let your toddler glue overlapping tissue paper squares over the cutout from behind.
- Trim excess tissue paper edges.
- Fold and write a message inside the card.
Time: 15–20 minutes Difficulty: Easy
Tip: Hold the finished card up to a light source to show your toddler the glowing effect — they’ll be amazed.
9. Yarn-Wrapped Letter “M”
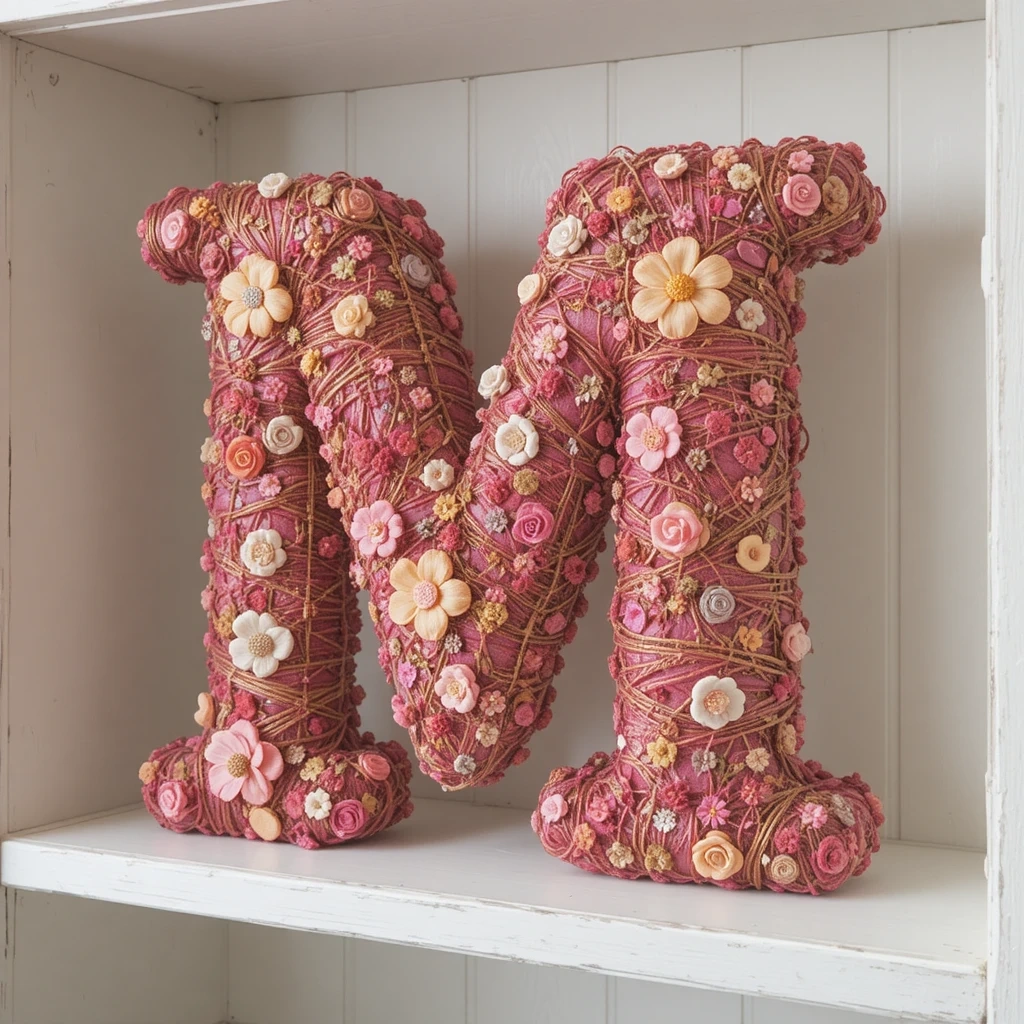
A beautiful decorative piece mom can display on a shelf — personal, colorful, and handmade.
Materials:
- Cardboard or wooden letter “M”
- Colorful yarn (2–3 colors)
- Craft glue
Steps:
- Tie a knot of yarn around one corner of the letter to start.
- Help your toddler wrap yarn tightly and evenly around the entire letter.
- Switch colors by knotting new yarn to the old.
- Secure the end with a dab of glue.
Time: 20–30 minutes Difficulty: Easy
Tip: Add small felt flowers or buttons once the wrapping is done for extra charm.
10. Thumbprint Jewelry Dish
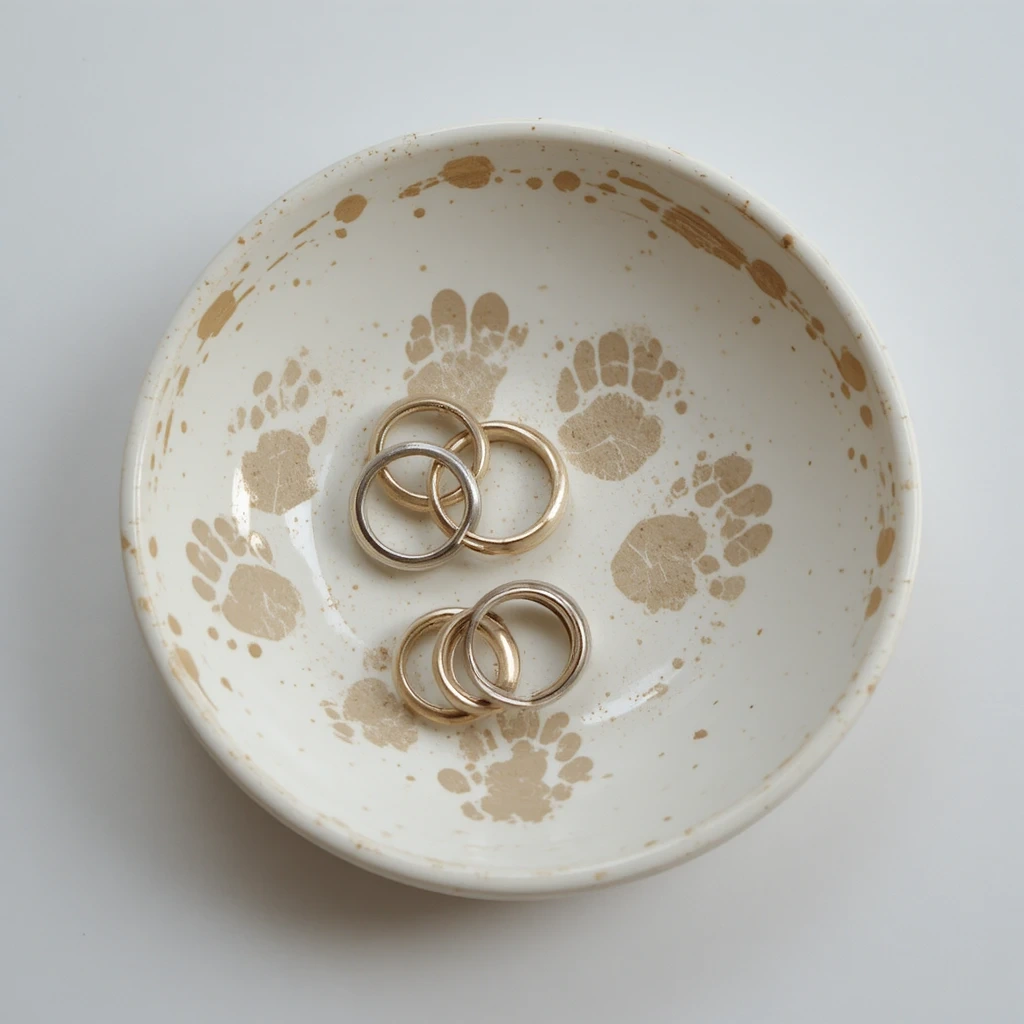
Mom can use this to hold her rings and earrings every single day — beautiful and functional.
Materials:
- Air-dry clay
- Rolling pin
- Small bowl (for shaping mold)
- Acrylic paint
- Clear sealant
Steps:
- Roll clay to ¼ inch thickness.
- Press your toddler’s thumbs gently around the edges to create a border pattern.
- Drape the clay over an upside-down small bowl and shape into a dish.
- Let air dry for 24 hours. Paint and seal.
Time: 20 minutes active + 24 hours drying Difficulty: Medium
Tip: Press gently so the thumbprints are clear but the clay stays intact.
11. Melted Crayon Canvas Art
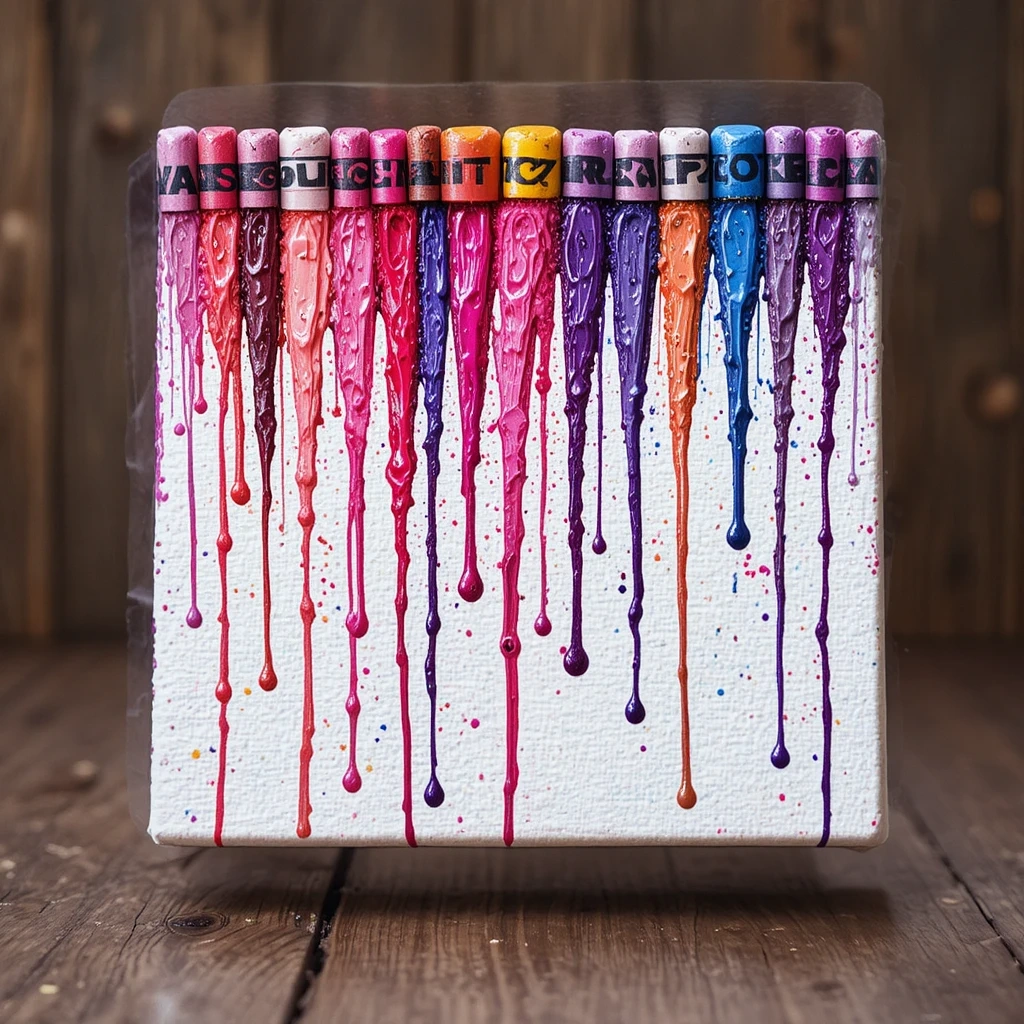
Colorful, dramatic, and surprisingly simple — a gorgeous piece of wall art made with melted crayons.
Materials:
- Canvas
- Crayons (peeled)
- Hot glue gun (adult only)
- Hair dryer
Steps:
- Glue crayons along the top edge of the canvas (adult step).
- Use a hair dryer on high heat to melt them downward.
- Tilt the canvas to guide the drips.
- Let cool completely before moving.
Time: 20–30 minutes Difficulty: Medium
Tip: Use crayons in shades of pink, red, and purple for a romantic Mother’s Day palette.
12. Pom-Pom Bouquet in a Mason Jar
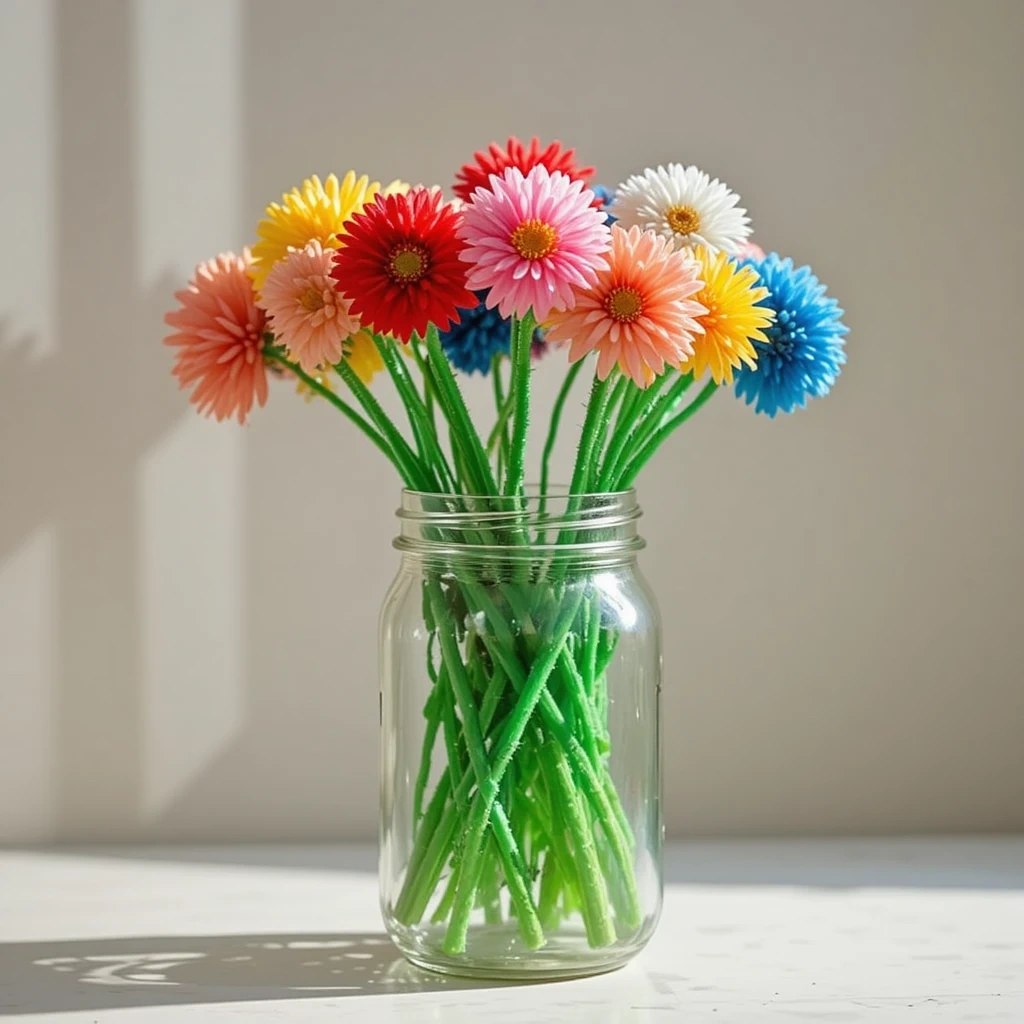
Flowers that never wilt. A cheerful gift that lives on mom’s desk or windowsill indefinitely.
Materials:
- Mason jar
- Pom-poms (various colors and sizes)
- Green pipe cleaners
- Craft glue
Steps:
- Twist pipe cleaners into stem shapes.
- Glue a large pom-pom to the top of each stem.
- Let dry completely.
- Arrange stems inside the mason jar like a real flower bouquet.
Time: 20–25 minutes Difficulty: Easy
Tip: Mix different pom-pom sizes on each stem to look like flowers with buds.
13. “All About My Mom” Fill-In Sheet — Mother’s Day Crafts for Toddlers Favorite
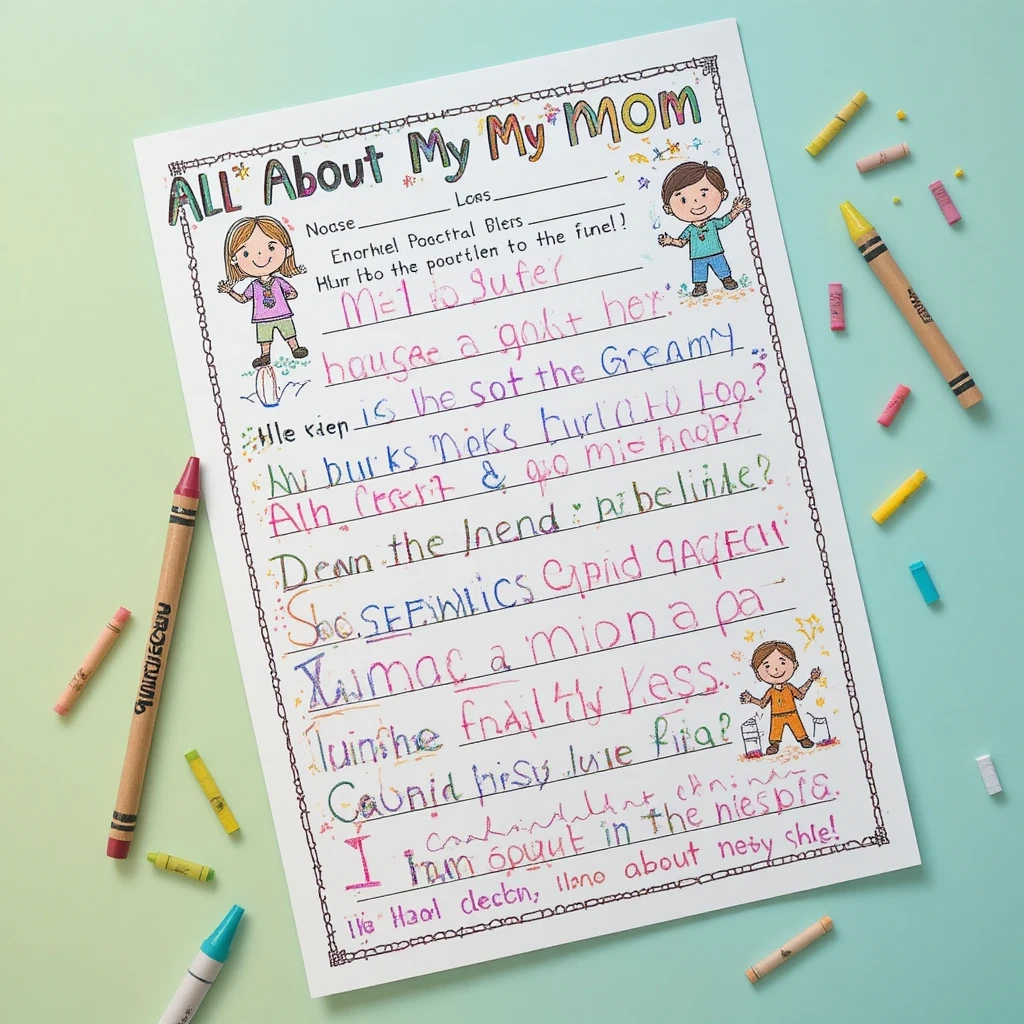
The funniest and most sentimental craft on the list. Mom will laugh, then cry, then frame it immediately.
Materials:
- Printed or hand-drawn fill-in template
- Crayons or markers
Steps:
- Create or print a sheet with prompts: “My mom is ___ years old,” “Her favorite food is ___,” “She is as tall as ___.”
- Ask your toddler each question out loud and write their exact answer — no coaching!
- Let your toddler illustrate each answer with drawings.
- Present as-is or frame it.
Time: 10–15 minutes Difficulty: Easy
Tip: The funnier and more wrong the answers, the more mom will treasure it. Never correct them.
14. Washi Tape Picture Frame
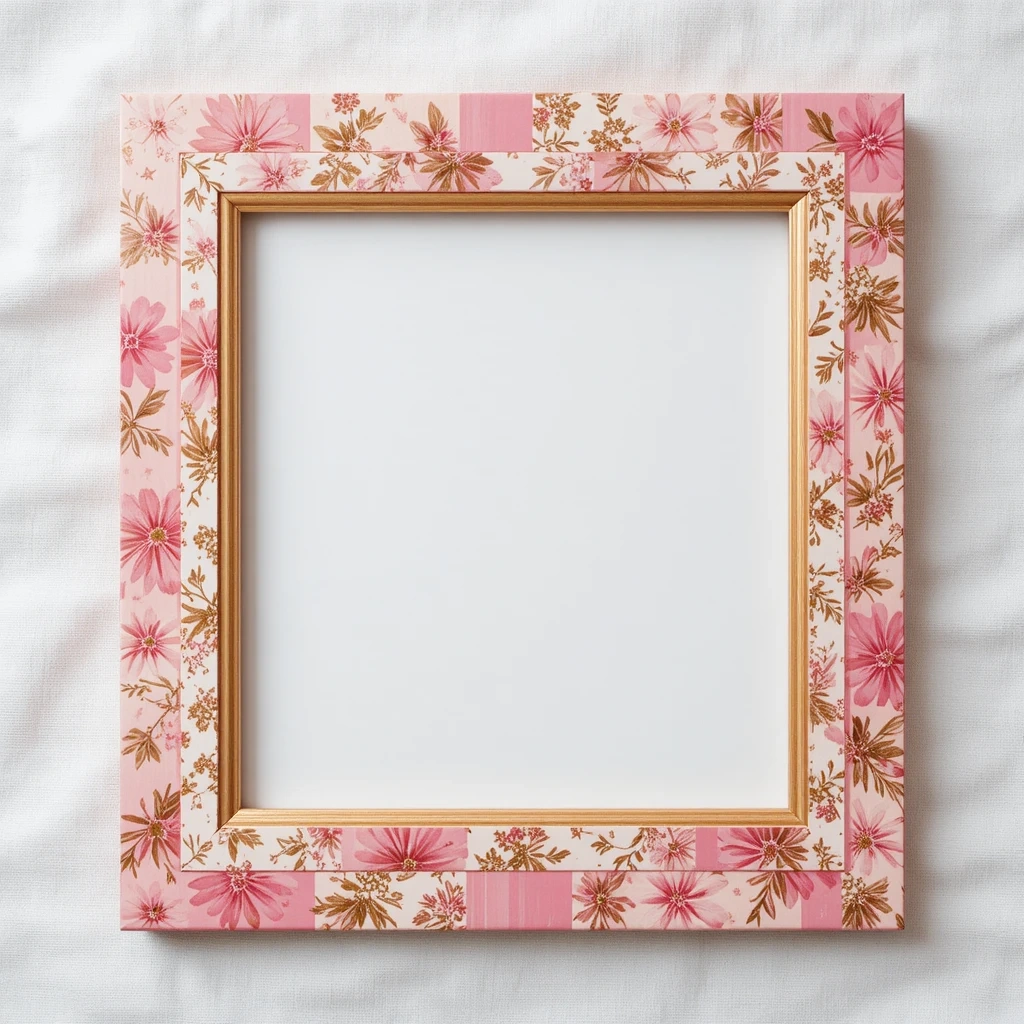
A craft toddlers can do almost entirely on their own — and the result is always beautiful.
Materials:
- Plain wooden or cardboard frame
- Assorted washi tapes
- A printed photo of mom and toddler
Steps:
- Let your toddler stick strips of washi tape all over the frame — no wrong way.
- Overlap, layer, and mix patterns freely.
- Press edges down firmly.
- Insert a favorite photo.
Time: 10–15 minutes Difficulty: Easy
Tip: Choose tapes in coordinating colors so the finished frame looks cohesive even with random application.
15. Nature Print Gift Wrap
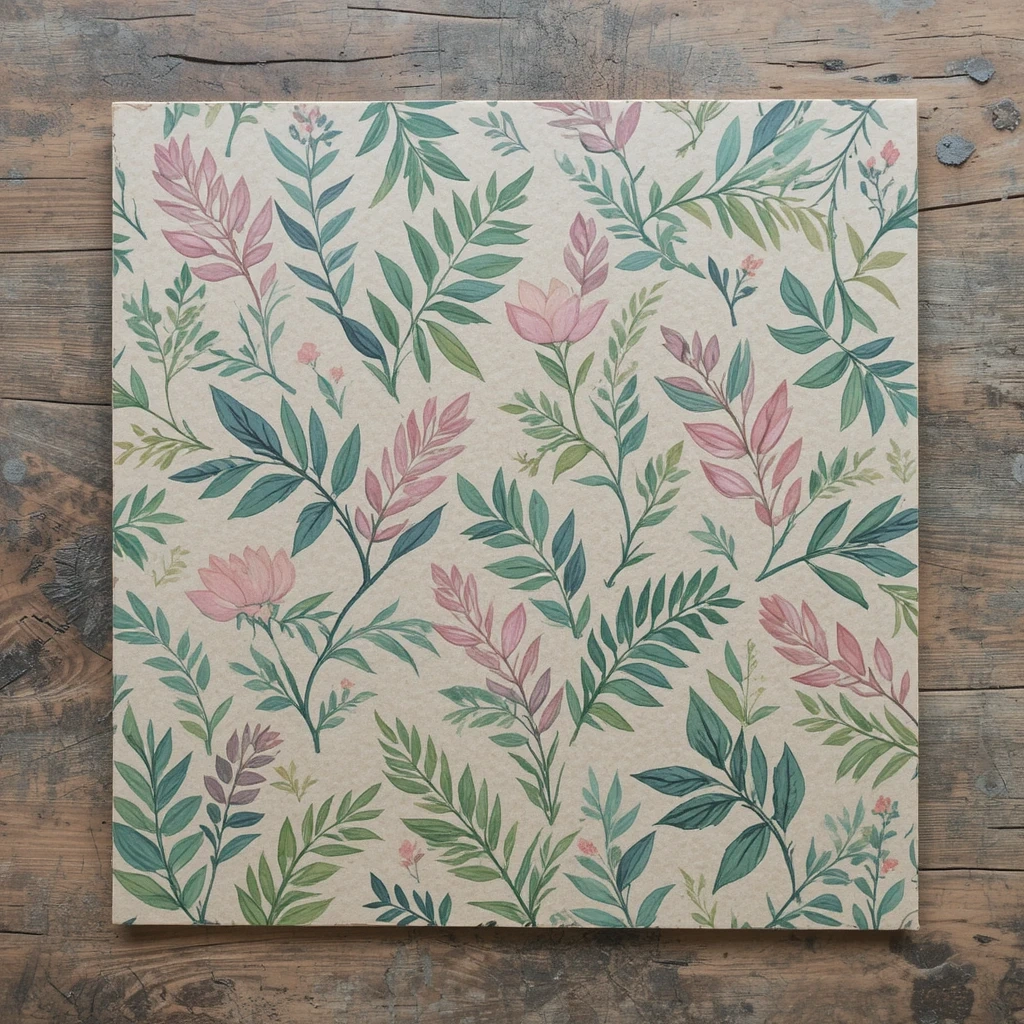
Turn the wrapping into part of the gift. This handmade paper is as beautiful as what’s inside.
Materials:
- Kraft paper or white butcher paper
- Acrylic or tempera paint
- Fresh leaves and flowers
- Paintbrush
Steps:
- Brush paint onto the underside of a leaf or flower.
- Press it firmly onto the paper and lift carefully.
- Repeat across the whole sheet in different colors.
- Let dry before wrapping.
Time: 15–20 minutes Difficulty: Easy
Tip: Use this paper to wrap another handmade gift for a fully homemade Mother’s Day package.
16. Button Mosaic Heart
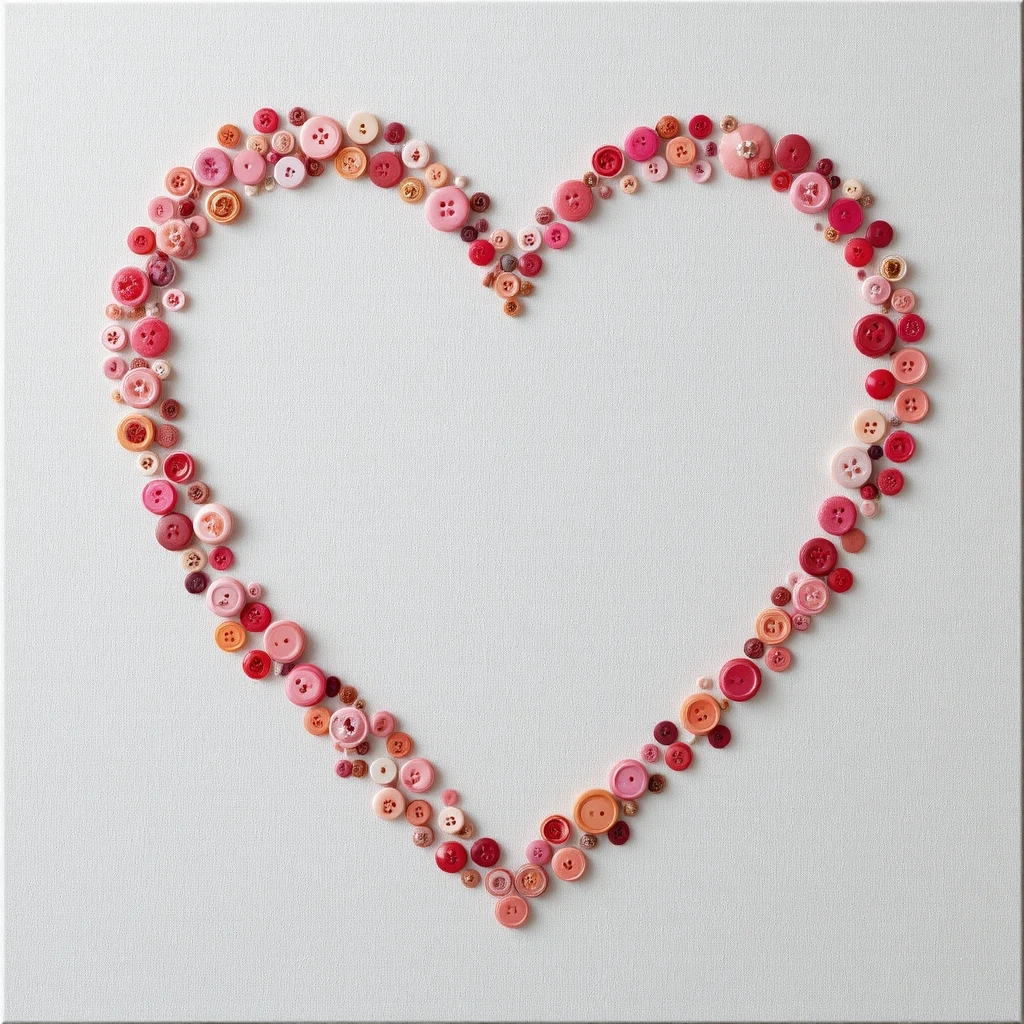
A slow, satisfying craft that creates something truly stunning — perfect for framing or gifting.
Materials:
- Canvas or thick cardboard
- Assorted buttons (various colors and sizes)
- Craft glue
- Pencil
Steps:
- Draw a large heart shape on the canvas in pencil.
- Let your toddler fill the heart shape by gluing buttons inside the outline.
- Let dry overnight.
- Frame or attach a ribbon for hanging.
Time: 30–40 minutes Difficulty: Easy
Tip: Pre-sort buttons by color so your toddler can create an ombre or rainbow heart effect.
17. Accordion Photo Booklet
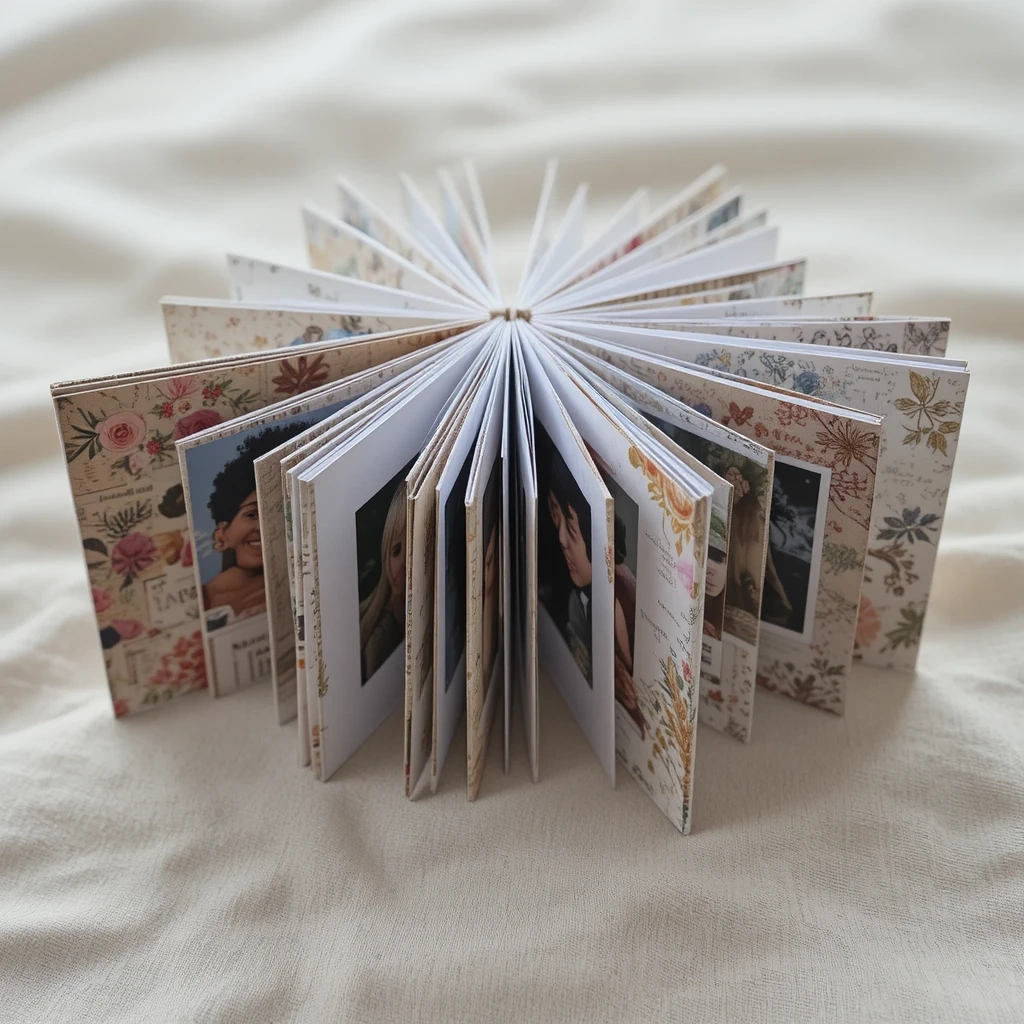
A sweet pop-out gift that unfolds to reveal a row of precious photos mom can carry anywhere.
Materials:
- Cardstock strips
- Wallet-size printed photos
- Glue stick
- Decorative paper for covers
Steps:
- Fold cardstock strips accordion-style to make 6–8 panels.
- Glue one photo to each panel.
- Glue decorative paper onto the front and back covers.
- Write “My Favorite Moments with Mom” on the front.
Time: 20–30 minutes Difficulty: Easy
Tip: Mix candid and posed photos to tell a real story across the panels.
18. Tissue Paper Flower Pot
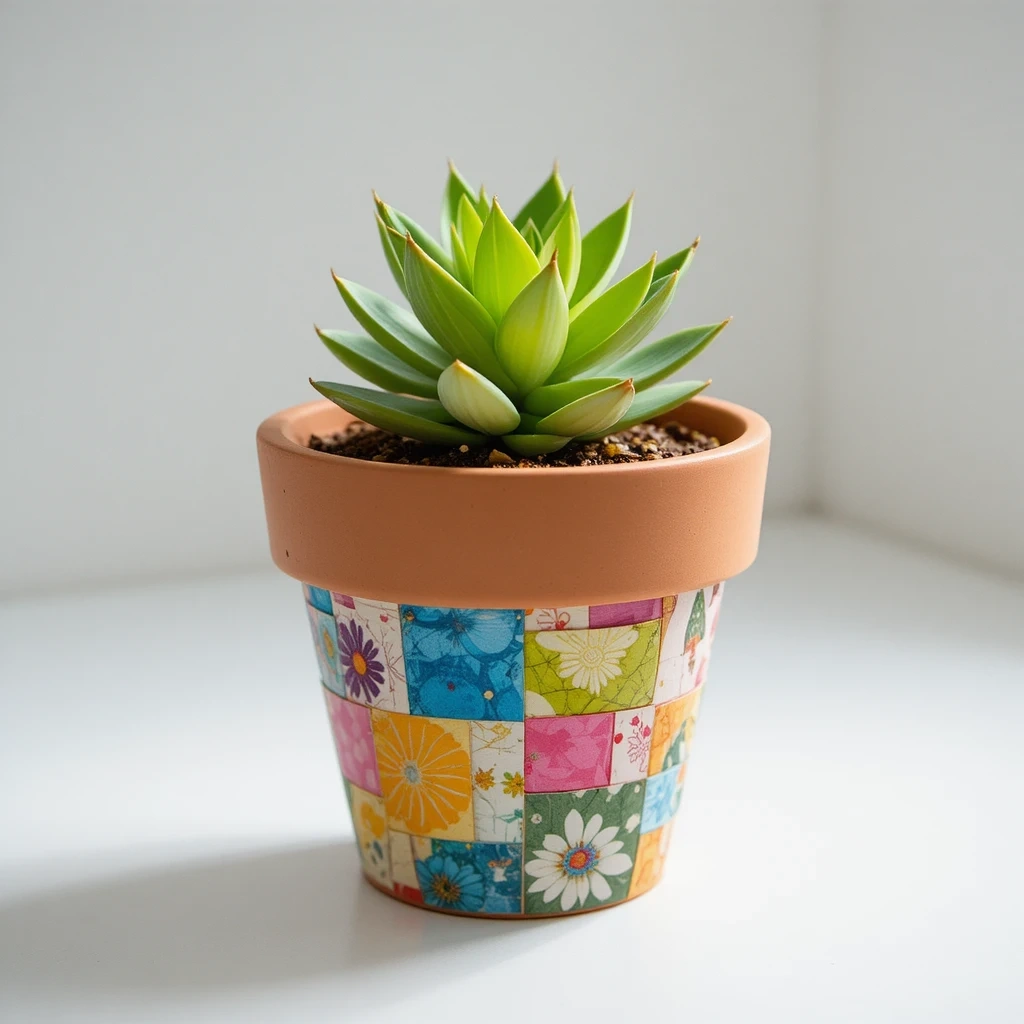
Mom can plant her favorite herb or flower directly in this — a gift that grows.
Materials:
- Small terracotta pot
- Acrylic paint (base color)
- Tissue paper squares
- Decoupage glue (Mod Podge)
- Small plant or seeds
Steps:
- Paint the pot a solid color and let dry.
- Brush decoupage glue onto a section of the pot.
- Let your toddler press tissue paper squares onto the glue in a patchwork pattern.
- Seal the whole pot with another coat of Mod Podge.
- Add soil and a small plant once fully dry.
Time: 25–30 minutes + dry time Difficulty: Easy
Tip: Use outdoor-safe sealant if the pot will live on a patio or garden bed.
19. Love Coupon Booklet
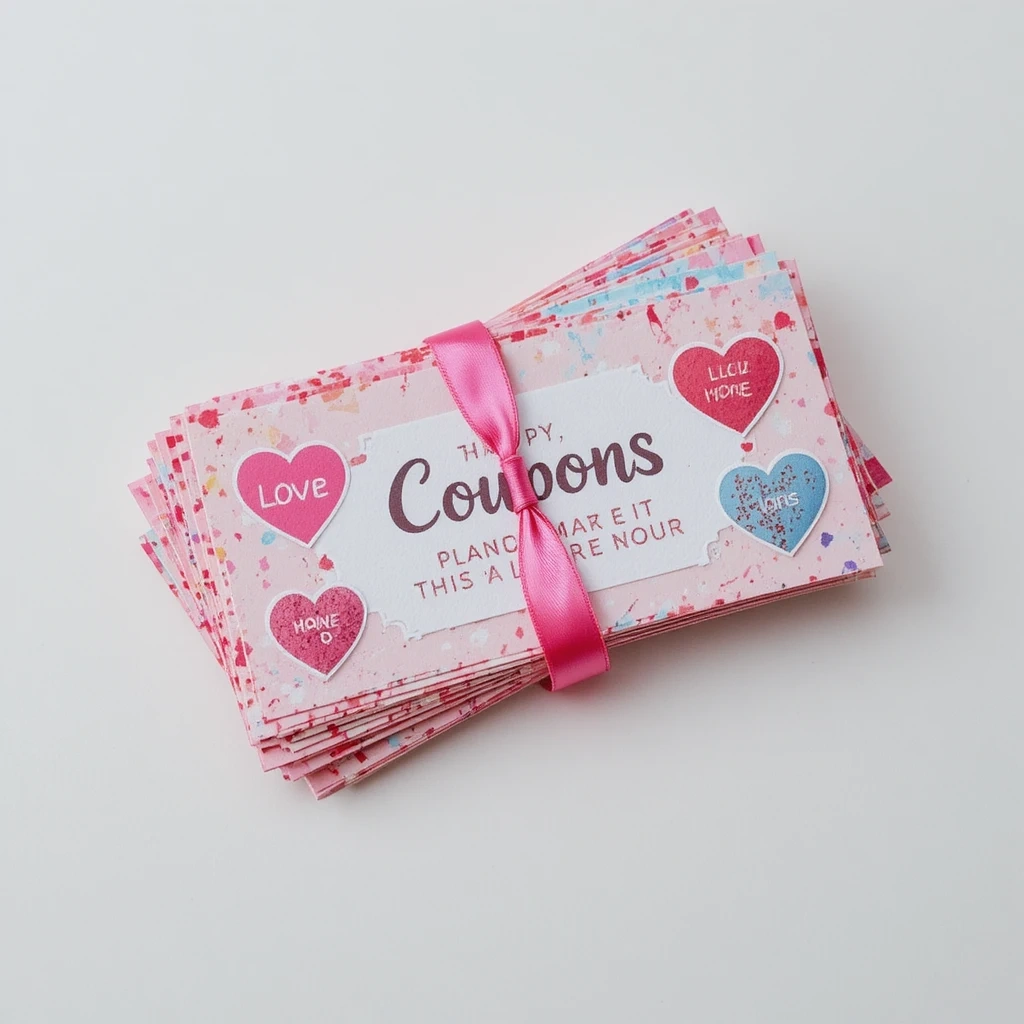
Toddlers scribble, adults write the offers — and mom gets to redeem them all year long.
Materials:
- Small paper rectangles
- Markers
- Stickers
- Stapler or ribbon
Steps:
- Cut paper into small coupon-sized pieces.
- Write one offer per coupon: “One free hug,” “A drawing just for you,” “I’ll be extra quiet for 10 minutes.”
- Let your toddler decorate each coupon with stickers and scribbles.
- Bind together with a staple or tie with ribbon.
Time: 15–20 minutes Difficulty: Easy
Tip: Laminate the coupons so they hold up through the year.
20. Watercolor Flower Tote Bag
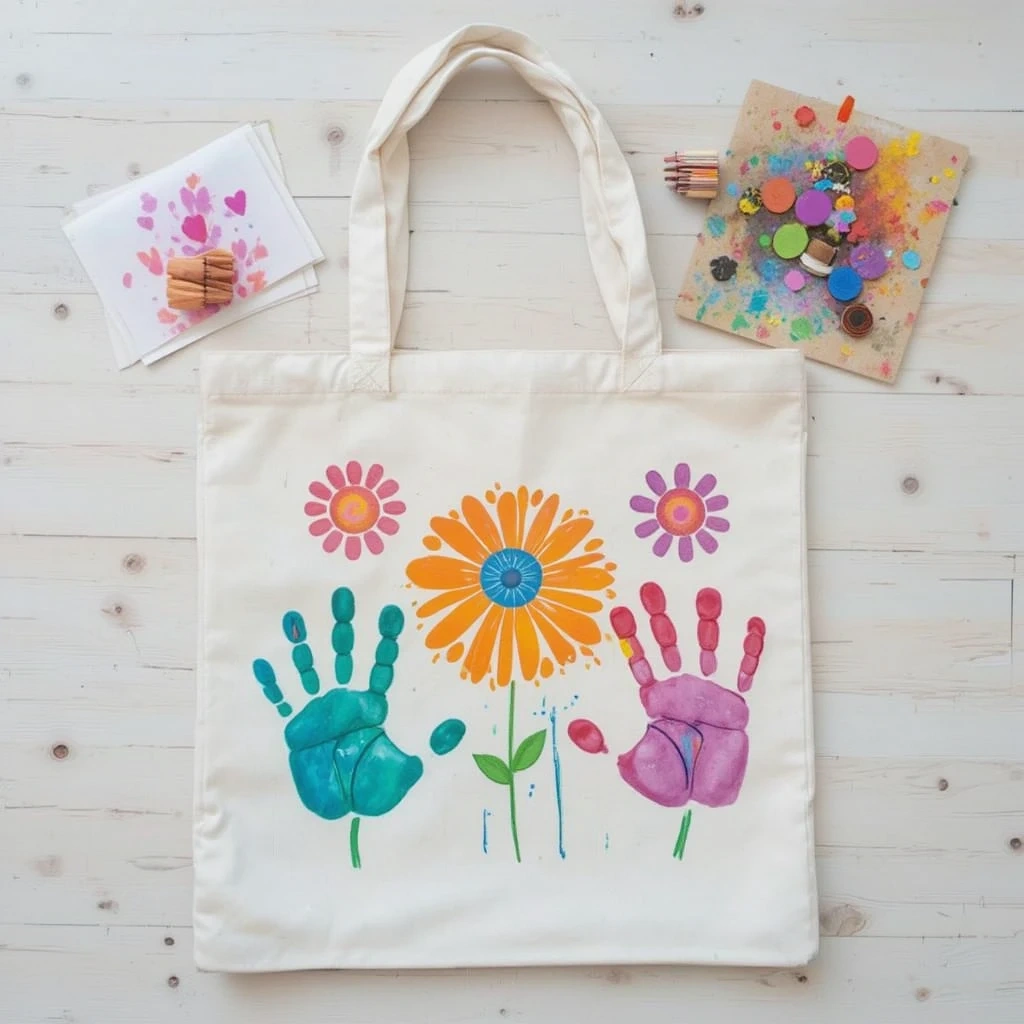
A gift mom can actually use — for groceries, the farmers market, or a beach trip.
Materials:
- Plain canvas tote bag
- Fabric paint (or regular acrylic with fabric medium)
- Foam brushes
- Cardboard (placed inside bag)
Steps:
- Slide cardboard inside the bag to prevent paint bleed-through.
- Let your toddler paint handprints or brush freeform flower shapes on the bag.
- Add dots or hearts with a foam stamp.
- Let dry 24 hours. Heat-set with an iron if the paint requires it.
Time: 20–25 minutes + dry time Difficulty: Easy
Tip: Write “Made with love by [name], age [age]” inside the bag with a fabric marker.
21. Painted Wooden Spoon Puppet
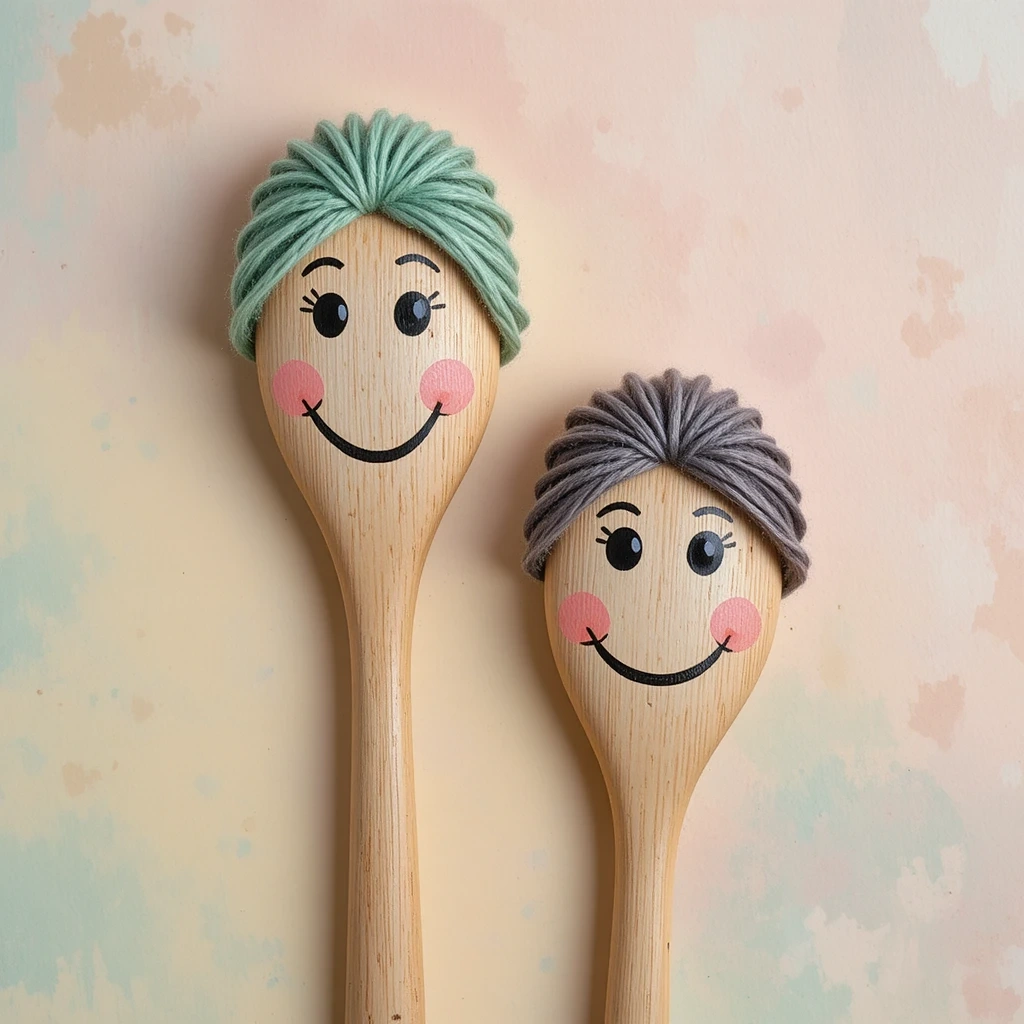
A playful gift — especially sweet if your toddler puts on a little puppet show before handing it over.
Materials:
- Wooden spoons
- Acrylic paint
- Markers
- Yarn
- Craft glue
Steps:
- Paint the spoon bowl in a skin tone or fun color.
- Let dry, then draw on eyes, a nose, and a smile.
- Glue yarn across the top for hair.
- Let your toddler decorate the handle with stripes and dots.
Time: 20–25 minutes Difficulty: Easy
Tip: Make two spoons — one for mom and one for the toddler to keep for puppet play.
22. Footprint Butterfly Garden Stone — Mother’s Day Crafts for Toddlers Outdoor Gift
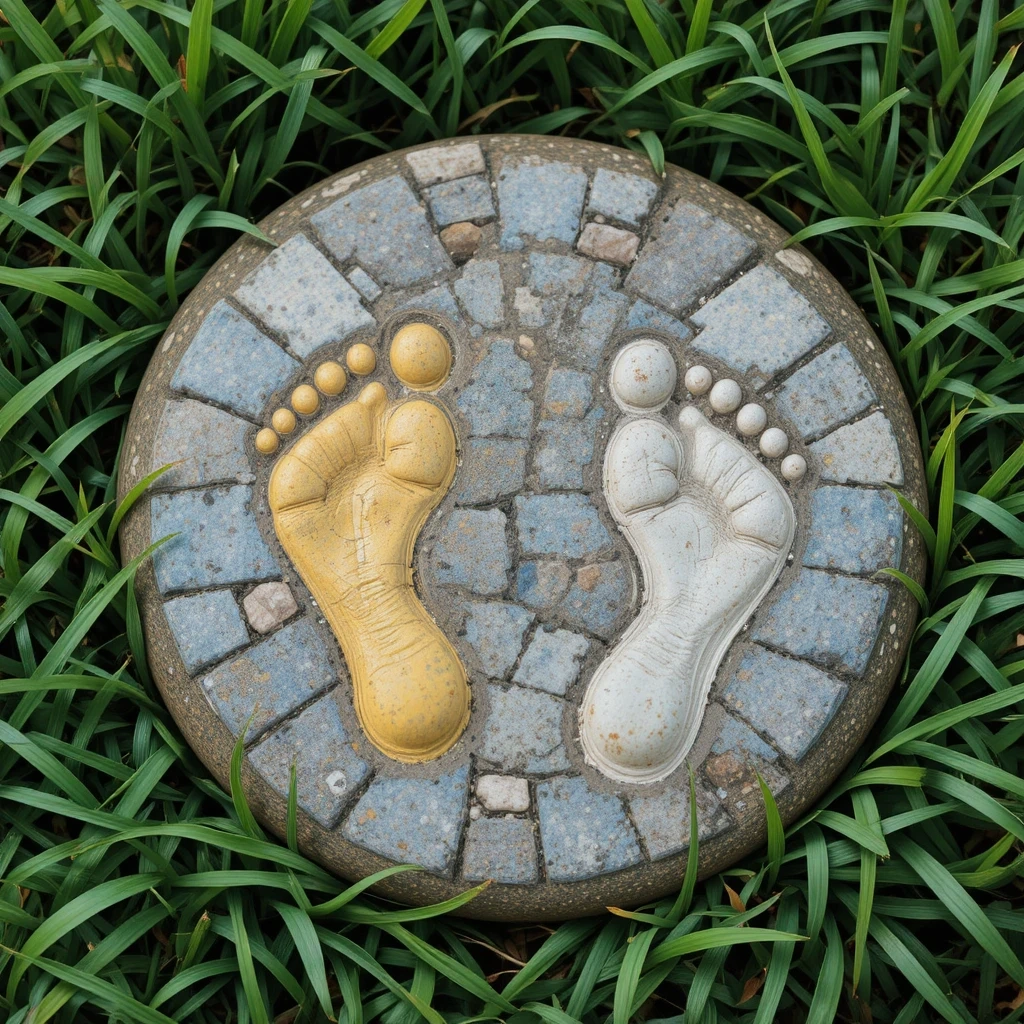
A garden keepsake that gets more beautiful every season. Two footprints, heels together, become butterfly wings.
Materials:
- Stepping stone kit or concrete mix
- Round mold
- Acrylic paint (after curing)
- Outdoor sealant
Steps:
- Mix and pour concrete into the mold.
- Press both of your toddler’s feet into the surface — heels touching, toes pointing outward.
- Gently lift feet straight up to avoid smearing.
- Cure 24–48 hours, then paint and seal.
Time: 20 minutes active + 48 hours curing Difficulty: Medium
Tip: Press a small twig between the heels as a butterfly body before the concrete sets.
23. Crayon Resist Watercolor Flowers
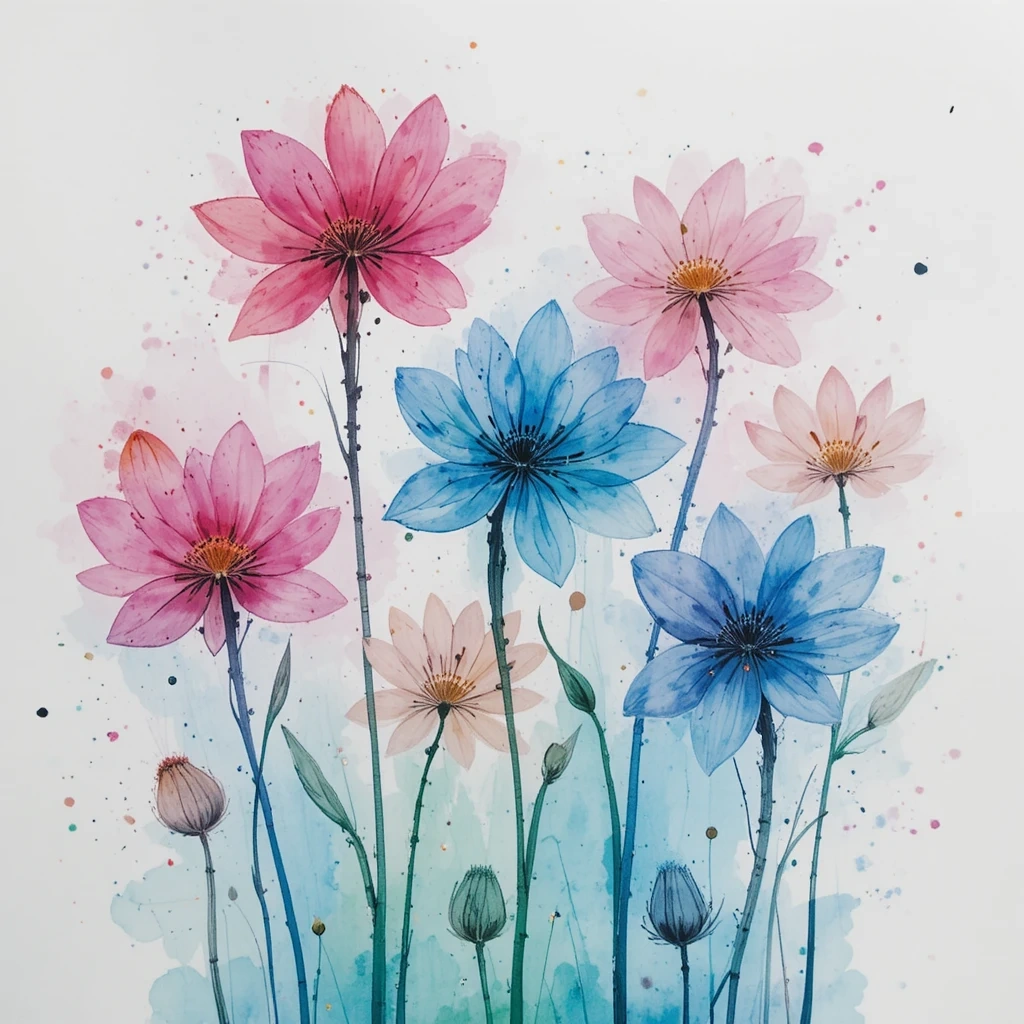
Simple science meets simple art — the hidden crayon flowers bloom as watercolor washes over them.
Materials:
- White watercolor paper
- Crayons (white or light colors)
- Watercolor paints
- Paintbrush
Steps:
- Draw flower shapes heavily in crayon — press hard.
- Let your toddler brush watercolor paint across the entire paper.
- Watch the flowers appear through the paint.
- Let dry and frame or fold into a card.
Time: 15–20 minutes Difficulty: Easy
Tip: The harder you press the crayon, the stronger the resist effect will be.
24. Sensory Handprint Wreath
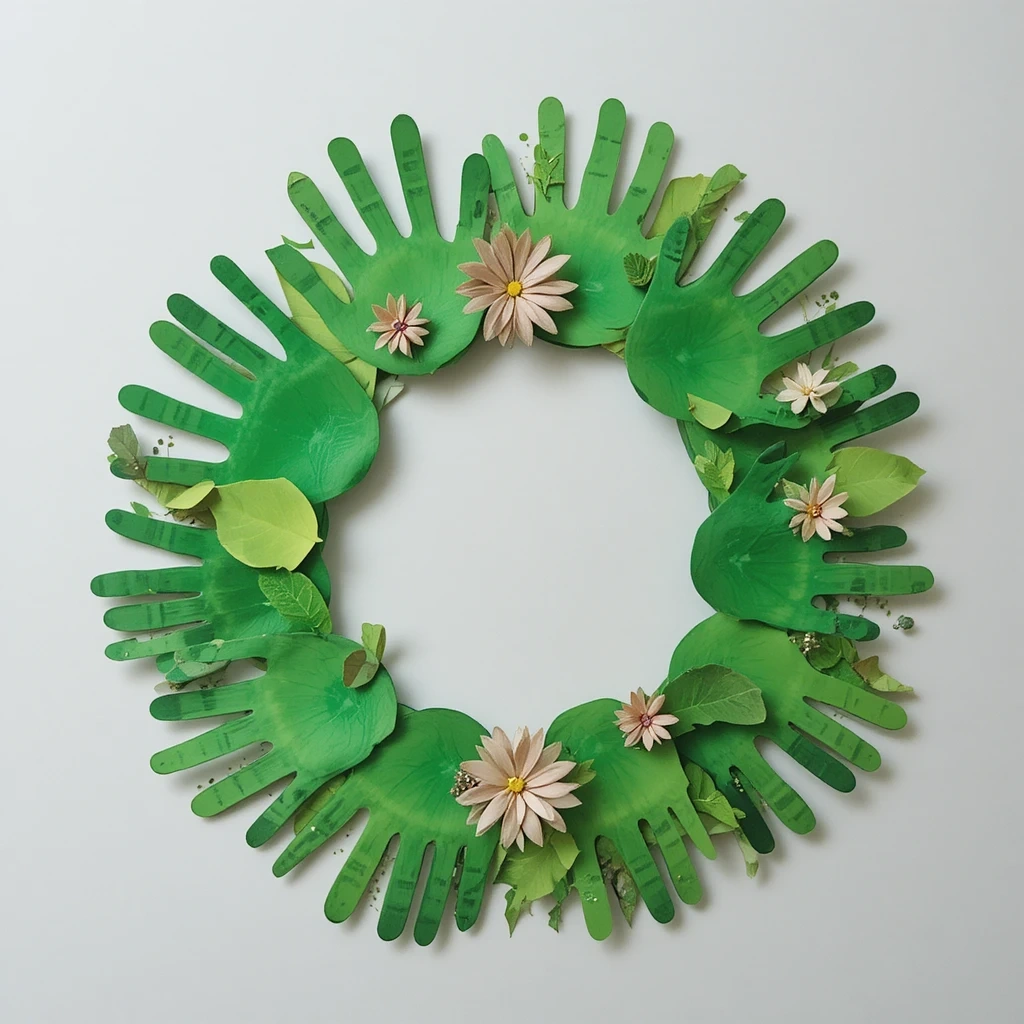
A textured, dimensional wreath made entirely from tiny handprints cut and layered in a circle.
Materials:
- Green cardstock or construction paper
- Washable paint
- Scissors (adult use)
- Paper plate
- Foam flowers or stickers for decoration
Steps:
- Trace and cut out 10–14 handprints from green paper, or stamp and cut painted handprints.
- Cut the center out of a paper plate to make a ring base.
- Glue handprints around the ring, overlapping slightly, fingers pointing outward.
- Decorate the wreath with foam flower stickers or painted dots.
Time: 30–40 minutes Difficulty: Medium
Tip: Alternate green shades (lime, emerald, sage) for a more realistic leafy wreath effect.
25. “Reasons I Love You” Flower Bouquet
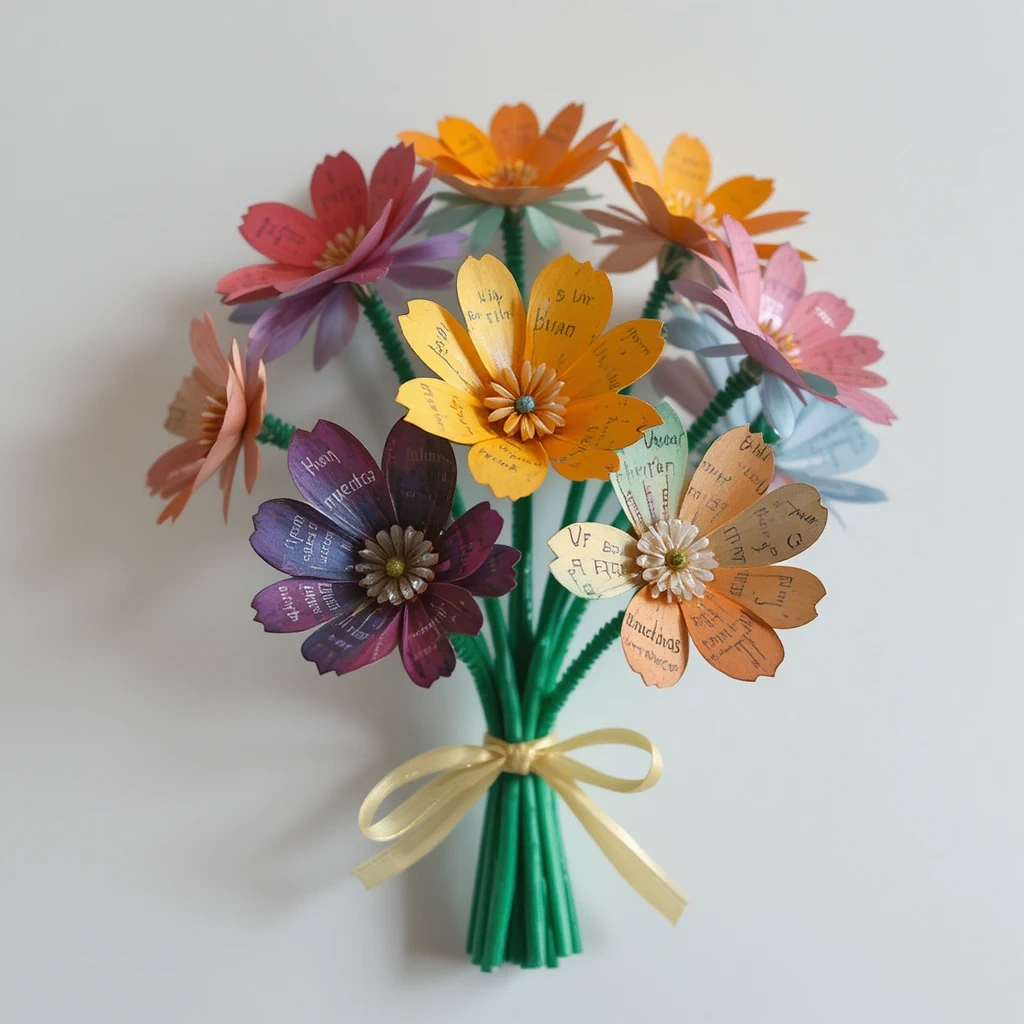
Each paper flower holds a reason — unfold a petal and find a sweet toddler thought inside.
Materials:
- Colored cardstock
- Green pipe cleaners
- Scissors (adult use)
- Marker
- Craft glue
Steps:
- Cut flower shapes from cardstock — one per reason.
- Ask your toddler to name things they love about mom and write each answer on a petal.
- Glue a pipe cleaner stem to the back of each flower.
- Bundle all the flowers into a bouquet and tie with ribbon.
Time: 25–30 minutes Difficulty: Easy
Tip: Use different colors for each flower and write each reason in your toddler’s exact words — don’t paraphrase.
Common Mistakes to Avoid
1. Using non-washable paint on toddlers. Always use washable, non-toxic tempera or finger paint. Acrylic paint dries fast and stains skin, clothes, and surfaces quickly — a stressful cleanup for everyone.
2. Trying to do too many steps in one sitting. Toddlers have short attention spans. Break crafts into stages across two short sessions if needed — do the handprint one day, the decorating the next.
3. Fixing or “improving” what the toddler makes. Resist the urge to tidy up uneven prints, crooked flowers, or wonky lines. The imperfections are the whole point — and mom will love it more because of them.
Tips for Best Results
- Prep everything before your toddler sits down. Pour paint, set out brushes, and lay paper towels — then invite them in. Less waiting = less chaos.
- Use washable paint as your default. It comes off hands, tables, and clothing easily without a battle.
- Work on a covered surface. A plastic tablecloth or old newspaper under the project saves a lot of cleanup time.
- Let each layer dry fully. Rushing leads to smears. Keep a second small activity nearby for toddlers to do while they wait.
- Write the date and your toddler’s age on the back of everything. You’ll be so glad you did in 10 years.
- Take a photo of the process. Mom will love seeing the behind-the-scenes just as much as the finished piece.
Frequently Asked Questions
Q: What age can toddlers start making Mother’s Day crafts? Even toddlers as young as 18 months can join in. Handprint and footprint crafts, tissue paper scrunching, and sticker decorating are all great starting points for very young ones.
Q: How early should we start making these crafts? One to two weeks before Mother’s Day is ideal. It gives you time for layers to dry, for small mistakes to be fixed, and for finishing touches without any last-minute stress.
Q: What’s the easiest craft for a very young toddler (under 2)? Handprint and fingerprint crafts are the easiest — they require no fine motor skills, take just minutes, and produce something genuinely beautiful.
Q: Can these be done in a preschool or daycare setting? Yes! Most ideas on this list are designed to be group-friendly. The fingerprint bouquet card, salt dough ornament, and “All About My Mom” sheet are especially popular classroom crafts.
Q: How do I keep toddlers focused during crafting? Keep each active session under 20 minutes. Play music, let them choose their colors, and celebrate each step loudly — enthusiasm from you fuels enthusiasm from them.
Q: What if the craft doesn’t turn out the way I imagined? That’s completely fine — and honestly, that’s the point. No mom wants a perfect craft. She wants a real one, made by her child’s real hands.
Conclusion
You don’t need a big budget or a craft degree to give mom something she’ll treasure forever. A pressed handprint, a painted rock, a jar of paper flowers — these are the gifts that end up in keepsake boxes and on refrigerators for years.
Pick one Mother’s Day Crafts for Toddlers that fits your toddler’s age and your available materials, set up your space, and just start. It doesn’t have to be perfect. It just has to be theirs.