12 Summer Preschool Crafts That Kids Will Absolutely Love
Summer is the perfect season to get creative with little ones. Whether you’re a parent, teacher, or caregiver, these 12 summer preschool crafts will keep tiny hands busy and imaginations running wild. Each project is simple, mess-friendly, and uses materials you likely already have at home.
These ideas work great for backyard play dates, classroom activities, or rainy summer afternoons. Let’s dive in!
1. Paper Plate Sun Craft
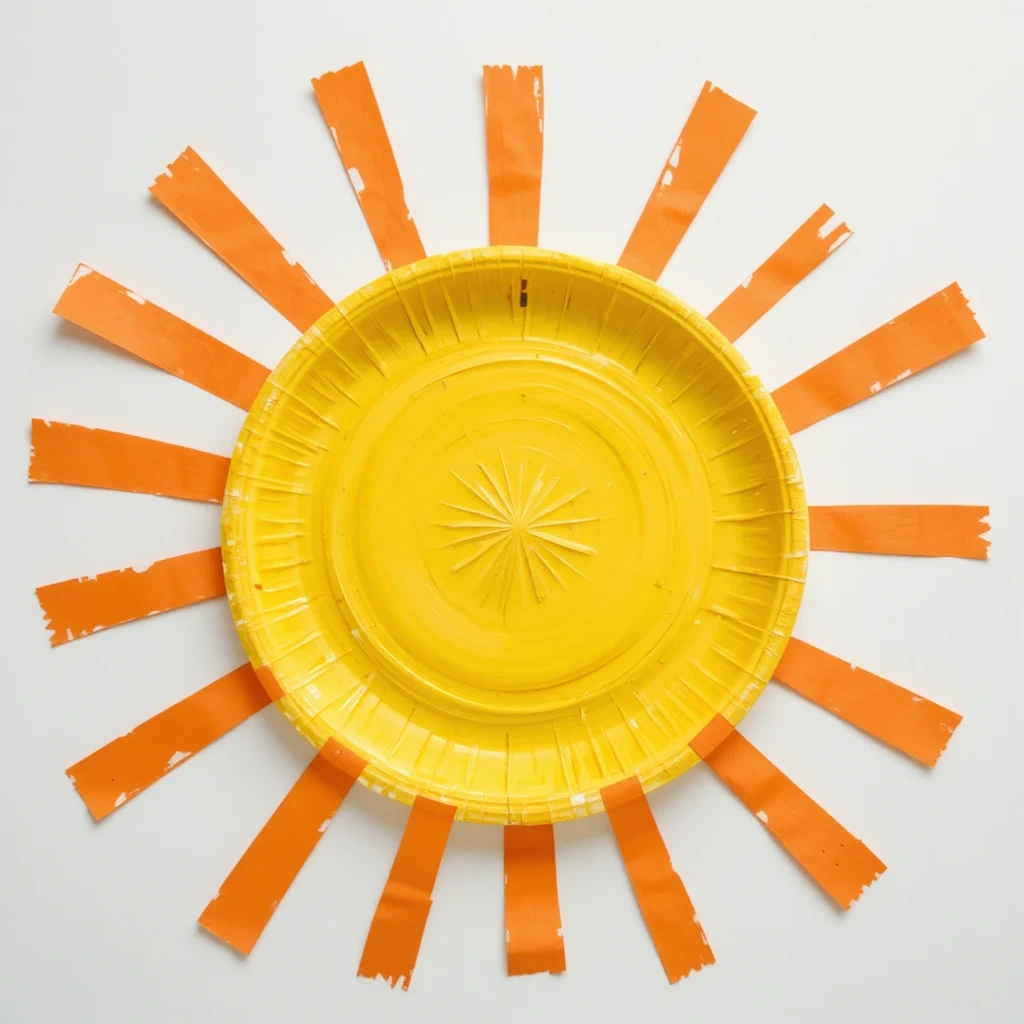
Brighten up any room with this cheerful sunshine project. Kids love tearing and gluing, and this craft is perfect for developing fine motor skills. The bold yellow colors make it a great wall decoration too.
Materials:
- Paper plate
- Yellow and orange paint
- Yellow construction paper
- Scissors (child-safe)
- Glue stick
- Black marker
Steps:
- Paint the paper plate yellow and let it dry.
- Cut strips of orange and yellow construction paper for sun rays.
- Glue the strips around the back edge of the plate.
- Draw a smiley face in the center with a black marker.
- Let everything dry and display proudly!
Time: 20–30 minutes Difficulty: Easy
Tip: Use torn paper strips instead of cut ones for a fun texture effect — no scissors needed for toddlers!
Idea 2: Handprint Watermelon Art
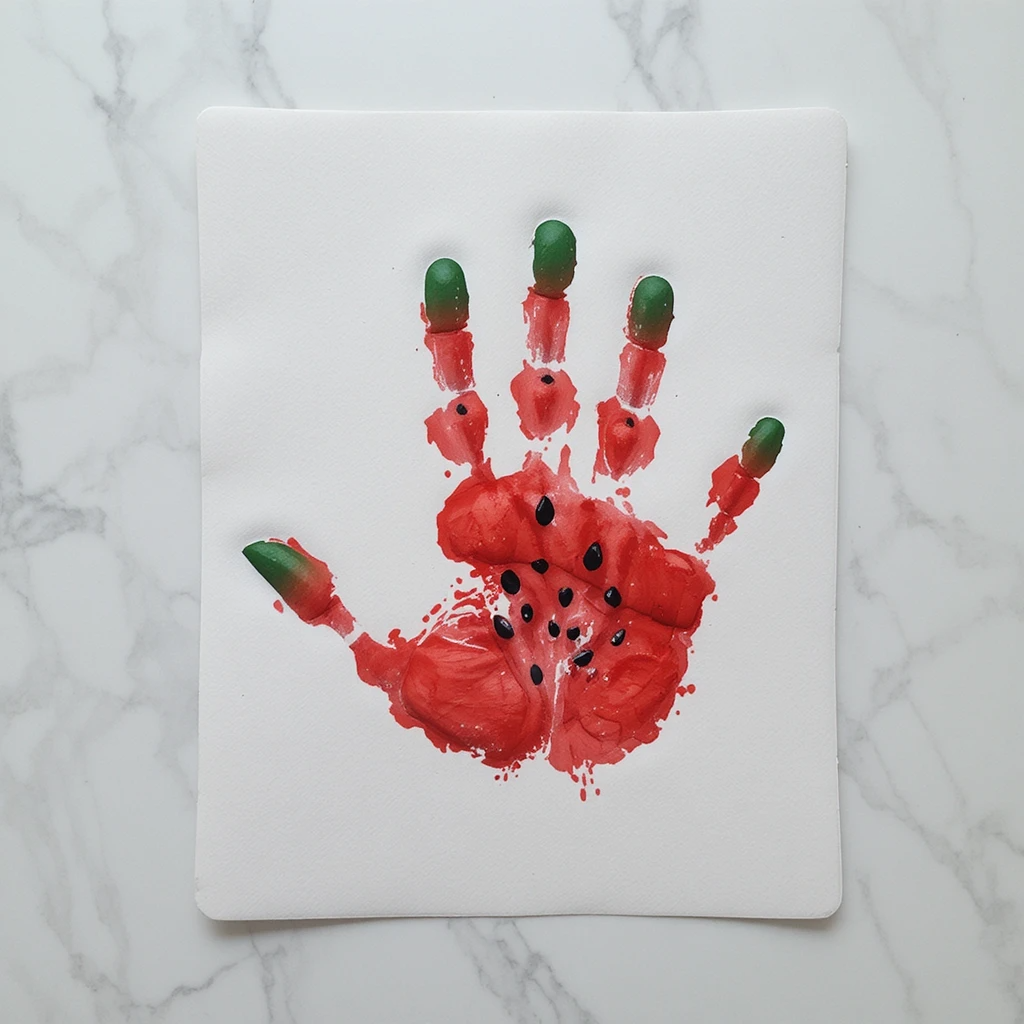
This adorable handprint craft doubles as a keepsake. It captures little handprints in a fun summer theme kids recognize and love. Frame it or turn it into a card for grandparents.
Materials:
- Green and red paint (washable)
- White cardstock
- Black marker
- Paintbrush
Steps:
- Paint the child’s palm red and fingers green.
- Press the hand firmly onto the cardstock.
- Let the print dry completely.
- Add black dot seeds with a marker.
- Draw a green rind line between the red and green areas.
Time: 15–20 minutes Difficulty: Easy
Tip: Do a test print on scratch paper first so kids feel comfortable before pressing on the final sheet.
3. Ice Cream Cone Collage

This sweet craft uses tissue paper and simple shapes to create a colorful ice cream treat. No sugar involved — just creativity! It’s a great activity for teaching colors and shapes.
Materials:
- Brown construction paper (cone shape)
- Tissue paper squares in assorted colors
- Glue
- White cardstock background
- Markers
Steps:
- Cut or pre-cut a cone shape from brown paper.
- Glue the cone onto the cardstock base.
- Crumple tissue paper squares and glue them above the cone as “scoops.”
- Add details like sprinkles using markers.
- Let dry and display or laminate.
Time: 15–25 minutes Difficulty: Easy
Tip: Let kids mix tissue paper colors freely — the result is a colorful “mystery flavor” scoop!
4. Butterfly Coffee Filter Craft
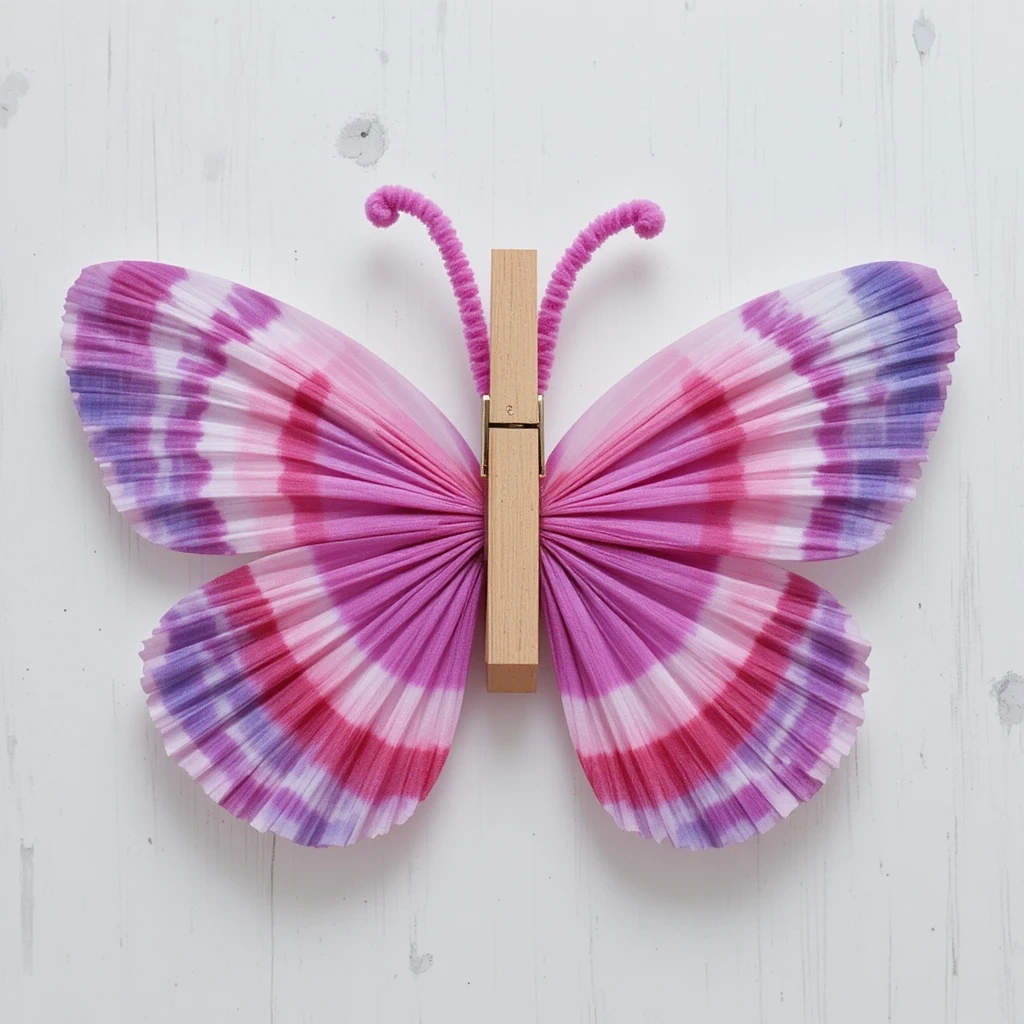
Tie-dye meets butterflies in this magical summer activity. Coffee filters absorb watercolor beautifully, creating stunning wings every time. The results always surprise kids in the best way.
Materials:
- White coffee filters
- Washable markers
- Spray bottle with water
- Clothespin (wooden)
- Pipe cleaners
- Googly eyes
Steps:
- Flatten the coffee filter and color it with washable markers.
- Lightly spritz with water to blend the colors. Let dry.
- Pinch the center and clip the clothespin around it.
- Twist a pipe cleaner around the clothespin top to make antennae.
- Add googly eyes to the clothespin.
Time: 20–30 minutes (includes drying) Difficulty: Easy
Tip: Use warm colors (red, orange, yellow) for a monarch butterfly look, or cool blues and purples for a fantasy butterfly.
5. Popsicle Stick Beach Scene
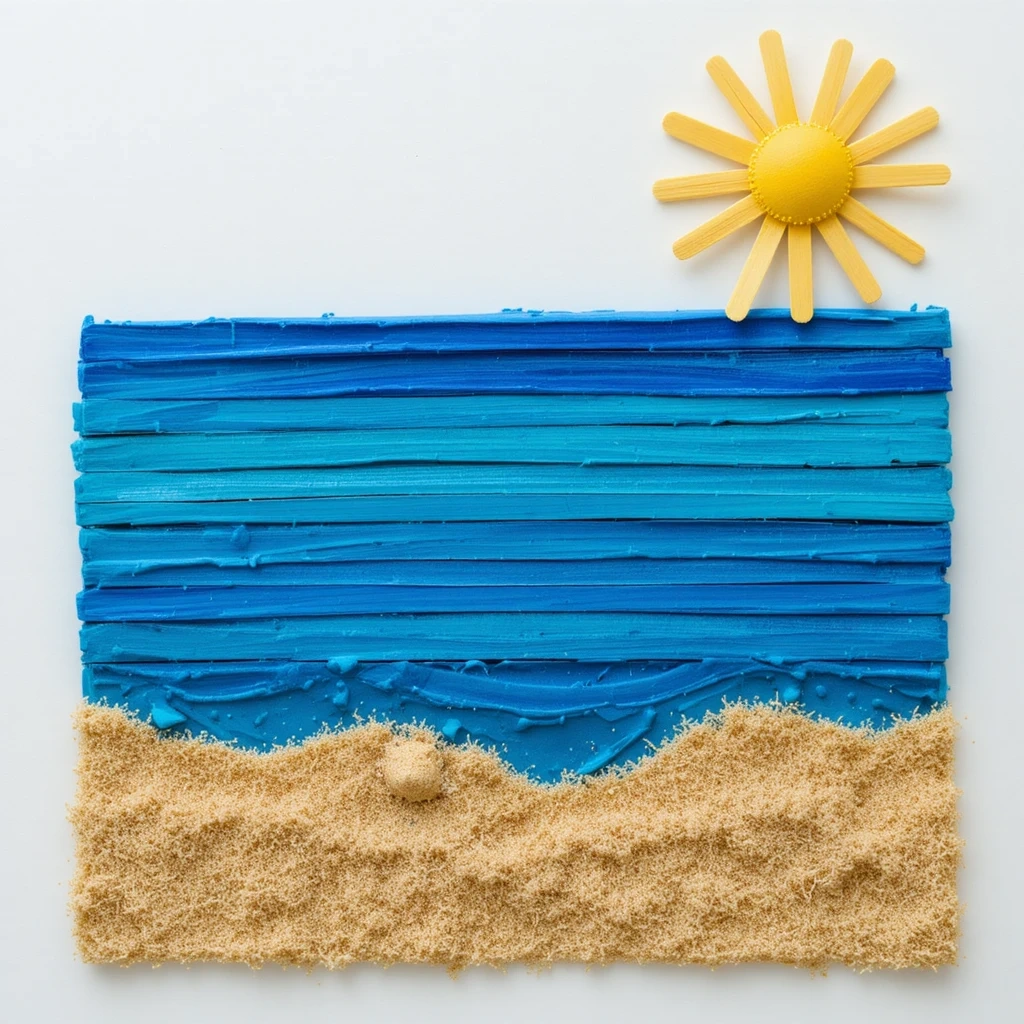
Build a mini beach scene using craft sticks! This 3D-style craft teaches kids about layering and storytelling through art. It’s one of those projects they’ll want to show everyone.
Materials:
- Popsicle sticks (10–15)
- Blue and yellow paint
- Sand (a small amount)
- Glue
- Mini foam shapes (optional sun, fish)
- Markers
Steps:
- Paint several sticks blue for ocean and yellow/tan for sand.
- Glue sticks side by side on a cardboard backing to create the scene.
- Sprinkle a thin line of real sand on the “beach” area while glue is wet.
- Add foam or paper cutout details like a sun, umbrella, or waves.
- Let dry fully before handling.
Time: 25–35 minutes Difficulty: Medium
6. Sunflower Paper Bag Puppet
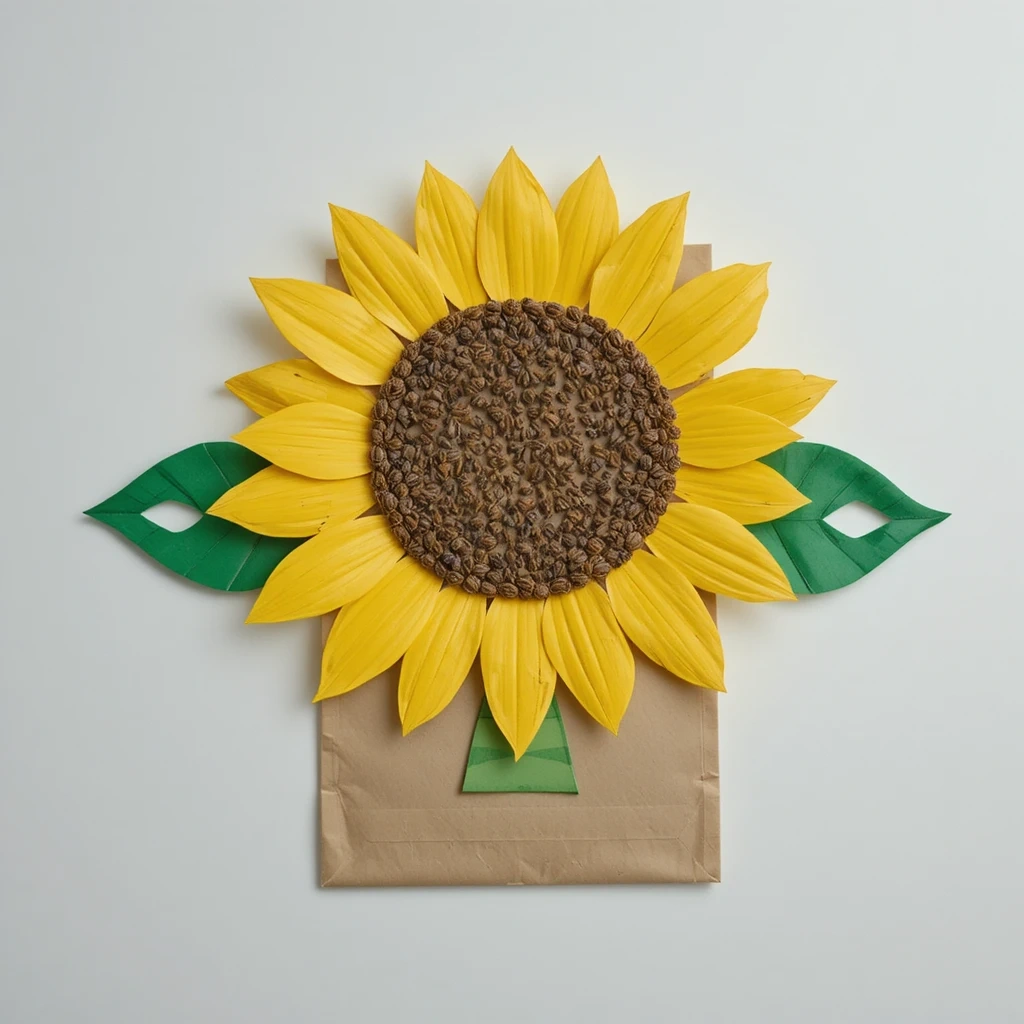
Turn a paper lunch bag into a blooming sunflower puppet! Kids can put on a whole summer show with these cheerful characters. It’s creative, dramatic, and endlessly entertaining.
Materials:
- Brown paper lunch bag
- Yellow and orange construction paper
- Green construction paper
- Glue
- Black marker
- Scissors (child-safe)
Steps:
- Cut petal shapes from yellow and orange paper.
- Glue petals around the bottom flap of the bag (the “face” area).
- Draw seeds and a face on the flap using a black marker.
- Cut leaf shapes from green paper and glue to the sides of the bag.
- Slip your hand inside and put on a show!
Time: 20–25 minutes Difficulty: Easy
12 Summer Preschool Crafts — Idea 7: Rock Painting Garden Markers
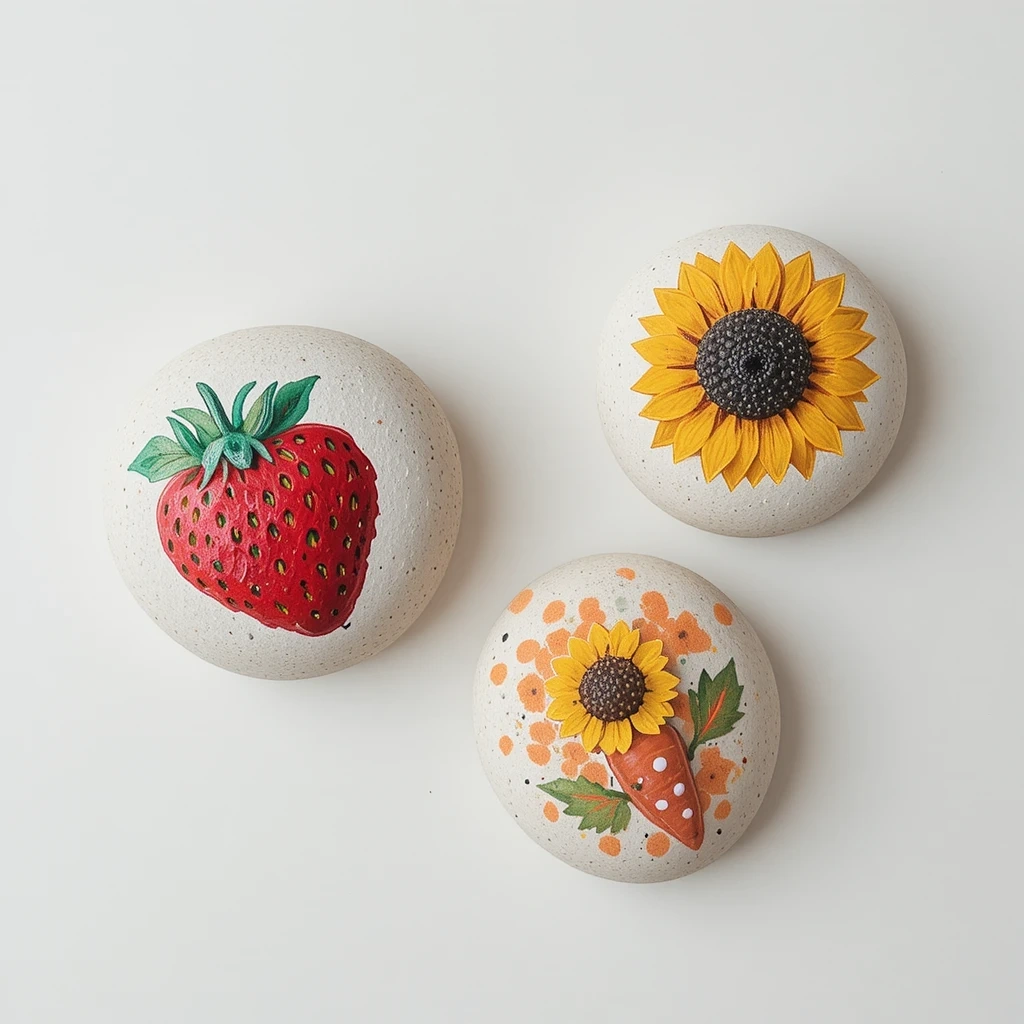
Head outside to collect rocks, then turn them into painted garden markers. This craft connects kids to nature and gives them a sense of pride when they see their markers in a real garden.
Materials:
- Smooth flat rocks
- Acrylic paint (washable)
- Fine-tip black marker or paint pen
- Mod Podge or clear sealer (adult step)
- Paintbrushes
Steps:
- Wash and dry the rocks completely.
- Paint the base color of the rock (white works great).
- Once dry, paint simple designs — strawberries, carrots, flowers, or suns.
- Use a fine black marker to outline and add details.
- An adult seals with Mod Podge for outdoor durability.
Time: 30–40 minutes Difficulty: Medium
Tip: Use a white paint base coat first — it makes every color pop on dark or rough rocks.
8. Seashell Wind Chime
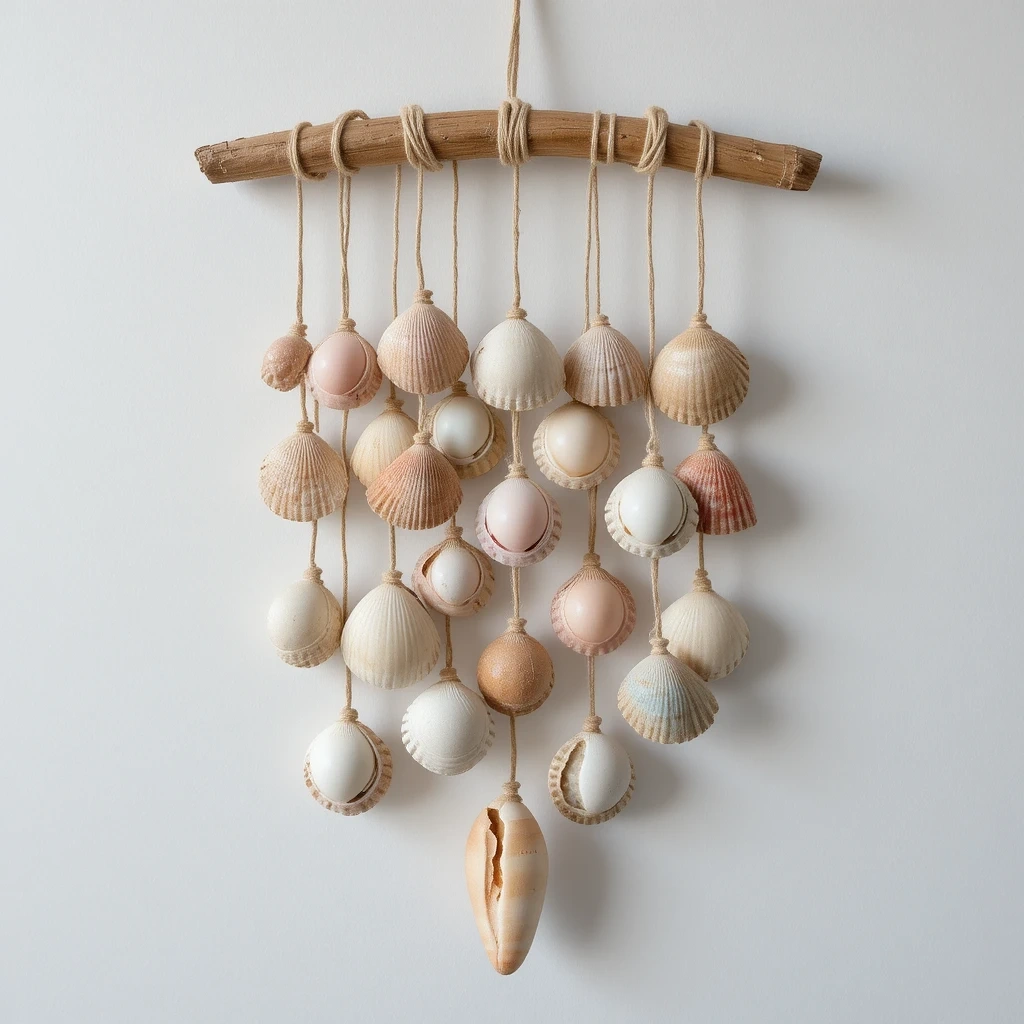
Bring the beach home with this breezy wind chime craft. Real or craft store shells make beautiful sounds and textures. Perfect for hanging on a porch or bedroom window all summer long.
Materials:
- Seashells (real or craft store)
- Driftwood or a sturdy stick
- Twine or fishing line
- Paint (optional)
- Drill or pre-drilled shells (adult prep needed)
Steps:
- Adults pre-drill or pre-punch holes in the shells if needed.
- Kids decorate shells with paint and let them dry.
- Cut 5–6 lengths of twine, each slightly different lengths.
- Tie one shell (or a small cluster) to the end of each piece of twine.
- Tie the other ends along the stick, evenly spaced.
- Add a loop of twine to hang the chime.
Time: 30–45 minutes Difficulty: Medium
9. Footprint Flamingo Card
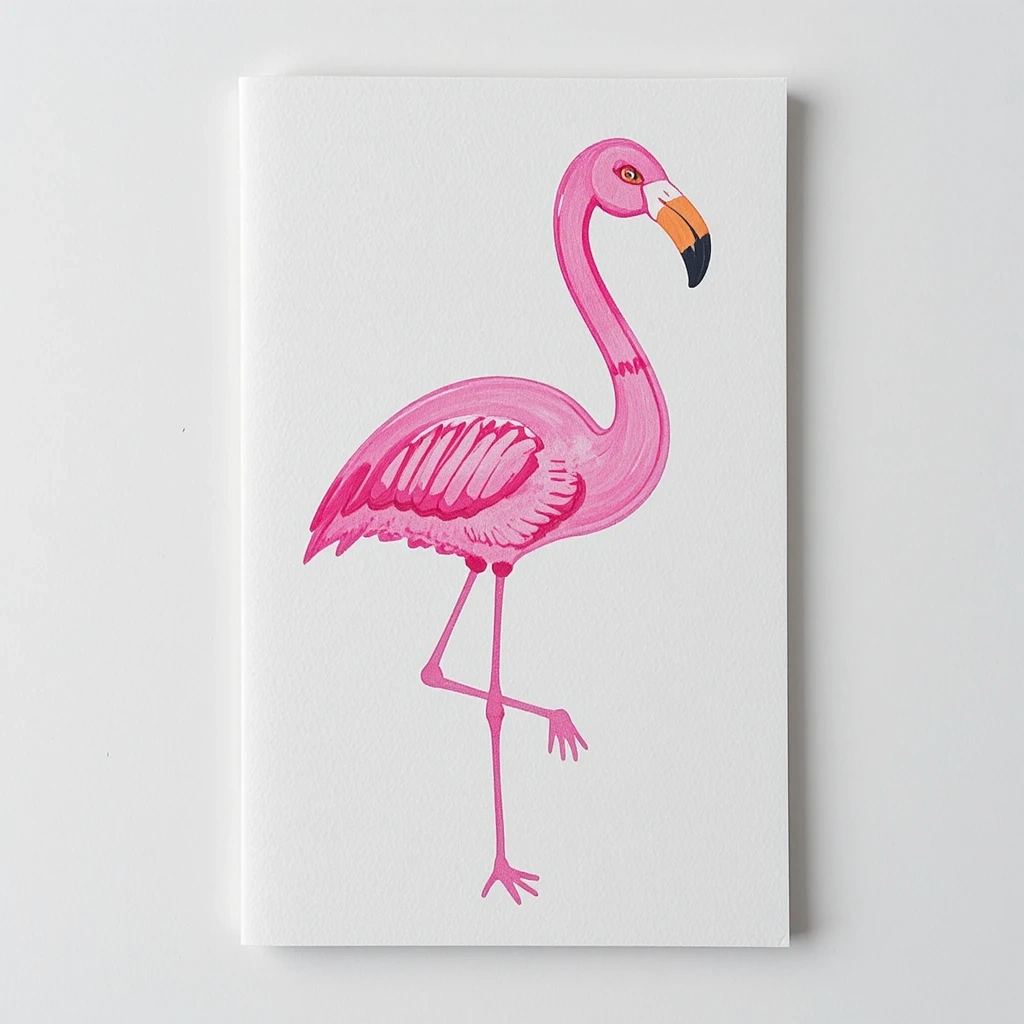
Little footprints become fabulous flamingos in this keepsake craft! It’s a sweet summer card or artwork idea that family members will treasure. Pair it with a Mother’s Day or birthday message for extra meaning.
Materials:
- Pink paint (washable)
- White cardstock
- Black and orange markers
- Googly eye (small)
- Glue
Steps:
- Paint the bottom of the child’s foot pink.
- Press the footprint onto cardstock with the heel at the top.
- Let dry completely.
- Draw a long flamingo neck and head from the heel.
- Add an orange beak, googly eye, and thin stick legs below the print.
Time: 15–20 minutes Difficulty: Easy
Tip: Make two footprints side by side — one facing each direction — for a pair of flamingos!
10. Tissue Paper Jellyfish Mobile
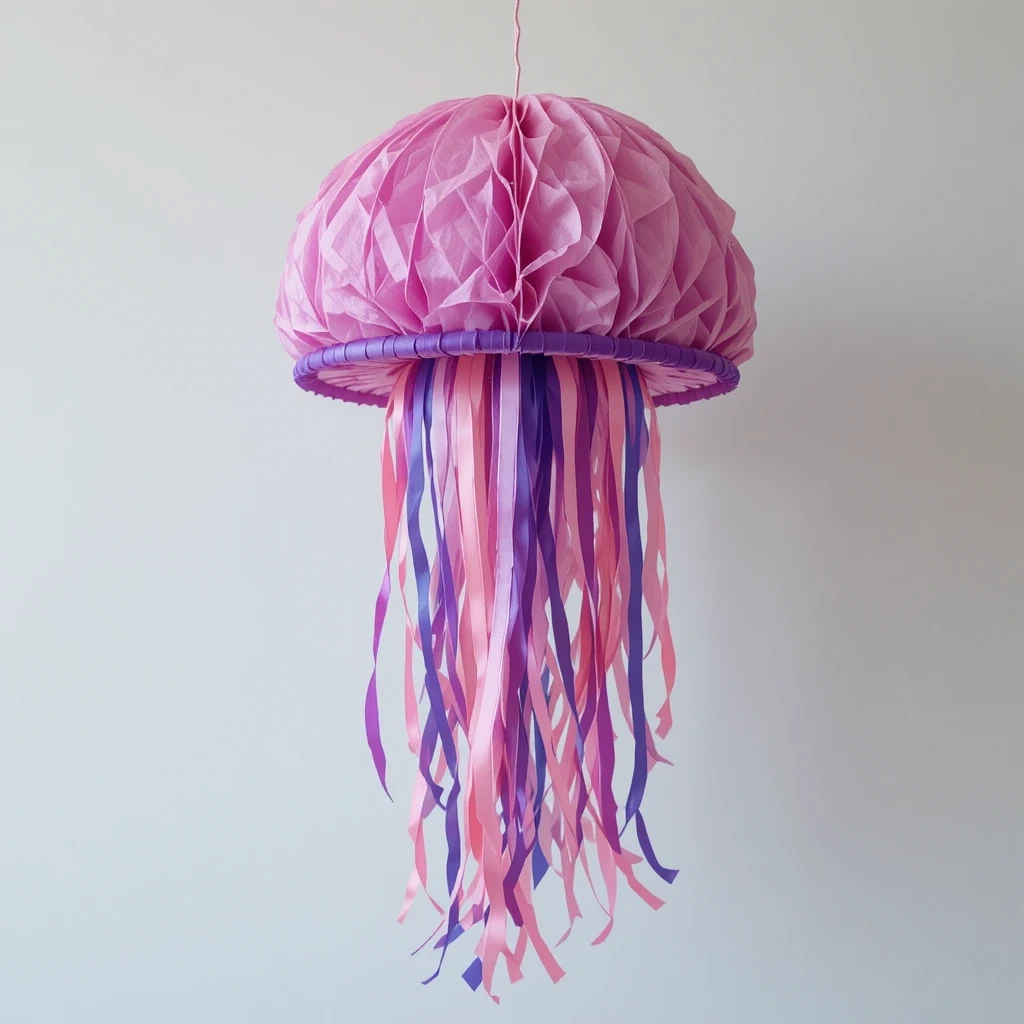
These wobbly, colorful jellyfish look amazing hanging in a window or classroom. They’re easy to assemble and let kids explore color combinations freely. The result is a gorgeous, translucent display.
Materials:
- Tissue paper in multiple colors
- White cardstock circles (pre-cut)
- Streamers or ribbon strips
- String for hanging
- Glue stick
- Markers
Steps:
- Tear tissue paper into small pieces and glue them onto the cardstock circle — front and back.
- Draw a simple face on the bottom of the circle.
- Glue 6–8 streamer or ribbon strips hanging down from the circle edge.
- Punch a hole at the top and thread string through for hanging.
- Display in a window for a beautiful light effect.
Time: 20–30 minutes Difficulty: Easy
11. Torn Paper Ocean Scene
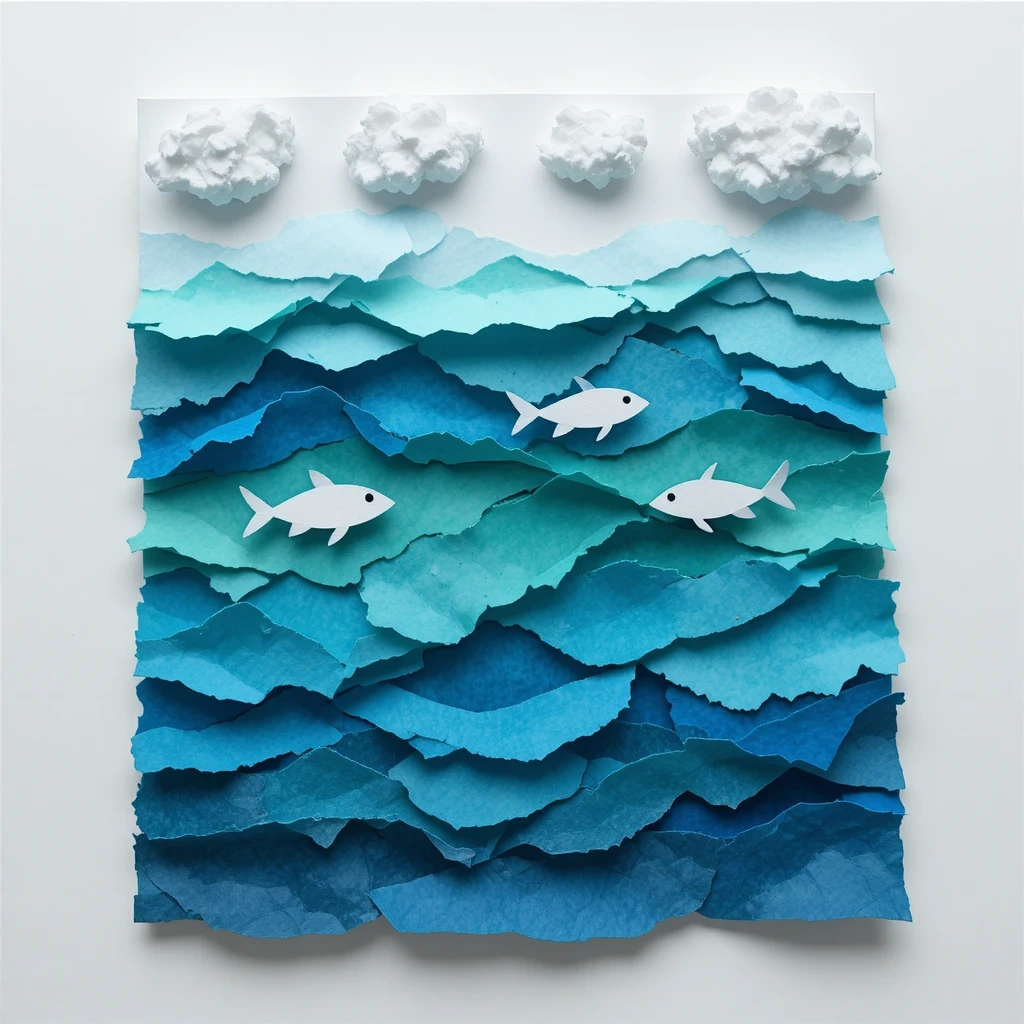
No scissors needed for this one! Tearing paper builds fine motor skills while creating a beautiful layered ocean collage. Every child’s version will look uniquely different.
Materials:
- Blue, green, and white construction paper
- Cardstock background
- Glue stick
- Fish or sea creature stickers (optional)
- Markers
Steps:
- Tear blue and green paper into strips of varying widths.
- Layer them across the cardstock base from bottom to top to create waves.
- Glue each strip down as you go.
- Tear white paper into cloud shapes and glue at the top.
- Add fish stickers or draw sea creatures in the water layers.
Time: 15–20 minutes Difficulty: Easy
12 Summer Preschool Crafts — Idea 12: Paper Bag Kite
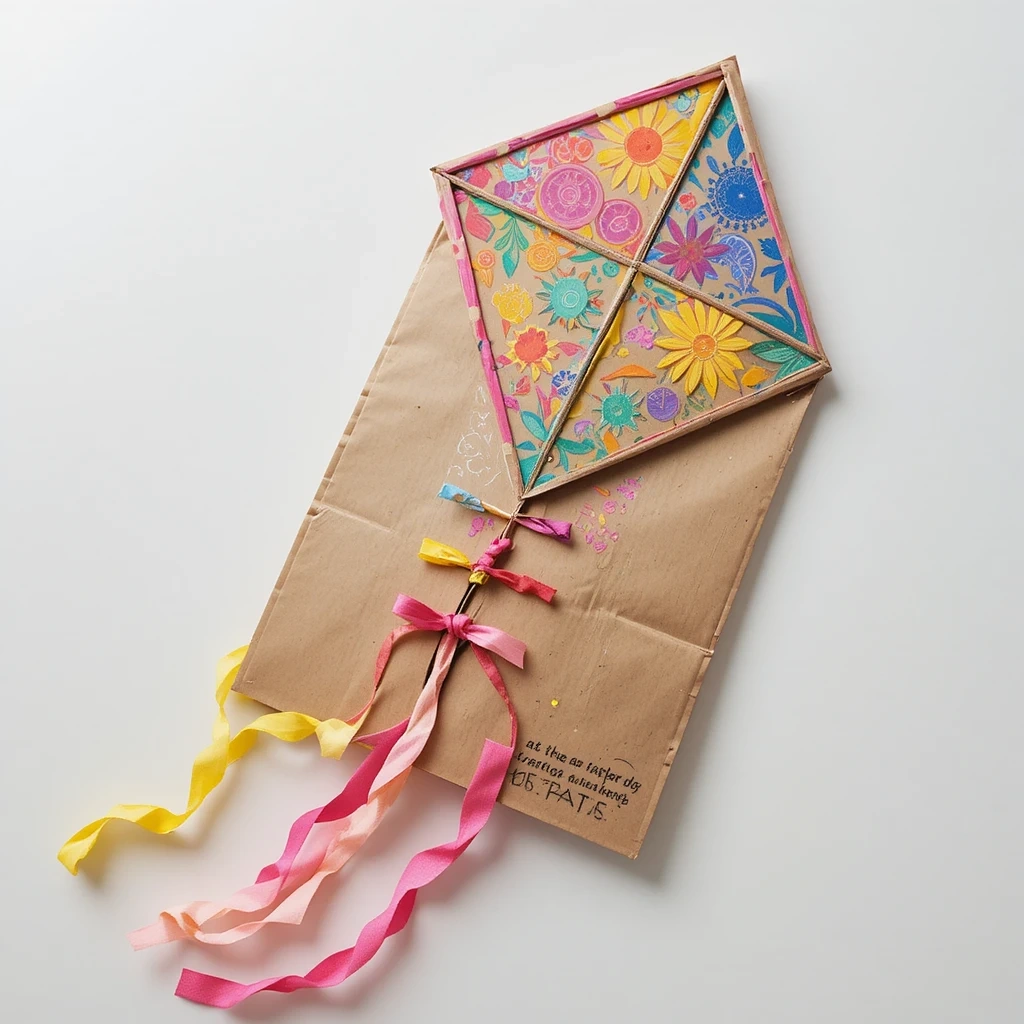
End the list with a craft kids can actually play with! This simple paper bag kite is lightweight and flies beautifully on a breezy summer day. Decorate it first, then take it outside for the fun part.
Materials:
- Small paper lunch bag
- Crepe paper streamers
- Markers or stickers for decorating
- Hole punch
- String or yarn (about 3 feet)
Steps:
- Decorate the outside of the paper bag with markers, stickers, or paint.
- Open the bag fully so air can fill it.
- Punch two holes near the opening, on opposite sides.
- Thread string through both holes and tie securely.
- Attach a longer piece of string to the loop for flying.
- Hold the string and run — the bag fills with air and floats!
Time: 15–20 minutes Difficulty: Easy
Tip: Add extra streamers taped to the bottom of the bag for a colorful tail that waves in the breeze!
Common Mistakes to Avoid
1. Using non-washable paint. Always check that paints are labeled washable or non-toxic before use with preschoolers. Regular acrylic paint is hard to clean off skin and clothes and can cause frustration mid-project.
2. Skipping the drying time. Rushing to the next step before glue or paint dries leads to smearing, tearing, and disappointed kids. Set a timer and use the wait time for cleanup or singing a song.
3. Making it too perfect. Preschool crafts are about the process, not the product. Avoid the urge to fix or redo a child’s work — their version is always the right version.
Tips for Best Results
- Prep materials in advance. Pre-cut shapes, pre-pour paint, and lay out supplies before kids sit down. It keeps the momentum going.
- Cover surfaces. Use a plastic tablecloth or newspaper under all work areas to make cleanup fast and easy.
- Work in small groups. For classroom settings, groups of 3–4 kids per station work best. It reduces waiting and keeps kids engaged.
- Label everything. Write each child’s name on their project before they start — wet paint makes labeling afterward very tricky.
- Celebrate the results. Display finished crafts on a wall, window, or fridge. Kids feel proud when their work is shown off.
- Keep extra supplies nearby. Kids love making multiples — have backup paper plates, bags, and sticks ready so enthusiastic little artists can go again.
FAQs
Q: What age are these crafts best suited for? Most of these projects are designed for children ages 3–6. Some (like rock painting and seashell wind chimes) work well for slightly older preschoolers with adult supervision for specific steps.
Q: How do I make these crafts less messy? Use washable paints, cover surfaces with plastic tablecloths, and keep baby wipes or a damp cloth nearby. Smocks or old t-shirts protect clothing nicely.
Q: Can these crafts be done outdoors? Absolutely! Most of these projects are perfect for outdoor tables or picnic blankets. Working outside also reduces cleanup stress and gives kids more space.
Q: What if I don’t have all the materials listed? Substitution is always okay! Swap construction paper for newspaper, use crayons instead of markers, or replace glue sticks with white school glue. The creative process matters more than exact materials.
Q: How long do these crafts take from start to finish? Most projects take 15–35 minutes of active crafting time. Factor in drying time — usually an additional 15–20 minutes — before handling or displaying the finished piece.
Q: Can kids with limited motor skills do these crafts? Yes! Projects like the torn paper ocean scene, tissue paper jellyfish, and coffee filter butterfly are especially accessible for kids still developing fine motor skills, since they involve tearing, crumpling, and pressing rather than precise cutting.
Conclusion
Summer Preschool Crafts is short — fill it with color, creativity, and crafting memories that last a lifetime. Whether you pick one idea or try them all, these projects are guaranteed to bring smiles, pride, and a whole lot of glitter to your summer days.
Pick your favorite, gather your supplies, and let the little ones lead the way. Happy crafting!