10 Ocean Crafts Preschool Kids Will Absolutely Love
Keeping little ones engaged with hands-on activities is one of the best ways to spark creativity and learning. These ocean crafts preschool ideas are simple, colorful, and perfect for tiny hands.
Whether you’re a teacher planning a under-the-sea theme week or a parent looking for a fun afternoon project, this list has you covered.
1. Paper Plate Jellyfish
Ocean Crafts Preschool Idea #1

A wobbly, colorful jellyfish made from a paper plate and streamers — this one is always a classroom favorite. Kids love watching the ribbon “tentacles” float and sway as they walk around.
Materials:
- 1 paper plate
- Crepe paper streamers (pink, purple, blue)
- Watercolor or tempera paint
- Hole punch
- String or yarn
Steps:
- Paint the bottom of the paper plate in a light purple or pink shade.
- Let it dry completely (about 15 minutes).
- Punch 6–8 holes around the curved edge of the plate.
- Cut streamers into 30–40 cm strips and tie one through each hole.
- Punch a single hole at the top and thread a string for hanging.
Time: 20–30 minutes Difficulty: Easy
Tip: Add googly eyes to give the jellyfish a fun personality!
2. Paper Bag Octopus
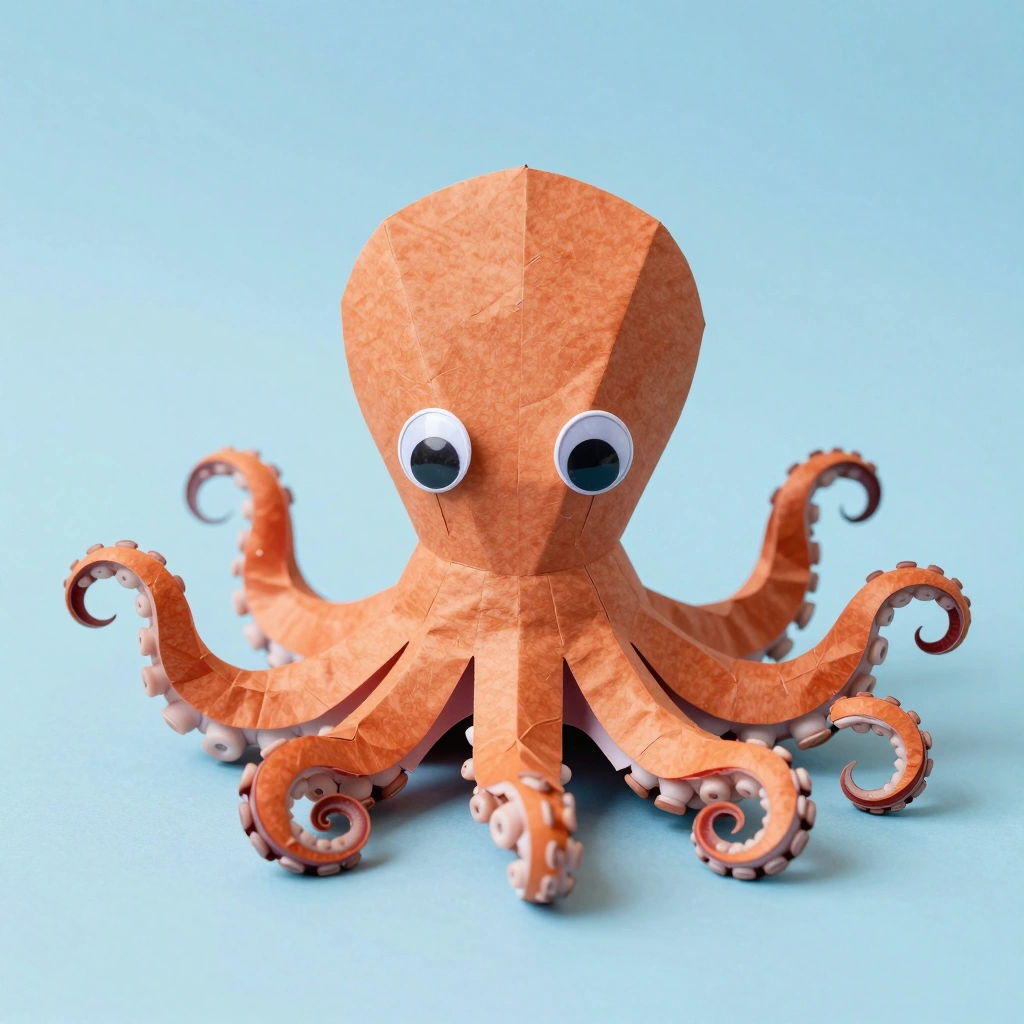
A simple brown paper bag transforms into an adorable eight-armed octopus. This craft builds fine motor skills through cutting and decorating.
Materials:
- 1 brown or colored paper lunch bag
- Scissors
- Googly eyes
- Markers or paint
- Newspaper or tissue paper (for stuffing)
Steps:
- Stuff the top half of the paper bag with crumpled newspaper.
- Twist and secure the middle with a rubber band or tape — this forms the head.
- Cut the bottom half of the bag into 8 equal strips (the tentacles).
- Curl the strips around a pencil to give them a wavy shape.
- Glue on googly eyes and draw a smile with a marker.
Time: 15–20 minutes Difficulty: Easy
Tip: Let kids use markers to draw suction cups on the tentacles for extra detail.
3. Handprint Crab Art
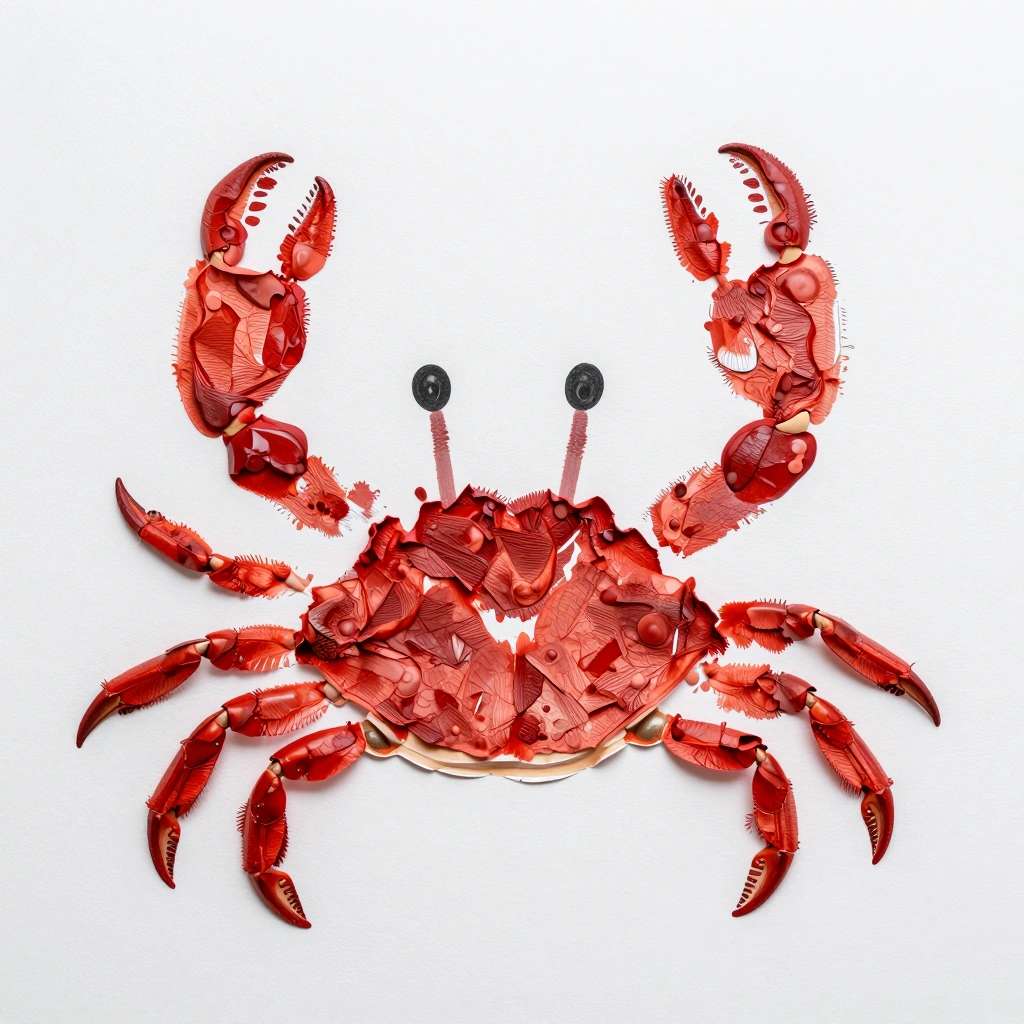
Ocean Crafts Preschool Idea #3
This one is a keepsake craft parents will treasure forever. Using their own handprints, children create a little red crab that looks like it just crawled out of the tide.
Materials:
- Red or orange tempera paint
- White cardstock or thick paper
- Black marker
- Googly eyes (optional)
- Paintbrush
Steps:
- Paint both of the child’s palms red or orange.
- Press both hands side-by-side onto the paper with thumbs pointing outward (these become the claws).
- Allow to dry fully.
- Use a black marker to draw legs, eyes, and a smiling mouth.
- Add googly eyes for a 3D effect if desired.
Time: 10–15 minutes Difficulty: Easy
Tip: Write the child’s name and date on the back — it makes a wonderful memento.
4. Tissue Paper Fish
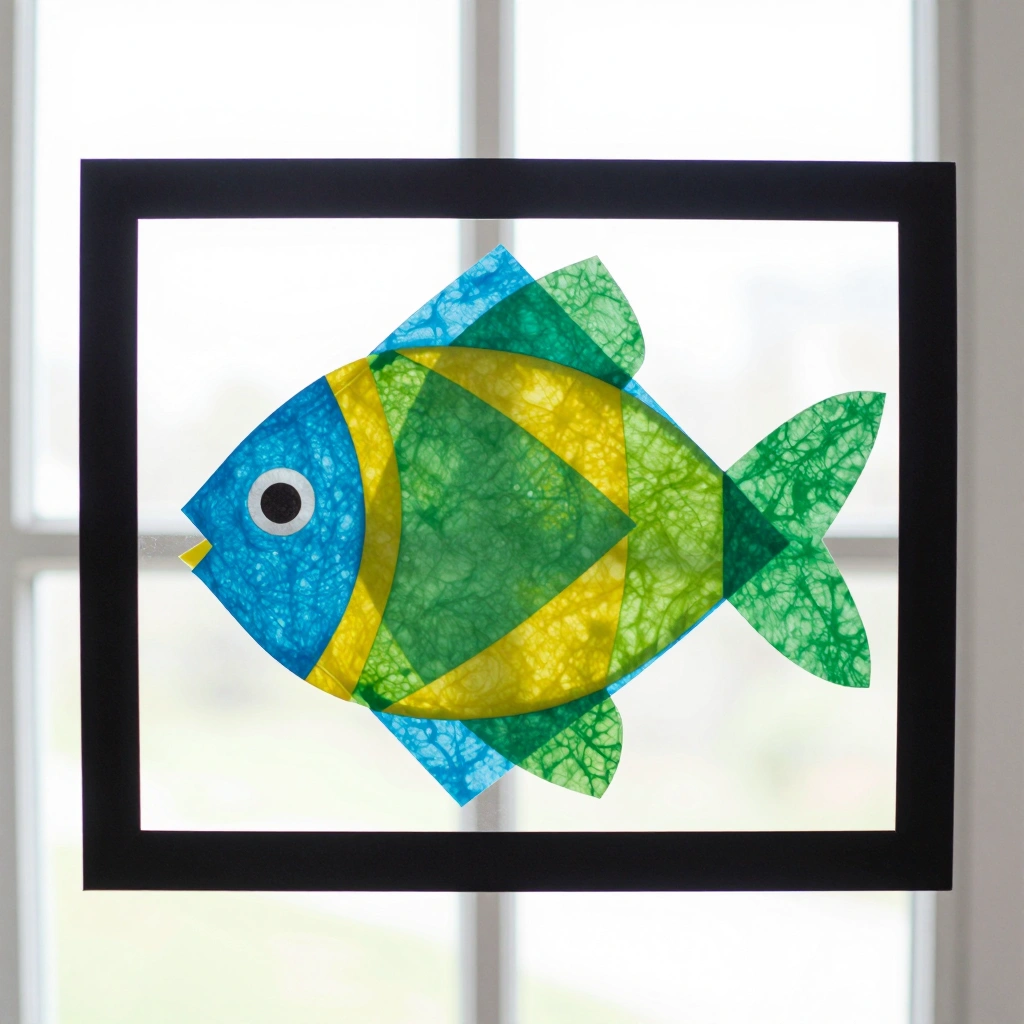
Bright, translucent, and beautiful — this fish craft uses tissue paper layering to create a stunning stained-glass effect when held up to light.
Materials:
- Tissue paper (multiple ocean colors)
- Contact paper or clear adhesive sheet
- Black construction paper
- Scissors
Steps:
- Cut a fish shape from black construction paper and cut out the inside, leaving only the outline frame.
- Stick a piece of clear contact paper behind the frame.
- Let kids tear and press small squares of tissue paper onto the sticky surface.
- Cover the whole inside of the fish shape with overlapping tissue pieces.
- Trim any excess and hang in a sunny window.
Time: 20–25 minutes Difficulty: Easy
Tip: This craft doubles as window decor — the colors glow beautifully in sunlight.
5. Salt Dough Starfish
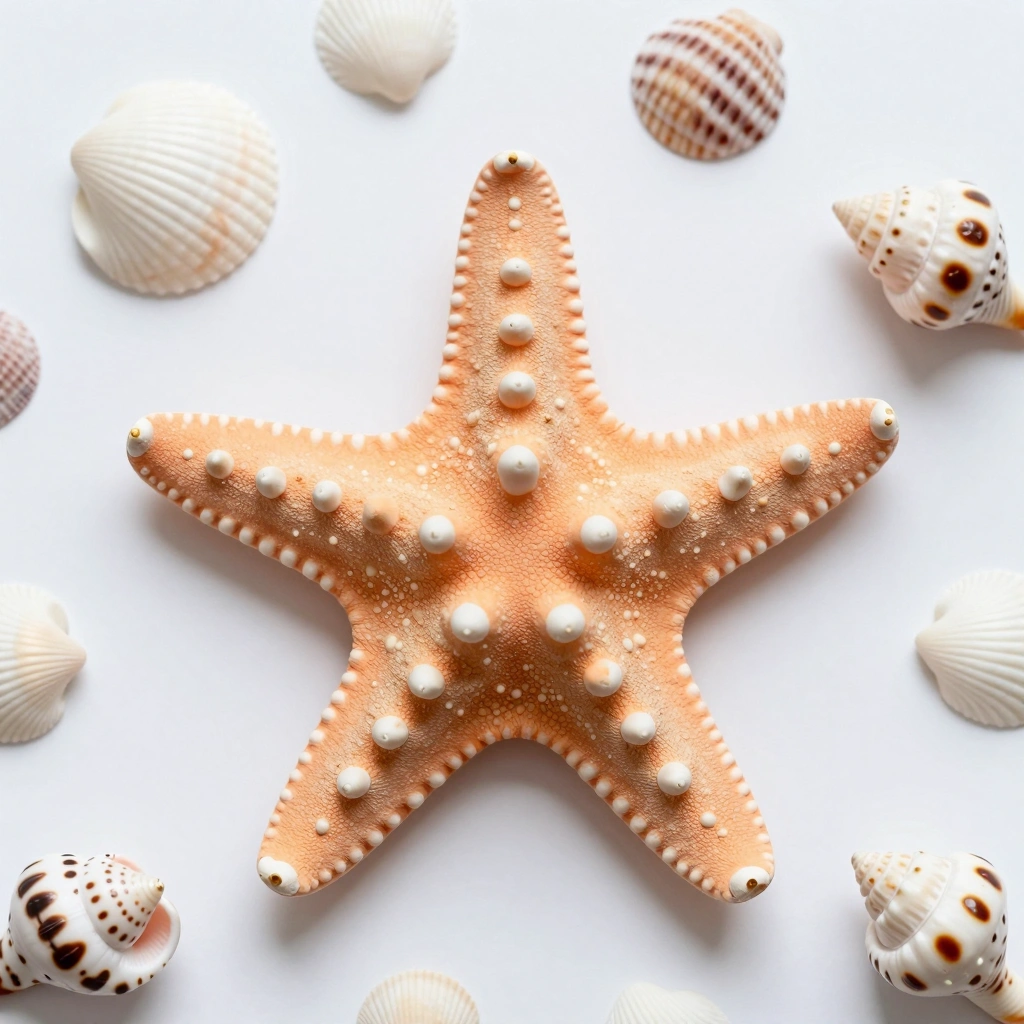
A tactile and sensory-friendly craft that produces a keepsake kids can paint and display. Salt dough is easy to make and safe for little hands.
Materials:
- 1 cup flour
- ½ cup salt
- ½ cup water
- Rolling pin
- Star-shaped cookie cutter (or hand-shape the dough)
- Paint and sealant
Steps:
- Mix flour, salt, and water into a smooth dough.
- Roll out to about 1 cm thickness.
- Use a star cutter or shape by hand into a five-pointed starfish.
- Press a texture pattern using a fork or seashell for detail.
- Bake at 120°C (250°F) for 2–3 hours until hard.
- Once cool, paint in sandy yellow or bright orange and seal with Mod Podge.
Time: 30 minutes (plus baking time) Difficulty: Medium
Tip: Press a real shell into the dough before baking for a beautiful natural texture.
6. Egg Carton Sea Turtle

Ocean Crafts Preschool Idea #6
Recycled egg cartons make the perfect bumpy turtle shell. This craft is eco-friendly and teaches kids about reusing materials.
Materials:
- 1 egg carton cup (single bump)
- Green paint
- Green cardstock or foam sheet
- Googly eyes
- Scissors and glue
Steps:
- Cut a single cup from the egg carton — this is the shell.
- Paint it green and let it dry.
- Cut a turtle head, four flippers, and a small tail from green cardstock.
- Glue the shell on top of the body pieces.
- Stick googly eyes onto the head.
Time: 20–25 minutes Difficulty: Easy
Tip: Use a marker to draw patterns on the shell for a more realistic look.
7. Blue Sensory Bottle Ocean

This calming “ocean in a bottle” is perfect for quiet time and sensory exploration. Kids love shaking it and watching the glitter “waves” swirl.
Materials:
- Clear plastic bottle with tight lid
- Baby oil or clear hair gel
- Blue food coloring
- Fine glitter or small plastic sea creatures
- Strong glue for the lid
Steps:
- Fill the bottle halfway with baby oil.
- Mix blue food coloring with water and fill the rest of the bottle.
- Add a pinch of glitter and a few small plastic fish or shells.
- Seal the lid tightly with strong glue and let dry overnight.
- Tilt and shake to watch the ocean waves move!
Time: 10–15 minutes (plus drying time) Difficulty: Easy
Tip: Seal the lid with hot glue for extra security before giving to young children.
8. Sponge-Painted Whale
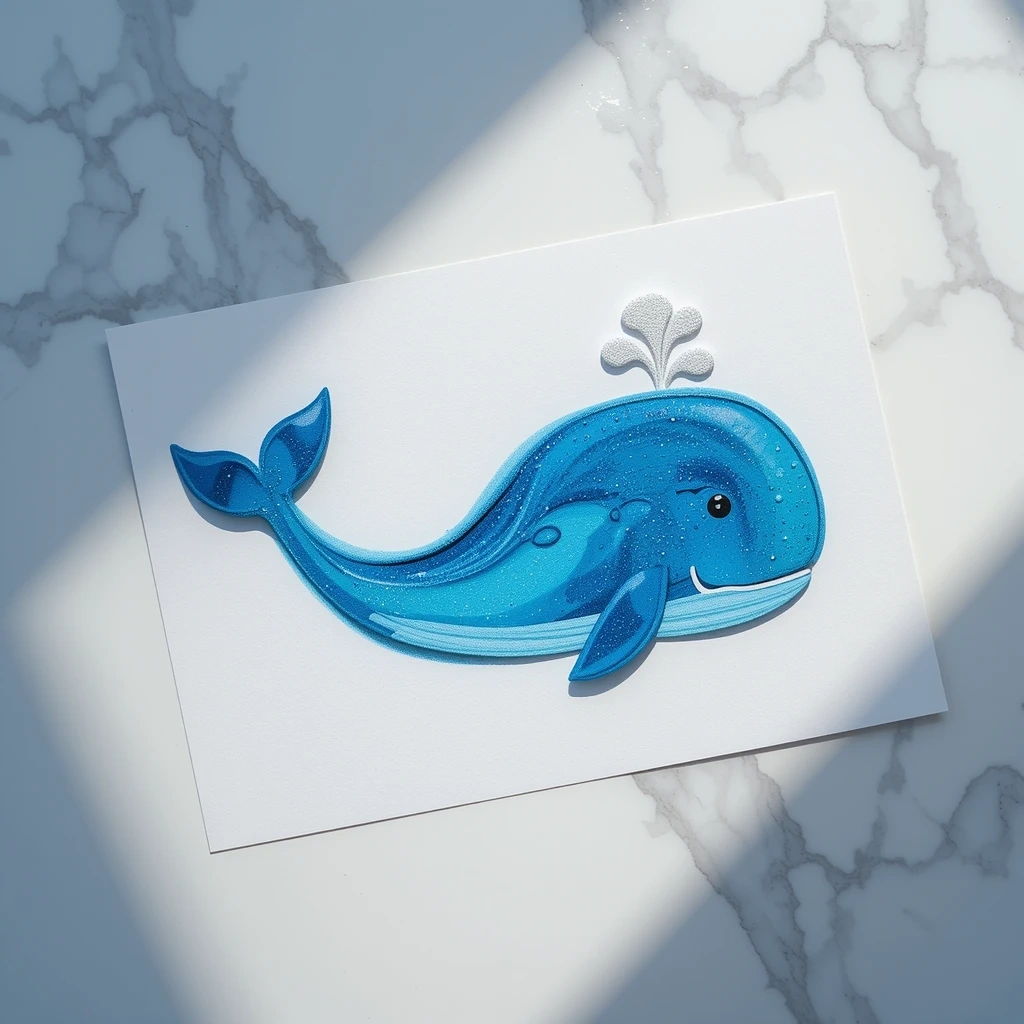
A quick and satisfying painting craft using sponges to create a big, splashy whale. Great for introducing color mixing.
Materials:
- Blue and gray paint
- Sea sponge or cut kitchen sponge
- White cardstock
- White paint for water spout
- Black marker
Steps:
- Dip a large sponge into blue-gray paint and dab a large oval whale shape onto the paper.
- Use a smaller sponge to add a lighter underbelly in pale blue or white.
- Paint a curved tail fin using a brush or sponge edge.
- Add a white spout shape at the top with a thin brush.
- Use a black marker to draw a small eye and smile.
Time: 15–20 minutes Difficulty: Easy
Tip: Try blending blue and gray paint on the sponge before pressing for a realistic whale tone.
9. Paper Strip Seahorse
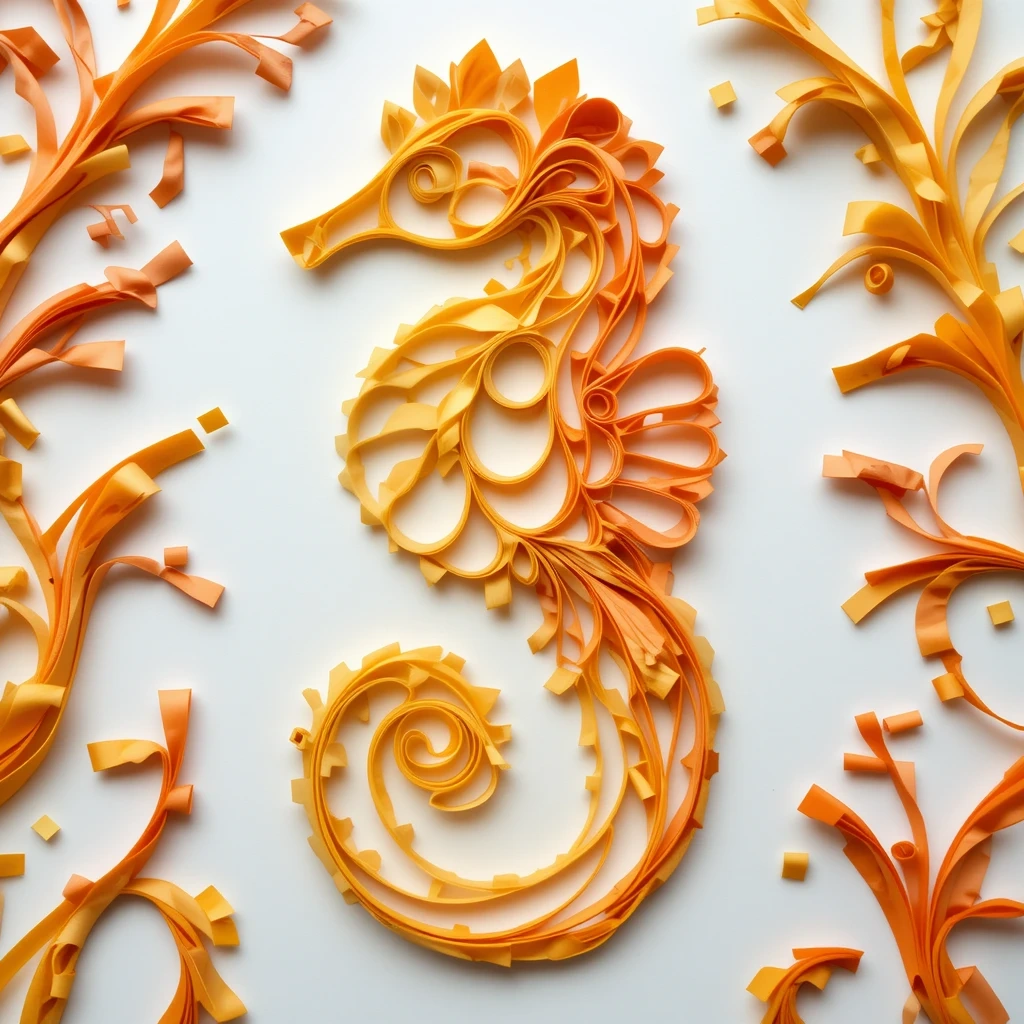
This weaving and folding craft builds fine motor control while producing a beautifully dimensional seahorse. A little more involved but very rewarding.
Materials:
- Colored paper strips (yellow, orange)
- Pencil template of a seahorse outline
- Scissors and glue
- Markers for detail
Steps:
- Draw or print a simple seahorse outline on cardstock.
- Cut paper strips about 1.5 cm wide.
- Fold each strip into a loop and glue it inside the seahorse outline, filling it in with overlapping loops.
- Let dry fully.
- Use a marker to add an eye and facial details on the head.
Time: 25–35 minutes Difficulty: Medium
Tip: Use two shades of yellow and orange alternating for a more colorful effect.
10. Watercolor Ocean Scene Collage
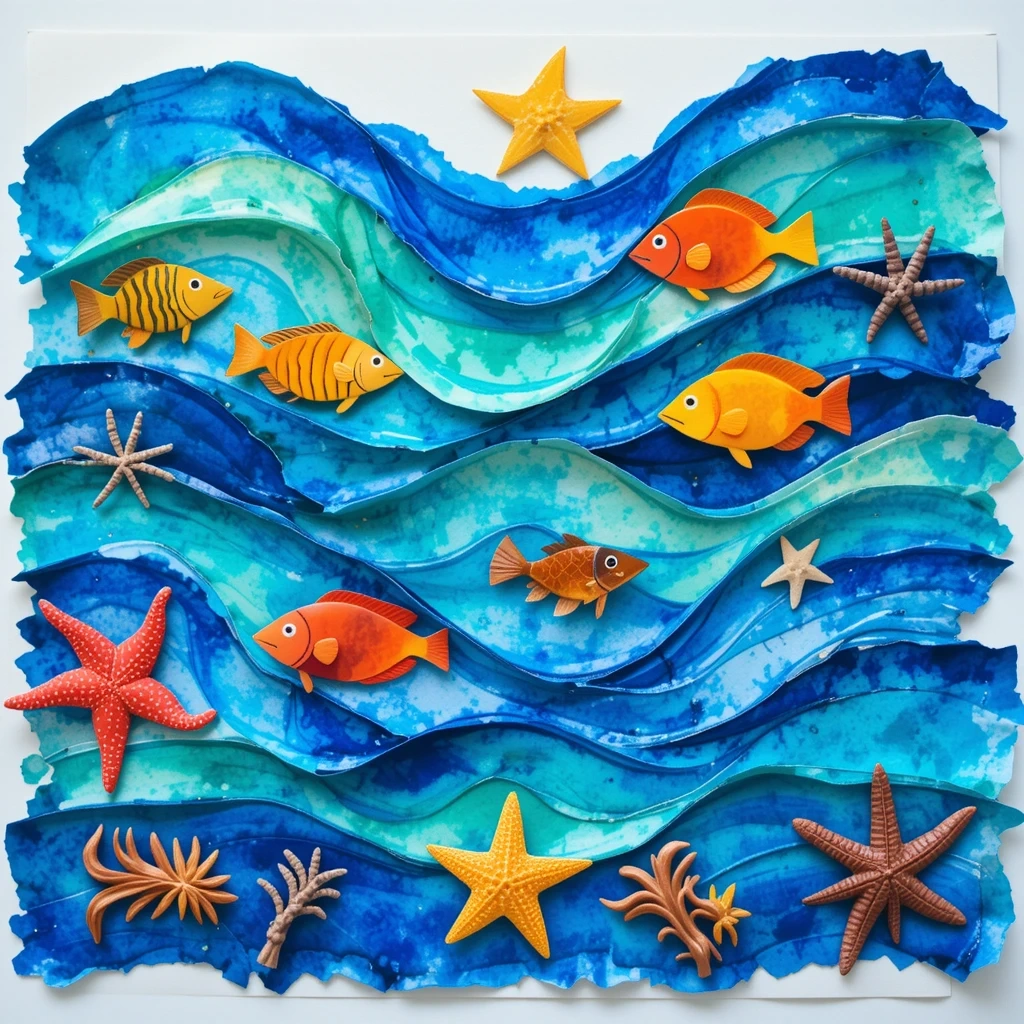
A beautiful final project that brings together all the ocean themes in one piece. Kids create a layered scene using watercolor painting and cut-out shapes.
Materials:
- Watercolor paper
- Blue and green watercolor paints
- Foam stickers or cut paper sea shapes (fish, starfish, shells)
- Black oil pastel or crayon (optional)
- Glue stick
Steps:
- Use blue and green watercolors to paint the entire paper in ocean waves — encourage free brushwork.
- Let it dry completely.
- Cut out or use foam sticker sea creatures and arrange them on the painted background.
- Glue everything down and let dry.
- Optional: outline shapes with black oil pastel for a bold look.
Time: 25–30 minutes Difficulty: Easy
Tip: Add torn tissue paper “coral” at the bottom of the scene for a layered 3D effect.
Common Mistakes to Avoid
- Skipping the drying time — Many of these crafts rely on layers. Rushing through wet paint or glue causes smearing and frustration. Always wait between steps.
- Using too much glue — Young children tend to over-apply glue, which leads to soggy paper and items sliding off. Show them how to use just a small dot.
- Choosing materials that are too fiddly — Tiny beads, small sequins, or complex folding steps are frustrating for preschool-age hands. Stick to larger materials and simple shapes whenever possible.
Tips for Best Results
- Prep materials in advance. Pre-cut shapes and pre-pour paint so children can focus on creating, not waiting.
- Cover the table well. Use a plastic tablecloth or newspaper — ocean crafts often involve paint and glitter.
- Let kids lead. There’s no wrong way to make a fish. Encourage their choices even if the colors aren’t “realistic.”
- Use washable paint. Always opt for washable tempera or watercolor for stress-free cleanup.
- Display finished work. Hang completed crafts on a “Under the Sea” wall display — it motivates children and celebrates their effort.
- Keep a “drying station.” Set aside a flat surface where wet projects can dry undisturbed.
FAQs
Q: What age are these ocean crafts suitable for? Most of these projects are designed for children aged 3–6. A few (like the paper strip seahorse and salt dough starfish) may need more adult guidance for 3-year-olds.
Q: Do I need special art supplies? No. Most crafts use basic supplies like paper plates, tempera paint, tissue paper, and glue — all easy to find at dollar stores or craft shops.
Q: How can I turn these crafts into a classroom theme? Combine several projects into an “Ocean Week” unit. Pair crafts with ocean books, songs, and sensory play bins filled with sand and plastic sea creatures.
Q: Are any of these crafts safe for toddlers under 3? The handprint crab, sponge-painted whale, and tissue paper fish are the most toddler-friendly. Avoid crafts with small parts like googly eyes for children under 3.
Q: Can these be done at home without a lot of space? Absolutely. Most crafts need just a table, a few supplies, and a sheet of newspaper underneath. They’re designed to be apartment- and kitchen-table-friendly.
Q: How long does a typical craft session take with preschoolers? Plan for 20–30 minutes per craft, including setup and cleanup. Kids’ attention spans vary, so having materials ready before they sit down makes a big difference.
Conclusion
The Ocean Crafts Preschool is endlessly inspiring for little ones — and these crafts prove it. From wiggly jellyfish to glittery sensory bottles, each project offers a fun, low-pressure way for preschoolers to explore their creativity.
Pick one to try this weekend, or turn several into a full under-the-sea theme week. The mess is worth it — and the smiles are absolutely priceless. Dive in!