12 Creative Camping Crafts for Toddlers Ideas for Preschool Fun
Getting little ones excited about nature starts with creativity. Whether you’re heading to a campsite or setting up a backyard adventure, keeping tiny hands busy makes all the difference.
These camping crafts for toddlers ideas are simple, mess-friendly, and packed with outdoor magic. No fancy supplies needed — just a spark of imagination and a few basic materials.
1. Pinecone Bird Feeder
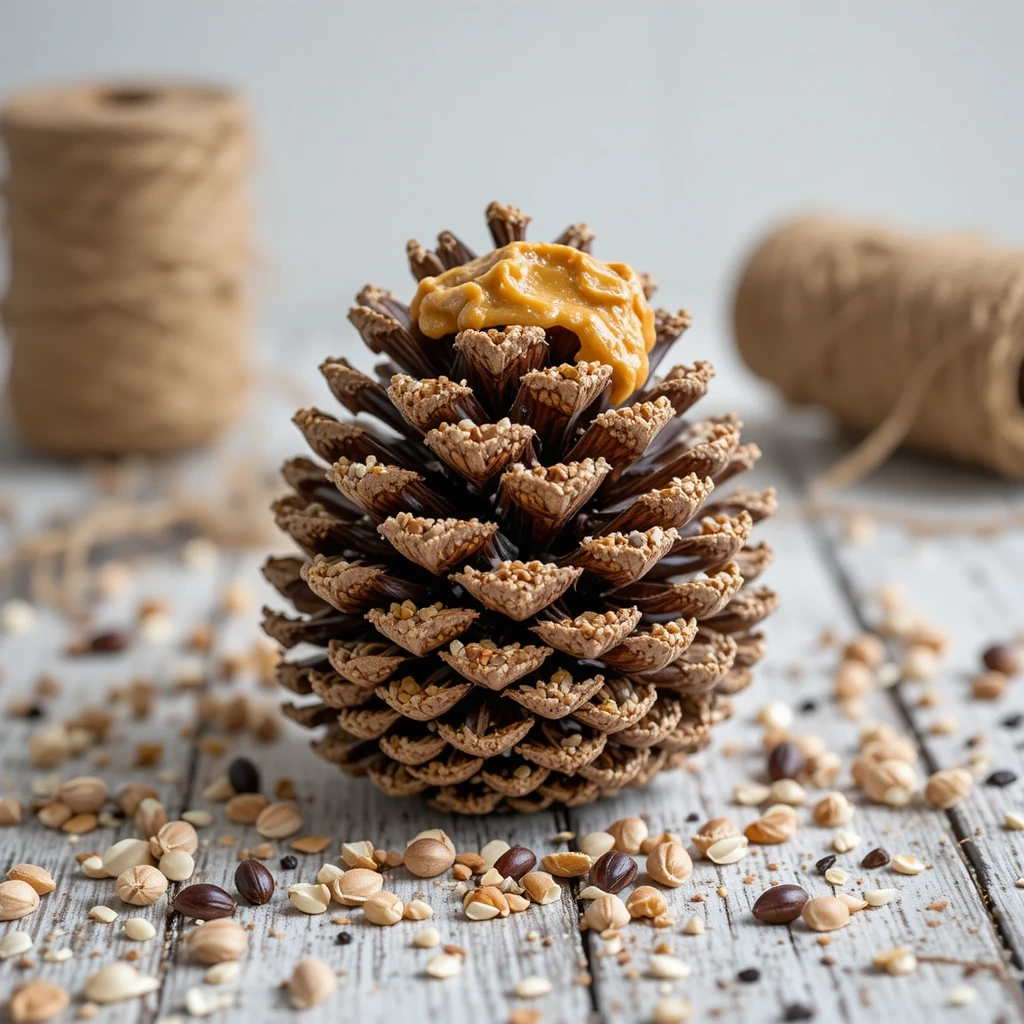
A sweet and purposeful craft that connects toddlers with wildlife. Little ones love rolling the pinecone and watching birds visit later.
Materials:
- Large pinecone
- Peanut butter or sunflower seed butter
- Birdseed
- String or twine
Steps:
- Tie a long piece of string around the top of the pinecone.
- Spread a thick layer of peanut butter all over the pinecone using a spoon or butter knife.
- Roll the coated pinecone in a tray of birdseed until fully covered.
- Hang it from a tree branch near your campsite.
Time: 10–15 minutes Difficulty: Easy
Tip: Use a paper plate as your birdseed tray to keep things tidy.
2. Leaf Rubbings Art
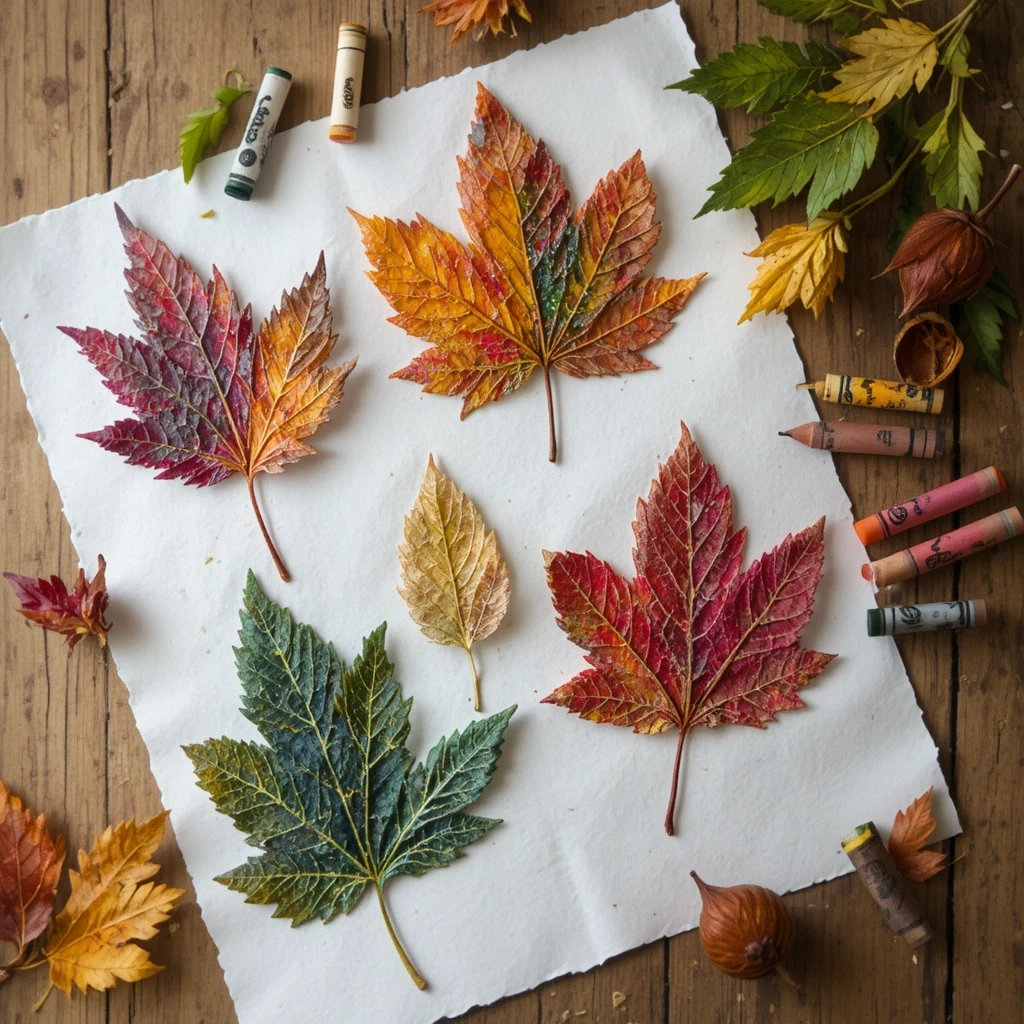
One of the most classic camping crafts for toddlers — and for good reason. It’s mess-free, educational, and produces beautiful results every time.
Materials:
- Fresh leaves of different shapes and sizes
- White paper
- Crayons (peeled)
Steps:
- Collect a variety of leaves from around the campsite.
- Place a leaf vein-side up on a flat surface.
- Lay the paper on top of the leaf.
- Rub the side of a peeled crayon gently over the paper.
- Watch the leaf’s shape and texture appear like magic.
Time: 10–20 minutes Difficulty: Easy
Tip: Layer multiple leaves and colors on the same sheet for a forest-themed masterpiece.
3. Rock Painting
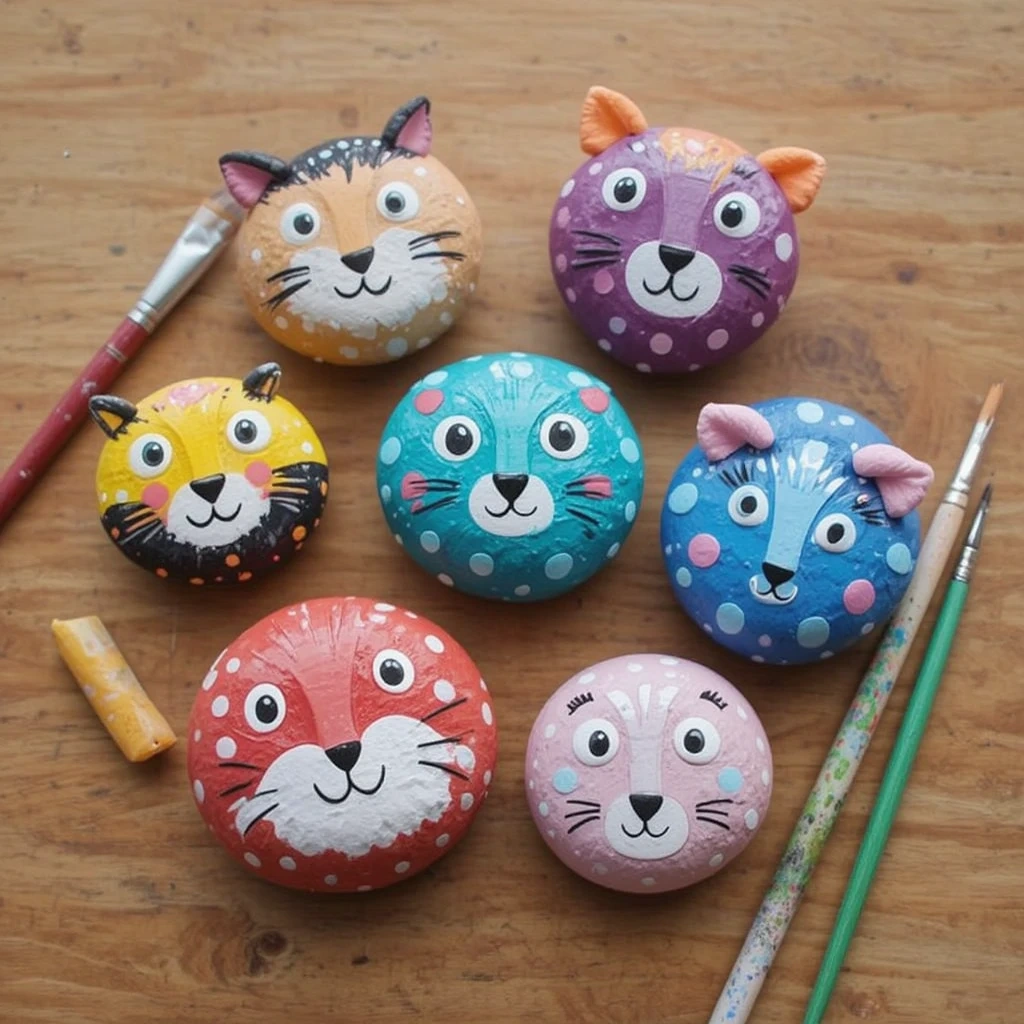
Smooth campsite rocks become tiny canvases. Toddlers can decorate them as animals, bugs, or just swirls of color — then leave them as trail treasures.
Materials:
- Smooth, flat rocks
- Washable acrylic paint or tempera paint
- Paintbrushes (thick and thin)
- Sealant spray (optional, for adults only)
Steps:
- Collect smooth rocks and rinse off any dirt.
- Let the rocks dry completely.
- Paint a base color and let dry for 5 minutes.
- Add details like eyes, spots, or patterns.
- Let fully dry before handling.
Time: 20–30 minutes Difficulty: Easy
Tip: Bring a few toothpicks for toddlers to scratch simple designs into wet paint.
12 Camping Crafts for Toddlers ideas: Nature Stick Weaving
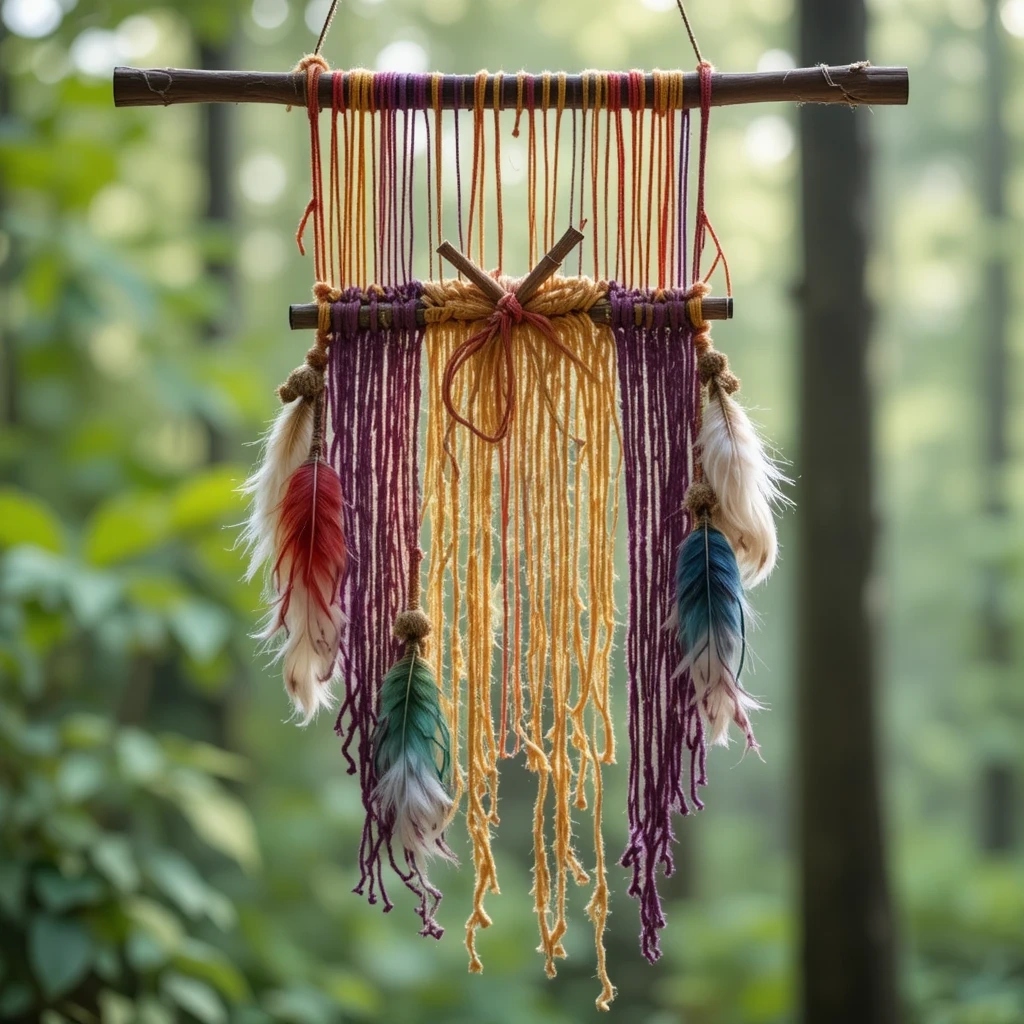
Turn a fallen branch into a loom! This tactile craft builds fine motor skills while introducing toddlers to weaving in a playful way.
Materials:
- Two straight sticks of similar length
- Colorful yarn or ribbon
- Feathers, leaves, or small flowers (optional)
Steps:
- Cross the two sticks in an “X” shape and wrap yarn around the center several times to hold.
- Begin wrapping yarn over and under each stick arm alternately.
- Switch colors whenever you like by tying on a new piece.
- Tuck in feathers or small leaves as you go.
- Hang from a tent or tree when finished.
Time: 15–25 minutes Difficulty: Easy–Medium
Tip: Pre-cut yarn into manageable lengths (about 12 inches) before the craft begins.
5. Paper Bag Campfire Puppet
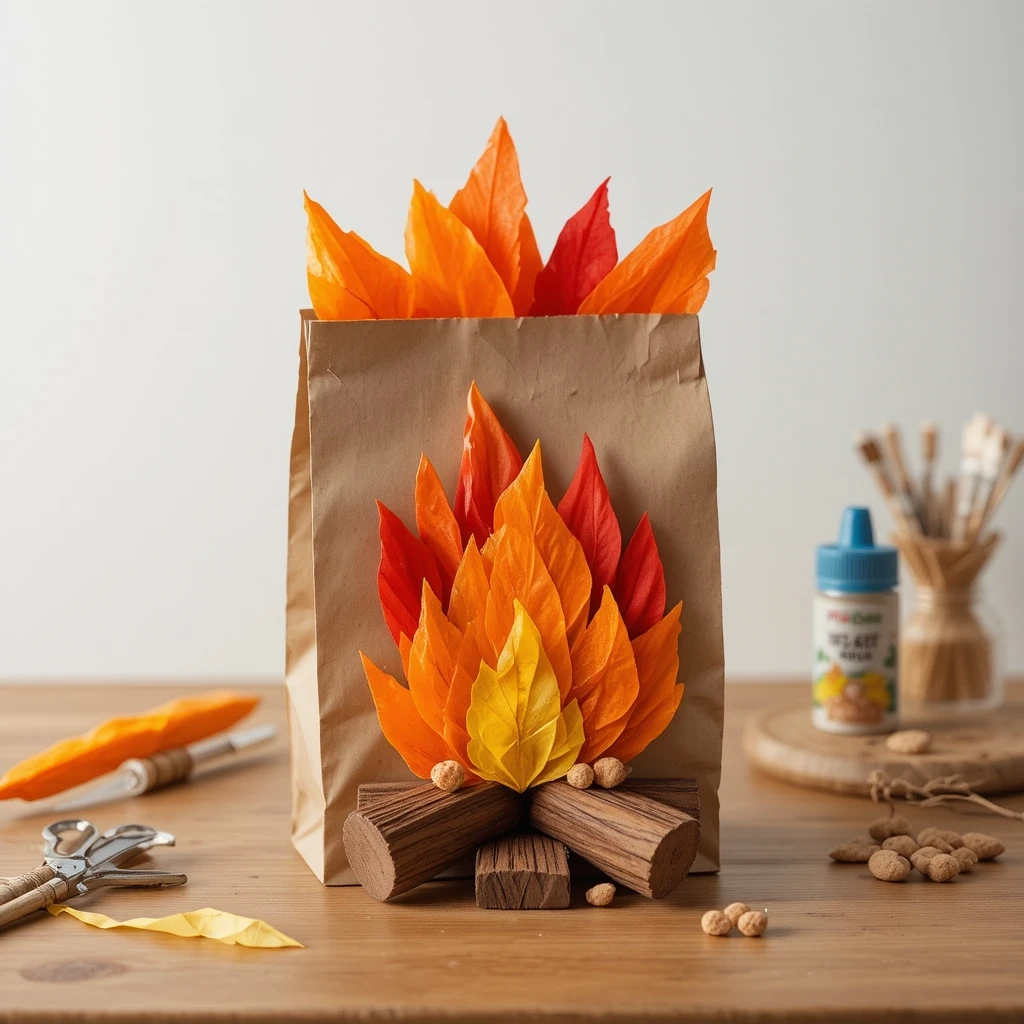
This adorable craft doubles as imaginative play. Toddlers make their own campfire puppet and then use it to act out camping stories.
Materials:
- Brown paper bag
- Orange, red, and yellow tissue paper or construction paper
- Glue stick
- Black marker
Steps:
- Tear or cut tissue paper into flame shapes.
- Glue the flame pieces inside the open end of the paper bag.
- Draw small logs at the base with a black marker.
- Let dry, then slip your hand inside and wiggle the “fire.”
Time: 10–15 minutes Difficulty: Easy
Tip: Add crinkled brown paper inside the bag to look like glowing embers.
6. Nature Collage on Cardboard
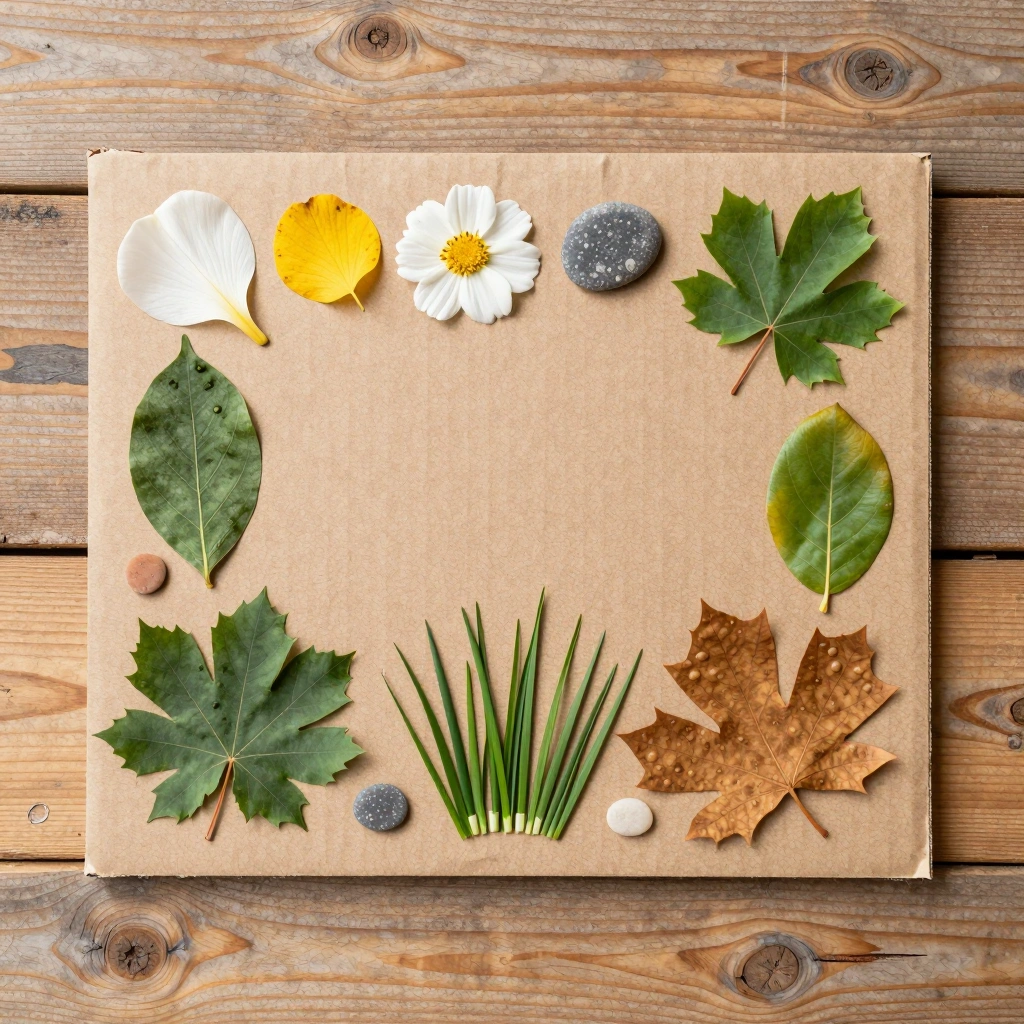
Let toddlers gather their favorite bits of nature and glue them into a one-of-a-kind artwork. Every collage tells a story of that specific camping day.
Materials:
- Cardboard pieces or thick cardstock
- White glue or glue stick
- Collected nature items: petals, leaves, grass, small pebbles, bark bits
Steps:
- Head out for a short nature walk and collect items in a small bag.
- Spread glue generously over the cardboard.
- Press collected items onto the glue in any arrangement.
- Let dry flat for at least 30 minutes.
Time: 20–30 minutes (plus drying time) Difficulty: Easy
Tip: Press a sheet of wax paper over the collage and weigh it down while drying to keep flat.
7. Starry Night Paper Plate
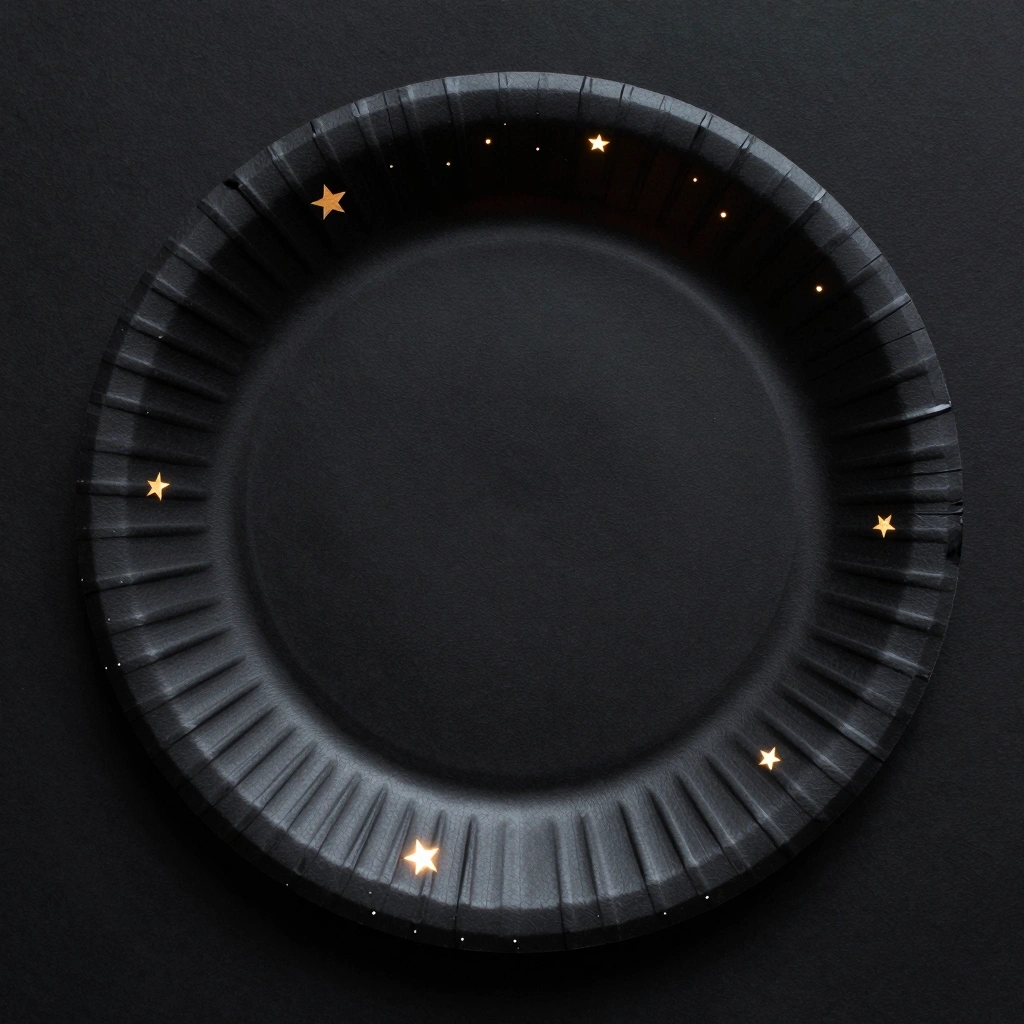
A nighttime-inspired craft that sparks conversations about the stars. Toddlers poke holes to create their own constellation art.
Materials:
- White paper plate
- Black paint or a black marker
- A toothpick or unsharpened pencil
- Flashlight (for the reveal!)
Steps:
- Paint the front of the paper plate black. Let dry.
- Use a toothpick (with adult help) to poke small holes in star patterns.
- Hold the plate up to a flashlight or sunlight.
- Watch the light shine through like stars!
Time: 15–20 minutes Difficulty: Easy
Tip: Draw dot patterns first with chalk so toddlers know where to poke.
8. Twig Photo Frame
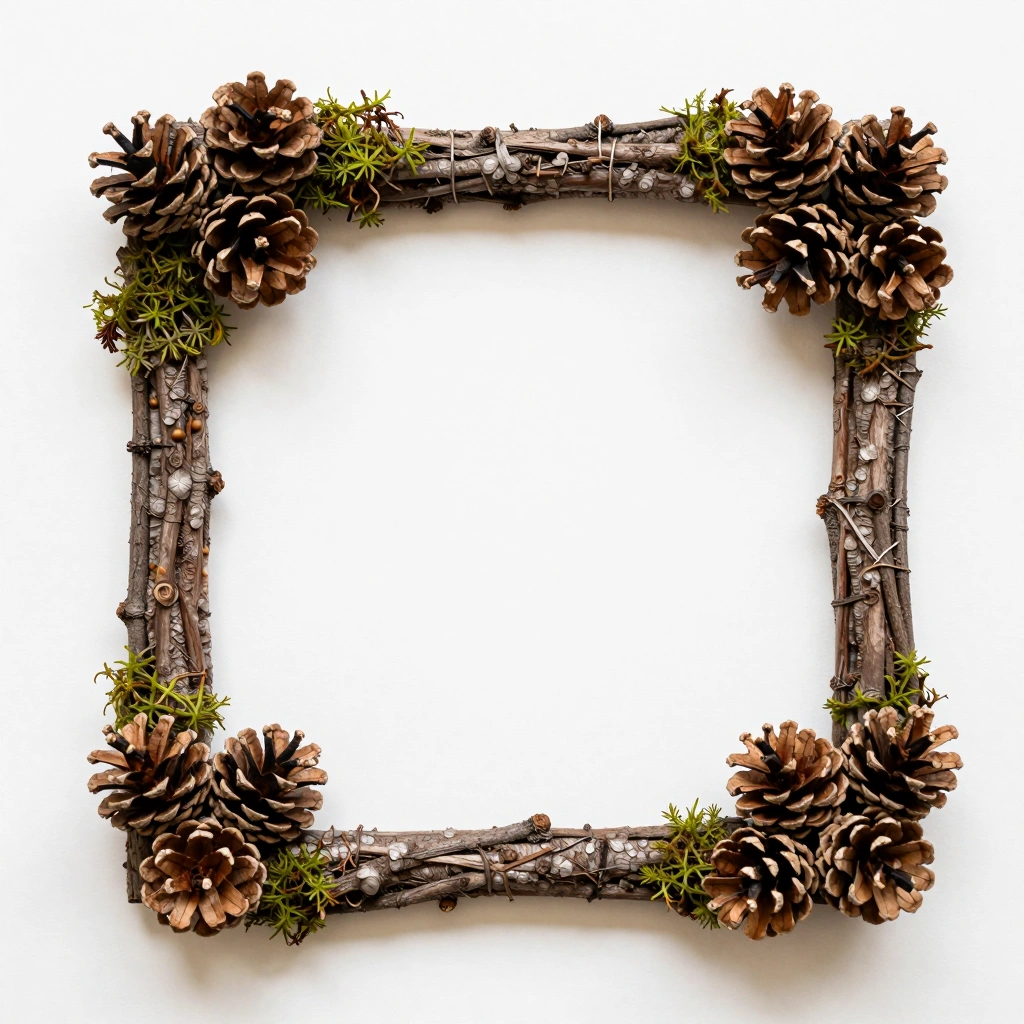
A rustic keepsake frame made from nature’s materials. Glue in a printed camping photo or a drawing for a sweet souvenir toddlers will treasure.
Materials:
- 4 similar-sized straight twigs
- Hot glue gun (adult use only)
- Craft glue (for toddlers)
- Decorations: small pinecones, berries, moss
Steps:
- Lay twigs in a square frame shape.
- Adult uses hot glue to secure the corners.
- Let toddler glue on decorations with craft glue.
- Let dry fully before adding a photo or drawing inside.
Time: 20–30 minutes Difficulty: Easy–Medium
Tip: Press the frame under a heavy book overnight to keep it flat and secure.
Camping Crafts for Toddlers: Paper Cup Firefly Lantern
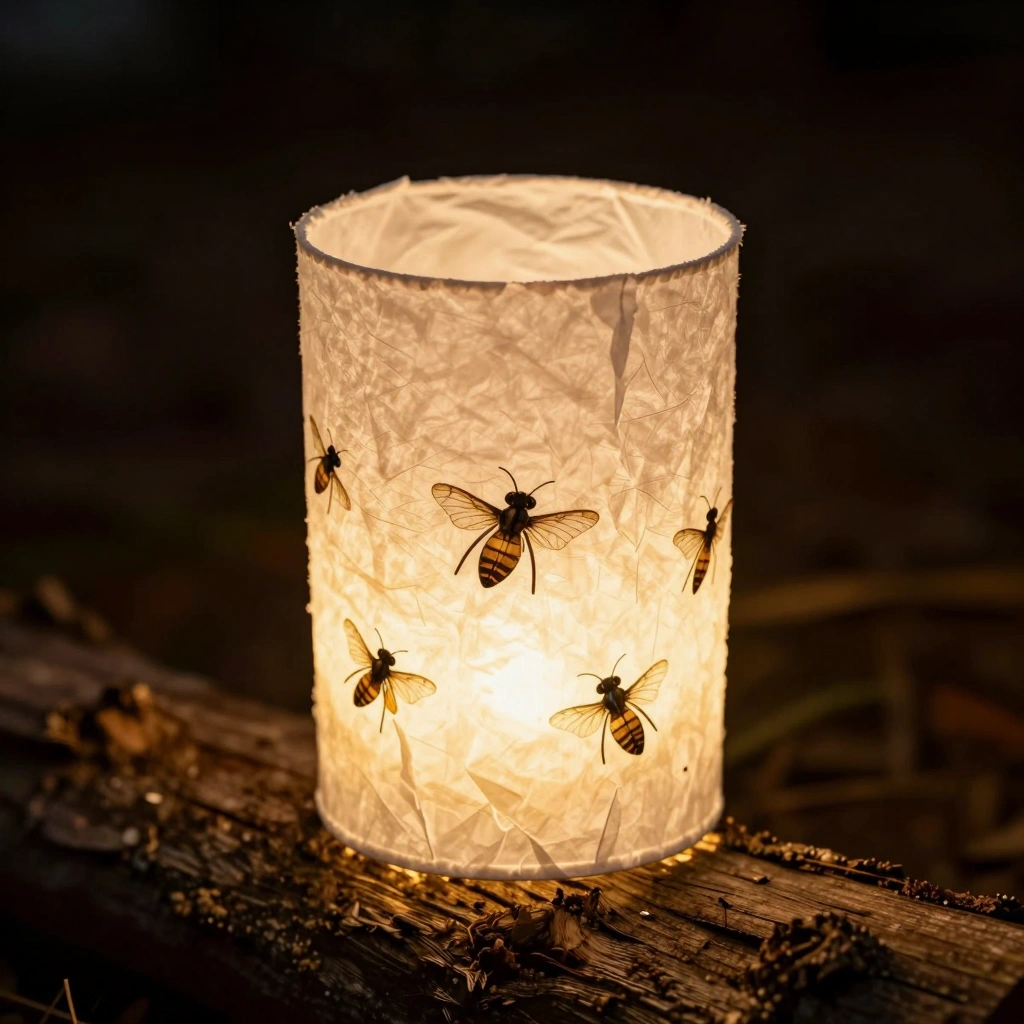
Bring the magic of fireflies to your campsite with this glowing lantern craft. It looks especially beautiful after dark.
Materials:
- White paper cup
- Yellow and green tissue paper
- Battery-operated tea light
- Black marker
Steps:
- Draw simple firefly wings and dots on the outside of the cup with a black marker.
- Tear small pieces of yellow and green tissue paper.
- Apply glue inside the cup and press tissue pieces against the walls.
- Place a battery-operated tea light inside.
- Turn off the camp lights and enjoy the glow!
Time: 15–20 minutes Difficulty: Easy
Tip: Use a sharp pencil to poke a few extra holes in the cup for extra light sparkle.
10. Butterfly Leaf Craft
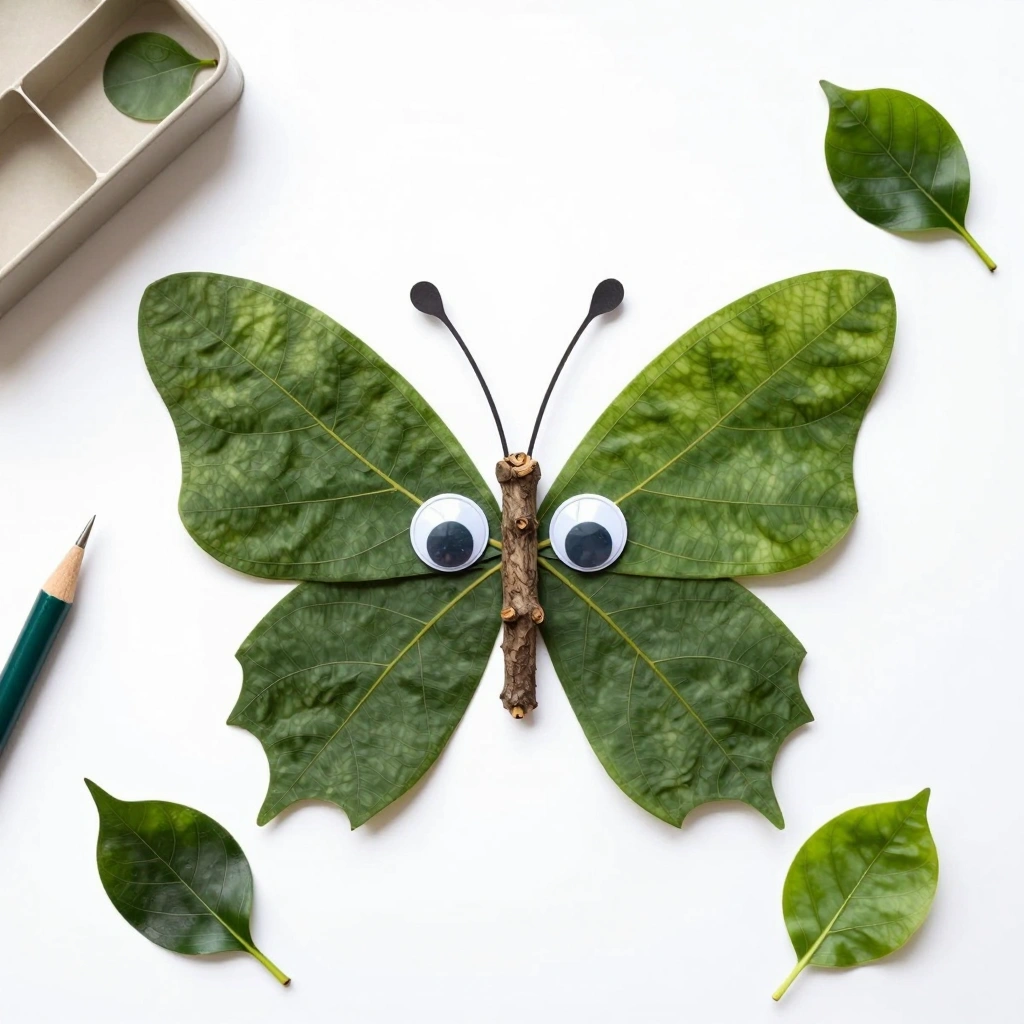
Two leaves become butterfly wings in minutes. This craft celebrates the beauty of nature and takes barely any prep at all.
Materials:
- 2 large, symmetrical leaves
- A thin twig (for the body)
- Glue or tape
- Googly eyes
- Construction paper scraps
Steps:
- Arrange two leaves side by side with stems touching — these are the wings.
- Lay a thin twig down the center as the butterfly’s body.
- Glue everything to a sheet of paper.
- Add googly eyes at the top of the twig.
- Cut antennae from construction paper and glue above the eyes.
Time: 10–15 minutes Difficulty: Easy
Tip: Collect leaves while they’re still fresh so they lay flat without curling.
11. Handprint Campfire Art
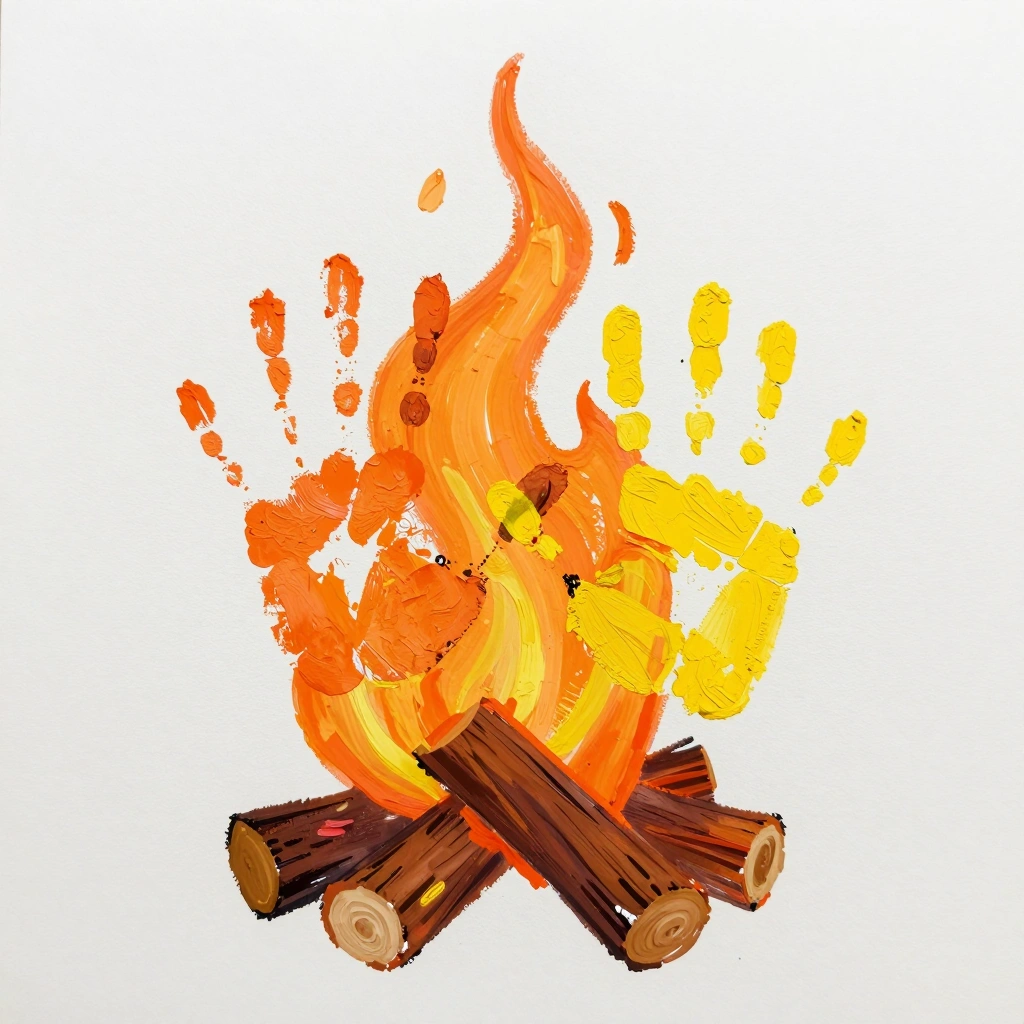
A precious keepsake that captures this moment in time. Toddler handprints become the flames of a cozy campfire scene.
Materials:
- White paper or cardstock
- Red, orange, and yellow washable paint
- Brown and black paint or markers
- Paintbrush
Steps:
- Paint toddler’s hand in a mix of red, orange, and yellow.
- Press firmly onto the paper with fingers pointing up — this is the flame.
- Repeat 2–3 times slightly overlapping.
- Once dry, paint brown logs at the base using a brush.
- Add black marker details for rocks around the fire.
Time: 15–20 minutes Difficulty: Easy
Tip: Write the date and child’s age on the back — this is a craft you’ll want to keep!
12. Camping Crafts for Toddlers: Popsicle Stick Tent
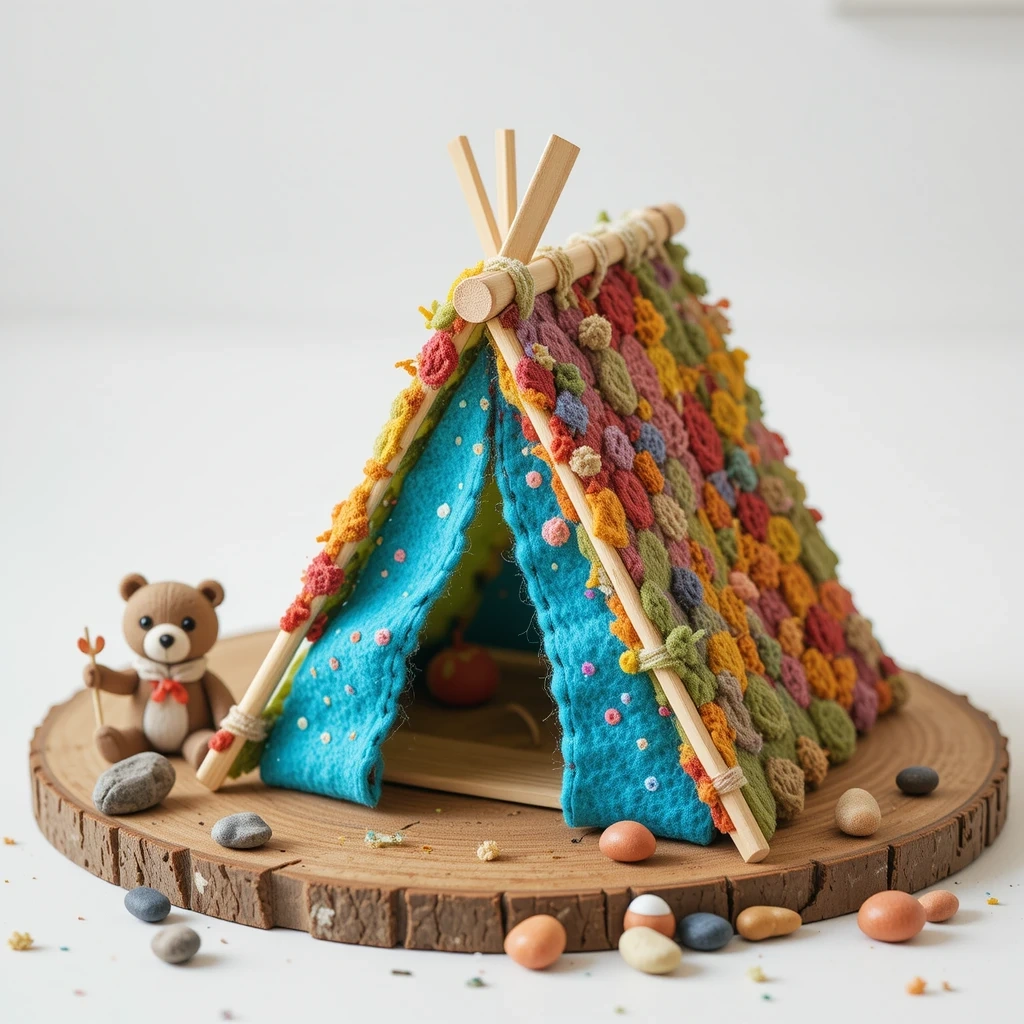
A fun miniature build that sparks imaginative play. Toddlers love creating a tiny campsite for their toy animals or figures.
Materials:
- 6–8 popsicle sticks
- White glue or craft glue
- A small triangle of felt or fabric (for the tent covering)
- Markers for decoration
Steps:
- Glue two popsicle sticks into an “A” frame shape. Let dry.
- Repeat to make a second “A” frame.
- Connect the two frames with a horizontal stick across the top (the ridge pole).
- Let dry fully.
- Drape a triangle of felt over the top and glue into place.
- Decorate with markers.
Time: 20–30 minutes (plus drying time) Difficulty: Medium
Tip: Use binder clips to hold the sticks in place while the glue dries.
Common Mistakes to Avoid
1. Using non-washable paint with toddlers Always choose washable, non-toxic paint. Campsite cleanup is limited — you don’t want permanent color on little hands, clothes, or gear.
2. Skipping the drying time Rushing crafts before glue or paint dries leads to messy disasters. Build in a rest period or move on to a second activity while the first one dries.
3. Collecting protected natural items Some plants, feathers, and flowers are protected in certain parks. Always check campsite rules before collecting nature items, and stick to fallen leaves, sticks, and rocks.
Tips for Best Results
- Pack a dedicated craft kit in a small ziplock bag before you leave home. Include glue, scissors, crayons, and paper — the nature supplies come from the campsite.
- Choose crafts that match the age. Kids under 2 do best with painting and collages. Ages 3–4 can handle simple building and weaving with guidance.
- Work on a picnic blanket or table to create a defined craft zone and contain the mess.
- Let toddlers lead. The goal is process, not perfection. If their campfire looks abstract, that’s great.
- Double up on materials. Toddlers often want to do the same craft twice. Bring extras of everything.
- Set up crafts during quieter times — after lunch or before the campfire — when energy is lower and attention spans are a bit longer.
FAQs
Q: What age are these camping crafts suitable for? Most of these crafts are designed for toddlers aged 2–5 with adult supervision. Simpler crafts like leaf rubbings and rock painting work well for ages 2+, while stick weaving and popsicle stick tent suit ages 4–5.
Q: Do I need to bring all supplies from home? For most crafts, you only need a few basic supplies from home (glue, paper, paint). The rest — leaves, sticks, rocks, and pinecones — come directly from nature around your campsite.
Q: Are these crafts safe for toddlers? Yes, when made with non-toxic, washable materials and adult supervision. Avoid small pieces that could be swallowed, and let adults handle any hot glue guns or sharp tools.
Q: What if it rains on our camping trip? Many of these crafts can be done inside a tent or under a shelter. Pack supplies in a waterproof bag so they’re ready no matter the weather.
Q: How do I carry finished crafts home safely? Bring a few sheets of wax paper to layer between flat crafts, and a small cardboard box or folder to keep artwork from getting crushed in your bag.
Q: Can I do these crafts in a backyard instead of a real campsite? Absolutely! A backyard camping setup works just as well. The nature materials can come from your garden, a park walk, or even a bowl of collected items from a craft store.
Conclusion
You don’t need a big budget or hours of prep to create memorable outdoor moments with your little one. These simple ideas prove that the best toddler crafts come straight from nature.
Pick one, pack the supplies, and let the adventure begin. Your toddler won’t just make something cute — they’ll make a memory that lasts long after the campfire burns out.