12 Unique Animal Crafts Ideas That Spark Imagination
Crafting with an animal theme is one of the most enjoyable ways to spark creativity — for kids and adults alike. Whether you’re planning a rainy-day activity or a classroom project, these 12 animal crafts ideas have something for everyone.
From simple paper folding to painted rocks, each project uses everyday materials and takes very little time. Let’s dive in!
1. Paper Plate Lion — A Classic Animal Crafts Idea

This cheerful lion is a go-to for toddlers and preschoolers. Using a paper plate as the face, you build the mane with colorful paper strips and finish with painted or drawn features.
Materials:
- Paper plate
- Yellow, orange, and brown construction paper
- Glue stick
- Googly eyes
- Markers or paint
Steps:
- Cut strips of yellow and orange construction paper for the mane.
- Glue strips around the edge of the paper plate.
- Stick on googly eyes and draw a nose and mouth with marker.
- Cut two small round ears from brown paper and attach to the back top.
- Time: 15–20 minutes
- Difficulty: Easy
💡 Tip: Use curled paper strips (wrap around a pencil) for a fluffier mane effect.
2. Painted Rock Ladybugs
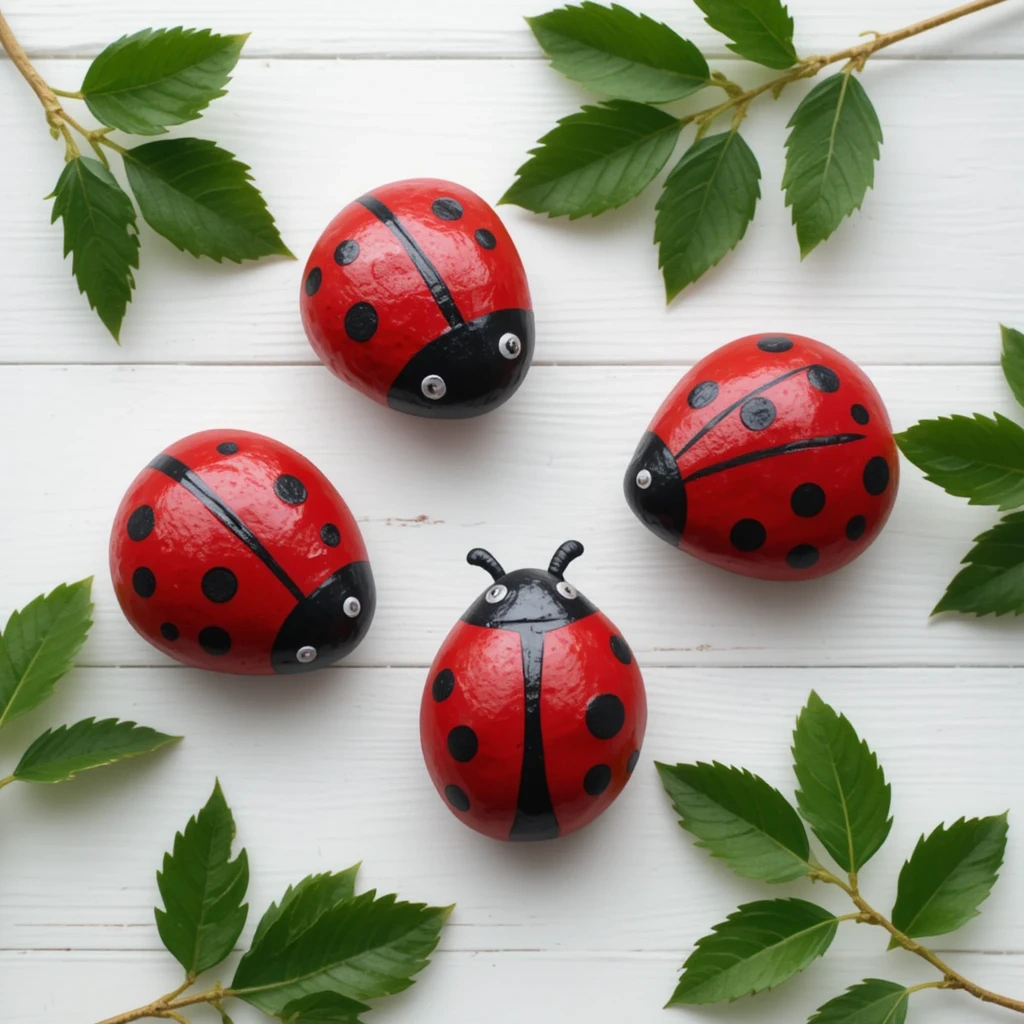
Smooth rocks transform into adorable ladybugs with just a few coats of paint. These make great garden decorations or desk ornaments and are perfect for all ages.
Materials:
- Smooth, oval rocks
- Red and black acrylic paint
- Paintbrushes
- Black permanent marker
- Clear sealant spray (optional)
Steps:
- Paint the entire rock red. Let it dry completely.
- Paint a black half-circle on one end for the head.
- Draw a line down the center of the body with a marker.
- Add black dots on both sides of the body.
- Seal with clear spray if using outdoors.
- Time: 20–30 minutes (plus drying time)
- Difficulty: Easy
💡 Tip: Use a pencil eraser dipped in black paint to stamp perfect round dots.
3. Egg Carton Caterpillar
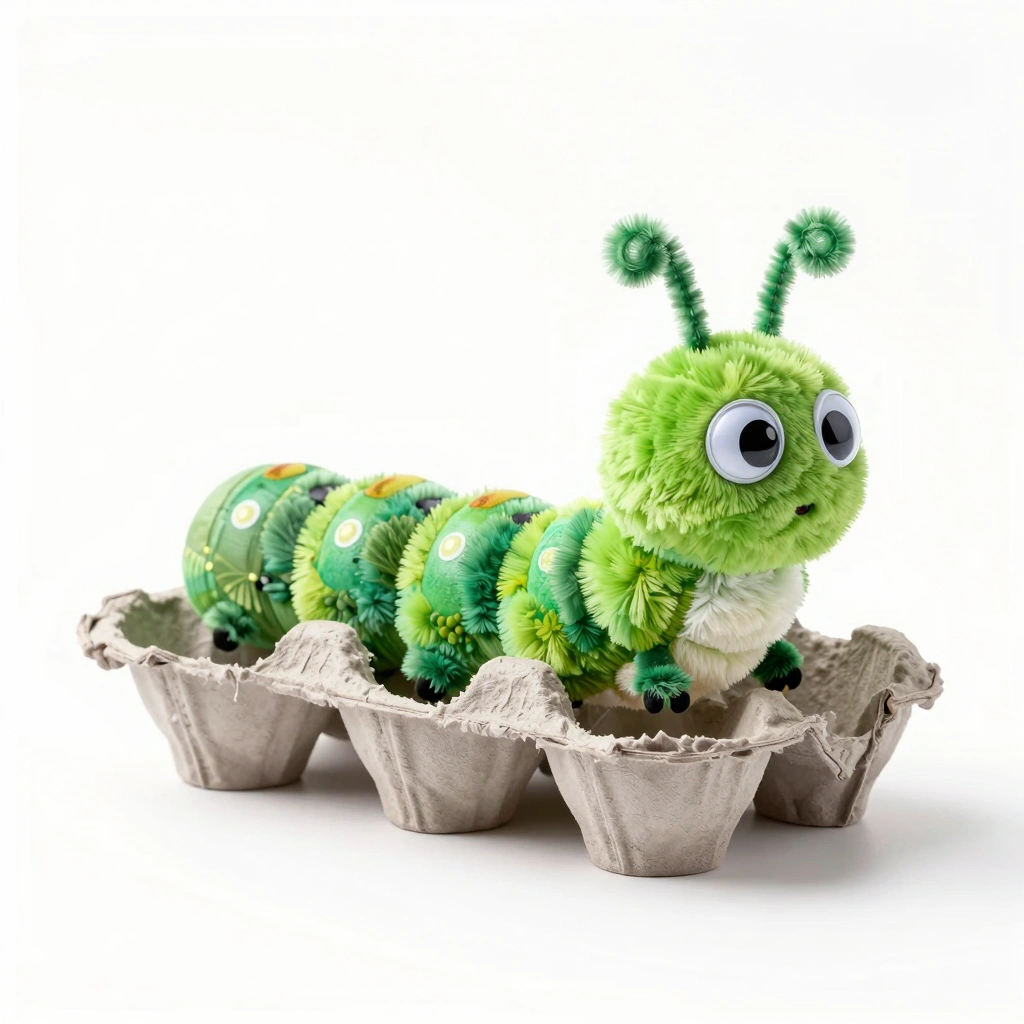
Repurpose an old egg carton into a wiggly caterpillar! This is a fantastic recycled craft that teaches kids about reusing materials while making something cute.
Materials:
- Cardboard egg carton
- Green paint
- Paintbrush
- Pipe cleaners (for antennae)
- Googly eyes
- Scissors and glue
Steps:
- Cut the egg carton into a single row of 6 cups.
- Paint all the cups green. Let dry.
- Poke two holes in the first cup and insert a pipe cleaner bent into antennae.
- Glue googly eyes on the front cup.
- Draw a smile with a black marker.
- Time: 20–25 minutes
- Difficulty: Easy
💡 Tip: Paint each segment a different color for a rainbow caterpillar!
4. Origami Paper Fox
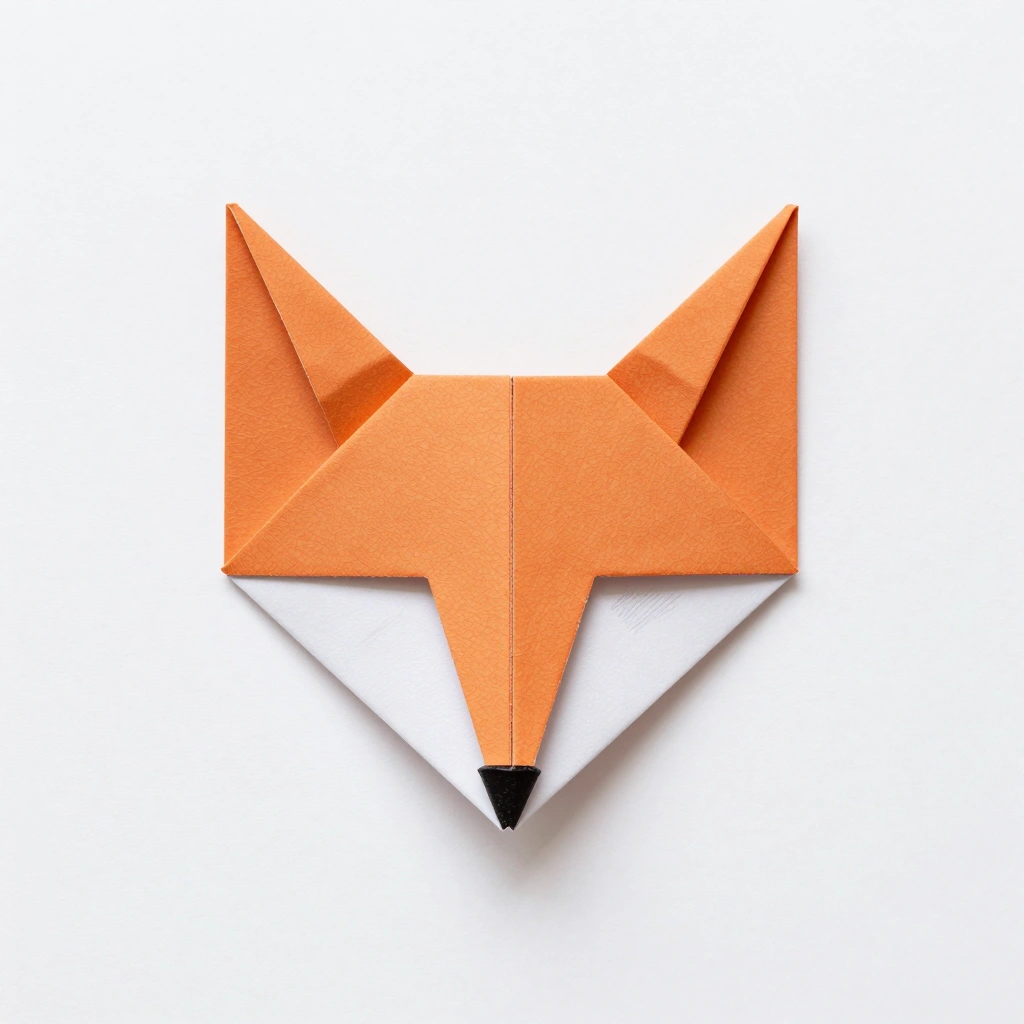
Origami is a timeless craft, and the fox is one of the most beginner-friendly shapes to learn. With just a single sheet of paper, you can create a cute little fox face or a full-body fox.
Materials:
- One square sheet of orange paper
- Black and white markers
Steps:
- Fold the square in half diagonally to make a triangle.
- Fold the bottom two corners up to form ears.
- Fold the top point down slightly for the snout.
- Flip over and draw eyes, a nose, and whiskers.
- Time: 10–15 minutes
- Difficulty: Easy
💡 Tip: Use patterned or dual-colored paper for a more dynamic look.
5. Sock Puppet Animals — A Versatile Animal Crafts Idea
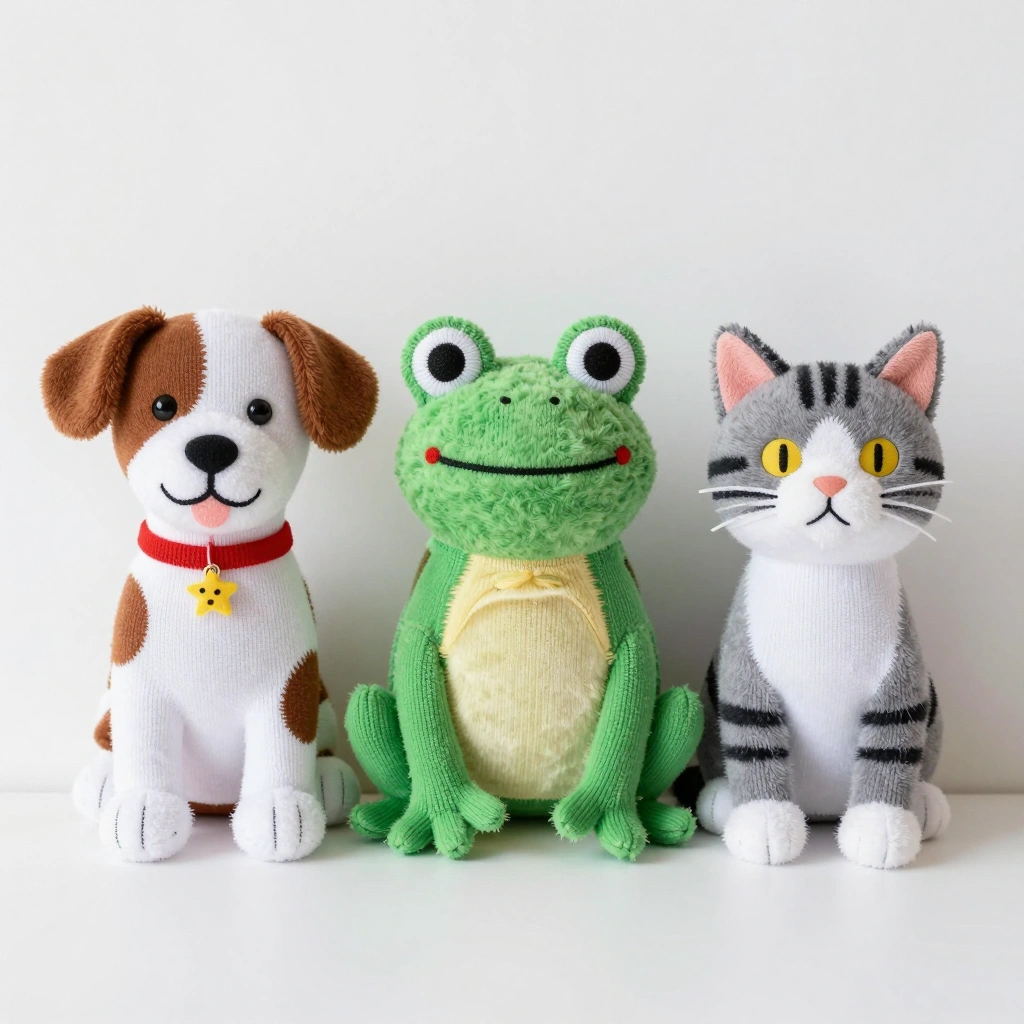
Old socks become talking animals in minutes! Sock puppets encourage imaginative play and storytelling, making them perfect for both crafting time and playtime.
Materials:
- Old clean socks (various colors)
- Googly eyes
- Felt sheets
- Hot glue or fabric glue
- Scissors
- Yarn or buttons (optional)
Steps:
- Slide the sock over your hand to see where the mouth falls.
- Cut two felt circles for the inner mouth and glue them inside the sock fold.
- Glue on googly eyes above the mouth area.
- Cut felt ears, fins, or horns and attach to the top of the sock.
- Add yarn for hair or button details if desired.
- Time: 20–30 minutes
- Difficulty: Easy–Medium
💡 Tip: Make a whole family of sock animals — a dog, cat, and snake all work beautifully.
6. Toilet Roll Owl
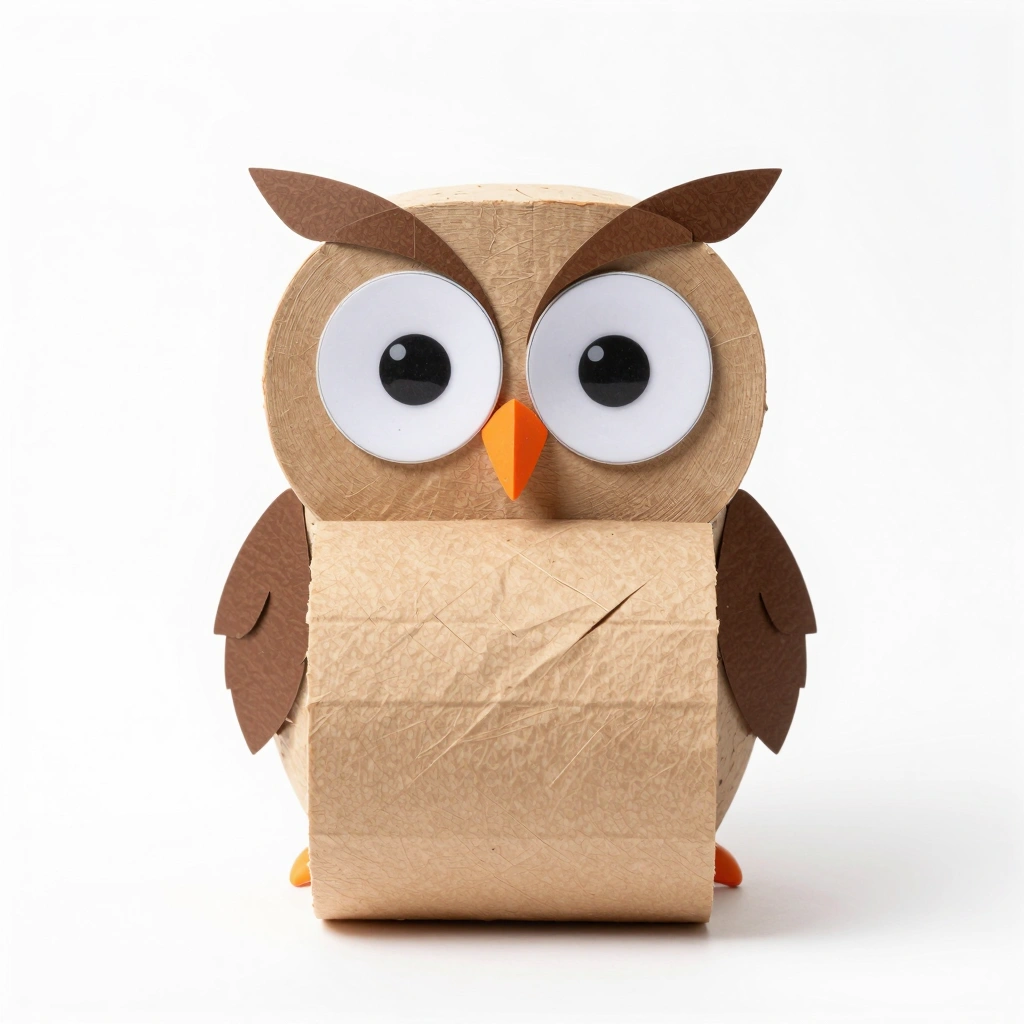
Transform empty toilet paper rolls into wise little owls. This is a classic upcycled craft with big visual impact using minimal materials.
Materials:
- Toilet paper roll
- Brown and yellow paint
- Construction paper (orange, yellow, white)
- Scissors and glue
- Markers
Steps:
- Paint the toilet roll brown. Let dry.
- Cut two large circle eyes from white paper and two smaller circles from yellow.
- Layer and glue the eye circles onto the roll.
- Cut a small orange triangle for the beak and glue below the eyes.
- Cut two small triangles from brown paper for ears at the top.
- Draw feather lines along the body with a marker.
- Time: 20–25 minutes
- Difficulty: Easy
💡 Tip: Cut small “V” shapes from the base of the roll to make feet that help it stand up.
7. Handprint Butterfly
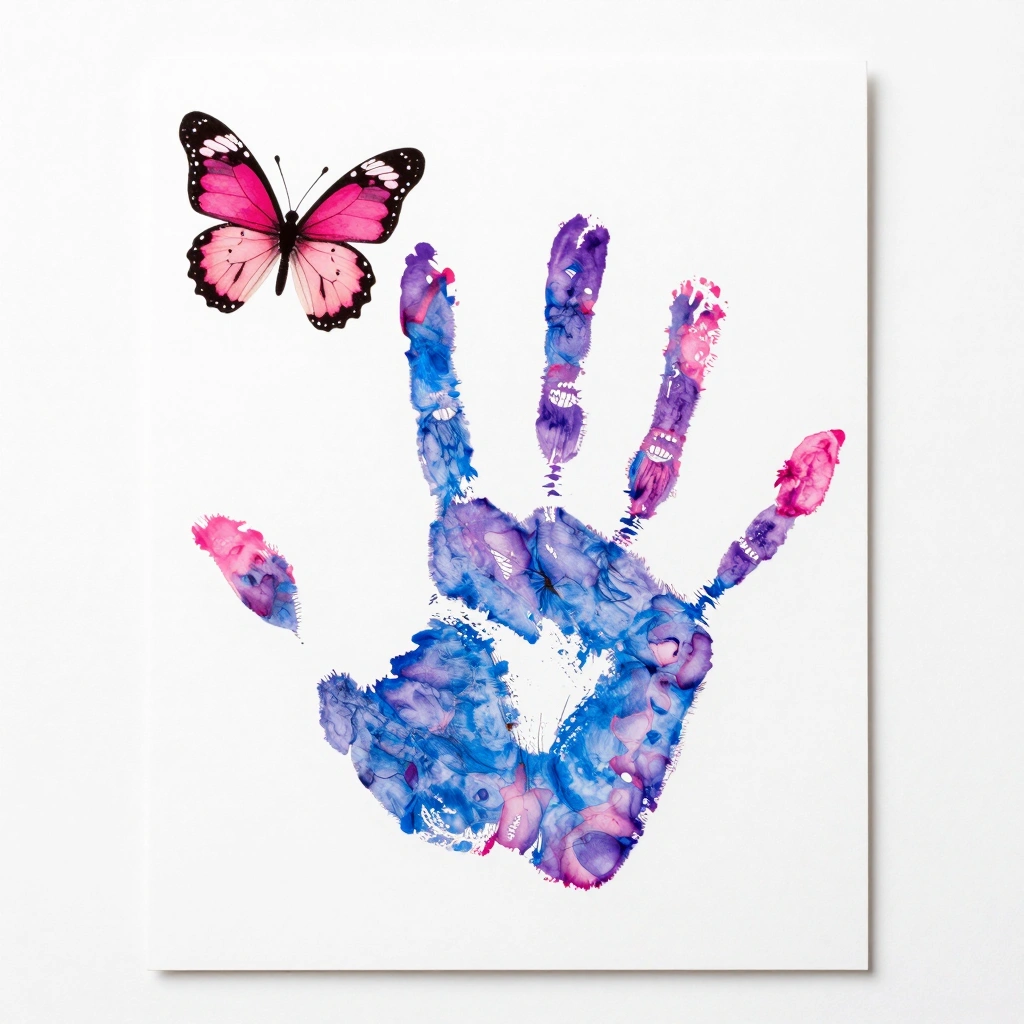
Handprint art never gets old, and butterflies are one of the most magical results. This project doubles as a keepsake, especially for young children.
Materials:
- Washable paint (multiple colors)
- White cardstock or thick paper
- Black marker
- A sponge or brush
Steps:
- Paint one hand in bright colors — each finger a different shade if you like.
- Press down firmly on the paper.
- Repeat with the other hand, overlapping the palms in the center.
- Once dry, draw a body and antennae down the center with a black marker.
- Add dots or swirls to the wings with marker.
- Time: 15–20 minutes
- Difficulty: Easy
💡 Tip: Frame the final piece — it makes a beautiful, personalized gift.
8. Salt Dough Animal Magnets — A Creative Animal Crafts Ideas
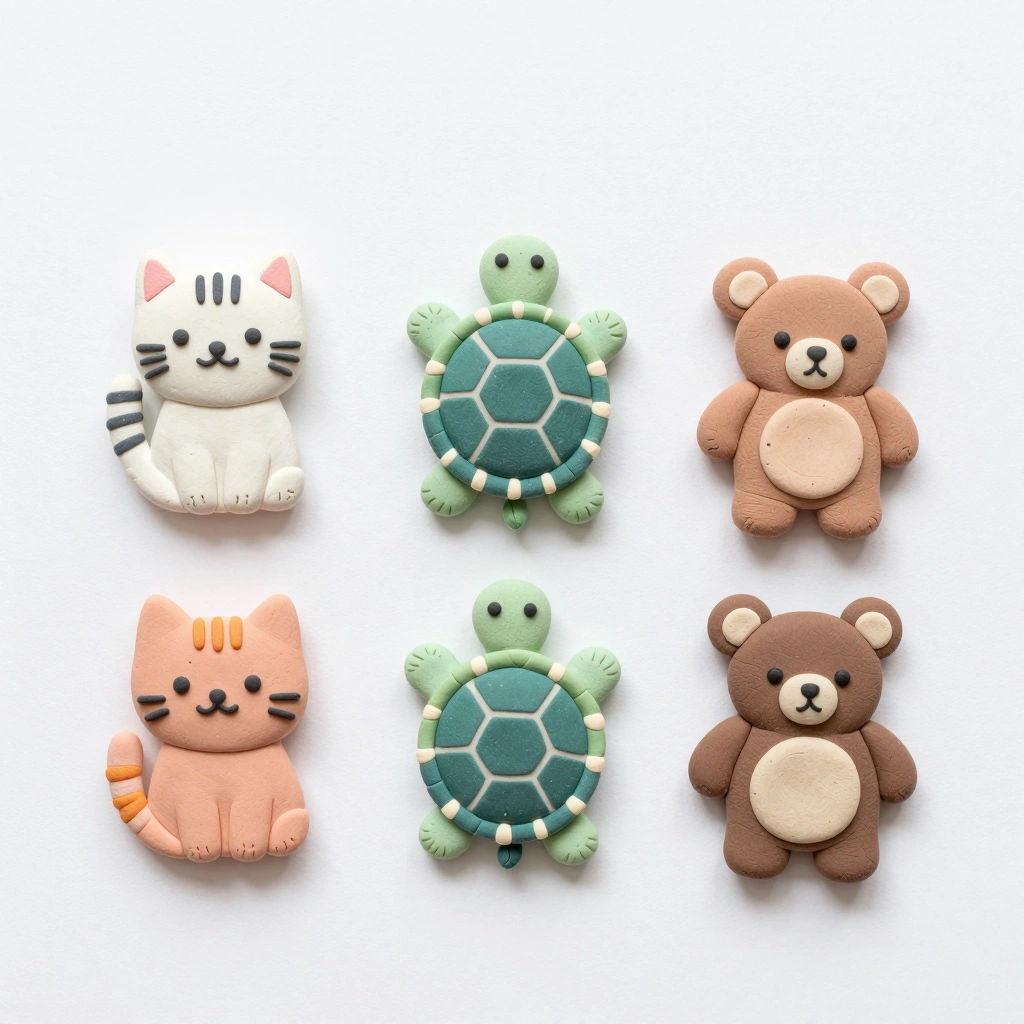
Salt dough is a wonderfully moldable medium for creating 3D animal shapes that you can paint and turn into fridge magnets, ornaments, or decorations.
Materials:
- 1 cup flour
- ½ cup salt
- ½ cup water
- Acrylic paint
- Magnet strips (adhesive-backed)
- Clear varnish
Steps:
- Mix flour, salt, and water until a smooth dough forms.
- Shape animals — cats, turtles, bears — using your hands or cookie cutters.
- Bake at 200°F (93°C) for 2–3 hours until hard.
- Let cool, then paint with acrylics.
- Seal with varnish and stick a magnet strip to the back.
- Time: 30 minutes + baking time
- Difficulty: Medium
💡 Tip: Smooth cracks in the dough with wet fingers before baking for a cleaner finish.
9. Paper Bag Penguin
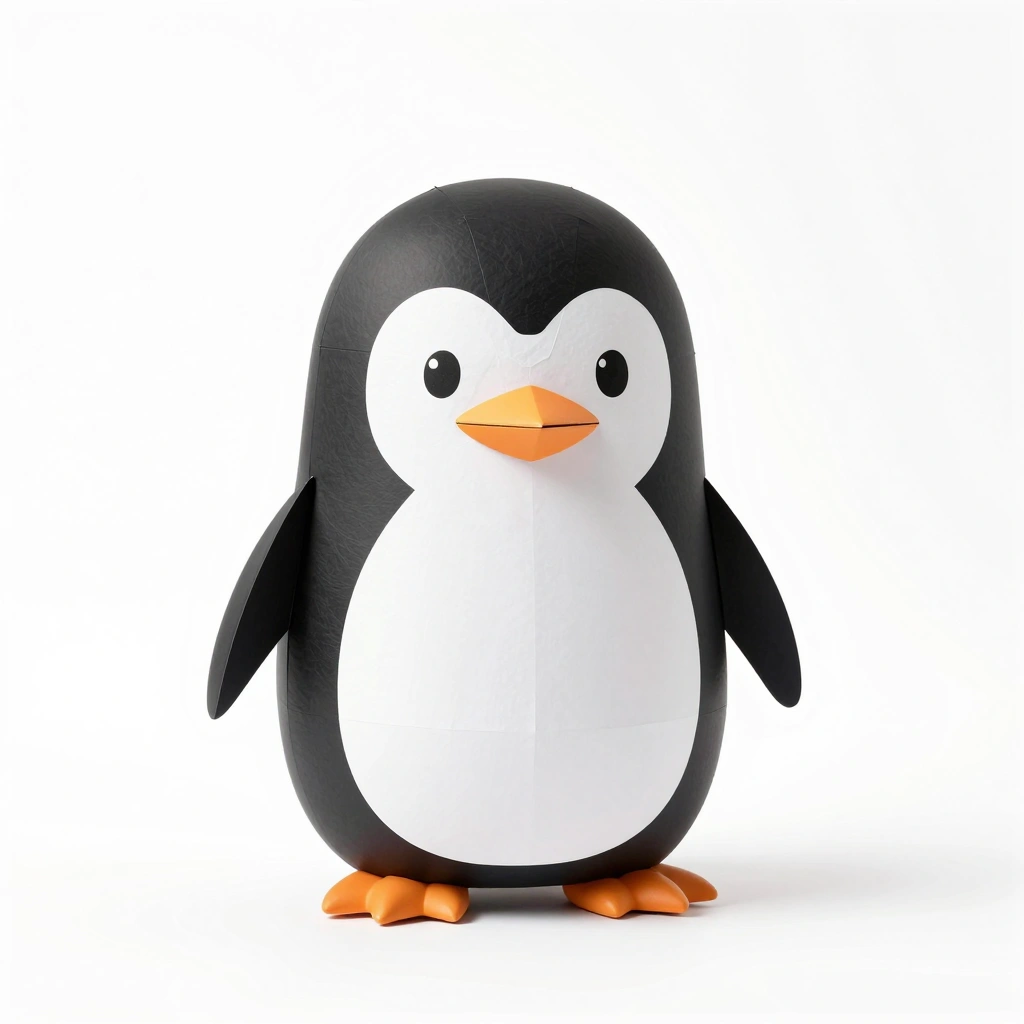
A simple lunch bag becomes an adorable standing penguin! This craft is excellent for winter themes, holiday activities, or classroom projects about Arctic animals.
Materials:
- Small brown paper lunch bag
- Black, white, and orange construction paper
- Glue stick
- Googly eyes
- Markers
Steps:
- Fold the top of the paper bag down to create a flat base — this becomes the penguin’s head.
- Cut a large black oval and glue it to the front for the body.
- Cut a white oval (smaller) and glue inside the black for the belly.
- Cut two black wing shapes and attach to the sides.
- Add googly eyes, an orange triangle beak, and orange feet at the base.
- Time: 20 minutes
- Difficulty: Easy
💡 Tip: Stuff the bag lightly with tissue paper before folding to give it a rounder, 3D look.
10. Popsicle Stick Animal Frames
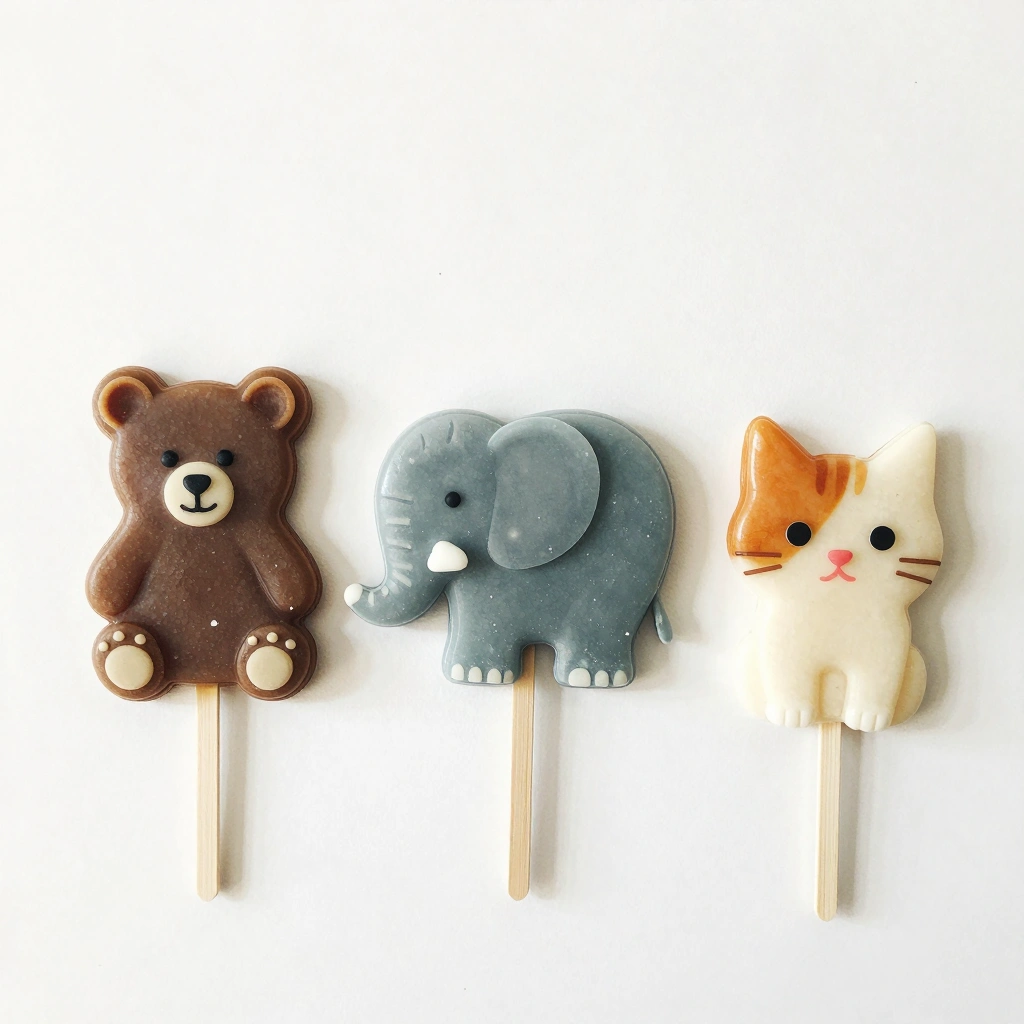
Build animal-shaped frames out of popsicle sticks and use them to display photos or drawings. These double as a craft AND a finished home décor piece.
Materials:
- Popsicle sticks (8–10 per frame)
- Glue gun
- Acrylic paint
- Googly eyes
- Felt or foam sheets
- A printed photo (optional)
Steps:
- Arrange four popsicle sticks in a square and hot glue the corners.
- Paint the frame in your chosen animal’s color (brown for bear, gray for elephant).
- Cut ears, noses, and features from felt and glue around the top and sides.
- Add googly eyes above the frame opening.
- Slide a photo or drawing behind the frame opening.
- Time: 25–35 minutes
- Difficulty: Medium
💡 Tip: Add a ribbon loop to the back for easy hanging on the wall.
11. Watercolor Fish Mobile
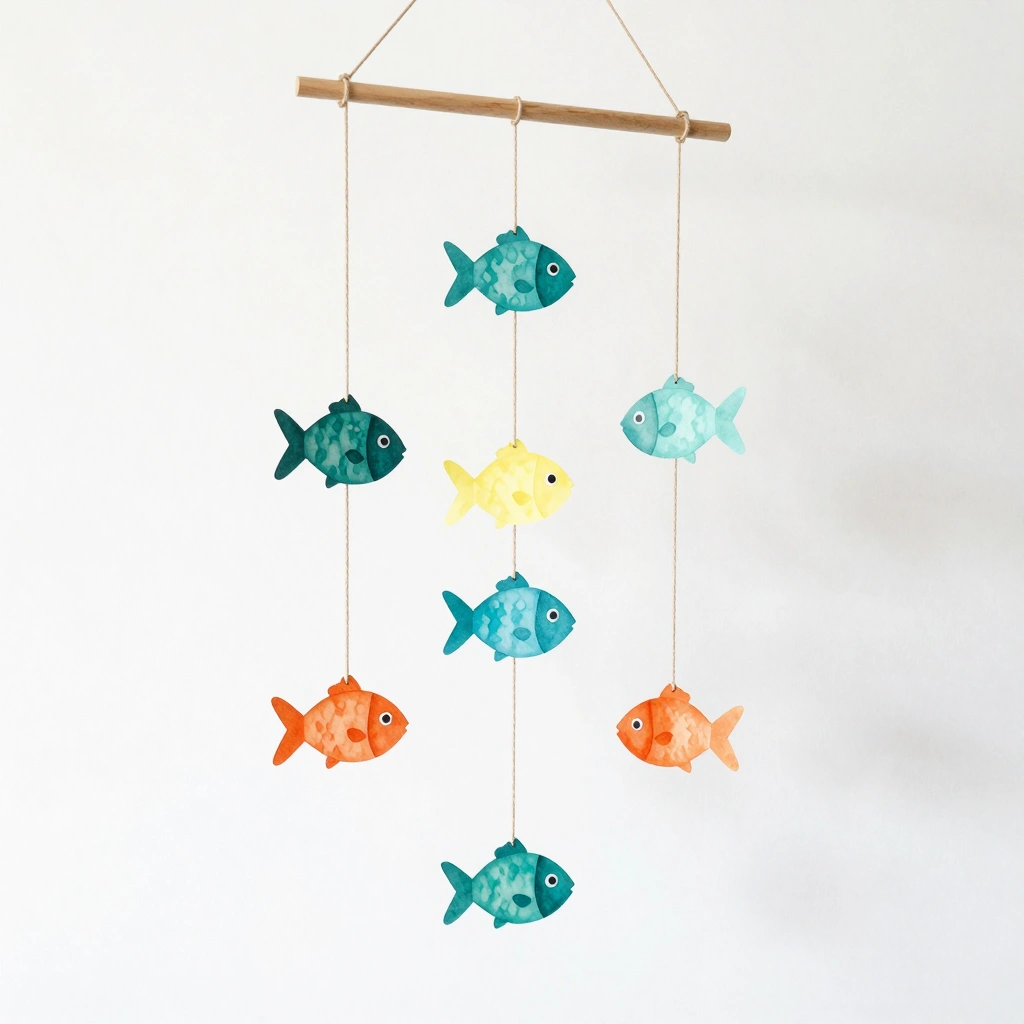
Cut out and paint fish shapes with watercolors, then string them together to create a beautiful hanging mobile. Perfect for a bedroom or classroom window.
Materials:
- Watercolor paper
- Watercolor paints and brush
- Scissors
- String or fishing line
- A wooden dowel or stick
- Pencil
Steps:
- Draw 5–6 fish silhouettes on watercolor paper and cut them out.
- Paint each fish with layered watercolors — let colors bleed together for effect.
- Once dry, draw scales and eyes with a fine black marker.
- Punch a hole at the top of each fish and thread string through.
- Tie each fish to the wooden dowel at varying lengths.
- Time: 40–50 minutes
- Difficulty: Medium
💡 Tip: Hang near a window so the light shows through the translucent watercolor for a stunning effect.
12. Clothespin Dragonfly — A Fun Finishing Animal Crafts Idea
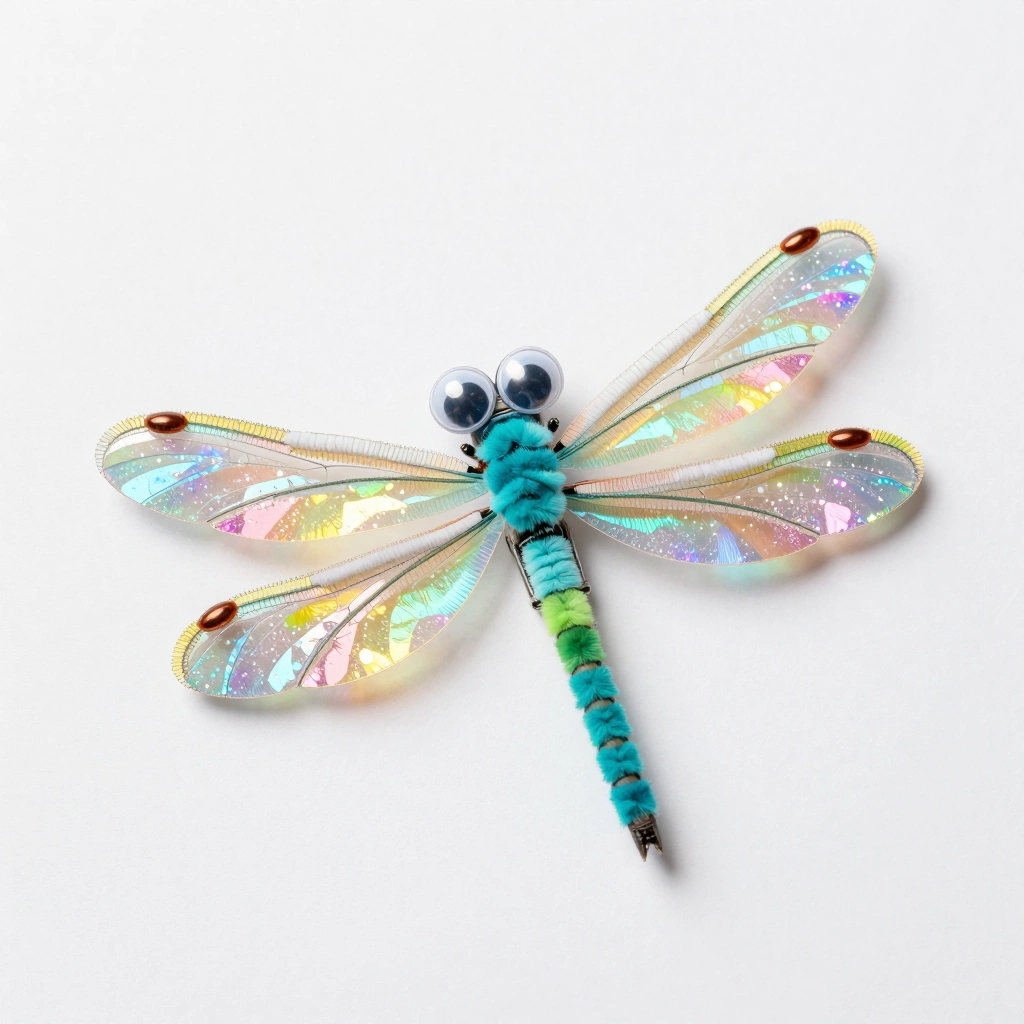
A simple wooden clothespin becomes a sparkling dragonfly with the help of pipe cleaners and a little paint. This is a quick, satisfying craft with a gorgeous result.
Materials:
- Wooden clothespin
- Metallic or colorful paint
- 2 pipe cleaners
- Glue
- Googly eyes
- Glitter (optional)
Steps:
- Paint the clothespin in a bright metallic color. Let dry.
- Fold two pipe cleaners into figure-eight shapes for the wings.
- Slide the center of both pipe cleaners into the clothespin clip.
- Adjust the wings so all four are spread out evenly.
- Glue two googly eyes to the front tip.
- Add a touch of glitter to the wings if desired.
- Time: 15–20 minutes
- Difficulty: Easy
💡 Tip: Bend the pipe cleaner wings at a slight upward angle for a more realistic flying pose.
Common Mistakes to Avoid
- Skipping the drying time. Rushing between steps — especially when painting — leads to smudges, mixed colors, and materials that won’t stick. Always let each layer dry fully before moving on.
- Using too much glue. Over-gluing causes pieces to warp, bubble, or take too long to dry. A thin, even layer is almost always enough — especially with a glue stick.
- Choosing materials that don’t match the skill level. Hot glue guns and craft knives are great tools, but not for young children without supervision. Always pick materials that match the age and ability of the crafter.
Tips for Best Results
- Prep your workspace first. Lay down newspaper or a silicone mat before painting or gluing to keep your surface clean.
- Use thick paper or cardstock for cutting crafts — thin paper tears easily and doesn’t hold shape well.
- Acrylic paint works on almost everything — paper, wood, rocks, and fabric — making it the most versatile choice.
- Let kids choose their own animals. When children pick the creature they’re making, they stay engaged and take more pride in the result.
- Seal finished crafts with mod podge or clear spray varnish to make them last longer, especially for pieces used as decorations or gifts.
- Batch your prep work. Cut all materials before starting so the creative flow isn’t interrupted by constant stopping for scissors.
FAQs
Q: What age group are these animal crafts best suited for? Most of these projects are designed for children ages 4 and up. Simpler crafts like handprint butterflies and paper bag penguins work well for toddlers with adult help, while projects like origami and salt dough are great for ages 7+.
Q: What if I don’t have all the materials listed? Most substitutions work just fine. No googly eyes? Draw them with marker. No construction paper? Use old magazines or painted cardboard. Creativity is the point!
Q: How can I make these crafts more challenging for older kids? Add more detail — finer paint lines, layered textures, or mixed media. You can also ask older kids to design their own animal variations or create an entire scene or diorama.
Q: Are these crafts good for classroom settings? Yes! Most of these projects use low-mess, easy-to-manage materials. Projects like toilet roll owls, paper bag penguins, and egg carton caterpillars are especially classroom-friendly.
Q: How do I store finished crafts? Flat pieces can be stored in a folder or art portfolio. 3D pieces should be kept on a shelf or in an open box to avoid crushing. Seal painted pieces first if they’ll be handled frequently.
Q: Can these be turned into gifts? Absolutely. Handprint butterflies, painted rock ladybugs, popsicle stick frames, and salt dough magnets all make wonderful personalized gifts for parents, grandparents, and teachers.
Conclusion
There’s no shortage of creativity when animals are your inspiration. These 12 animal crafts ideas cover a wide range of materials, skill levels, and styles — so whether you’re crafting with a toddler or flying solo on a weekend afternoon, there’s something here for you.
Pick one project, gather your materials, and start creating. You might just discover a new favorite hobby — one colorful animal at a time.