15 Cute Toddler Crafts for Creative Playtime Ideas
Keeping little hands busy doesn’t have to mean a big cleanup. These 15 toddler crafts are designed for tiny fingers, short attention spans, and maximum fun.
Most of these projects use supplies you already have at home. Whether it’s a rainy afternoon or a weekend activity, each idea is simple enough for kids aged 1–4 to enjoy with minimal adult help.
1. Paper Plate Sunshine
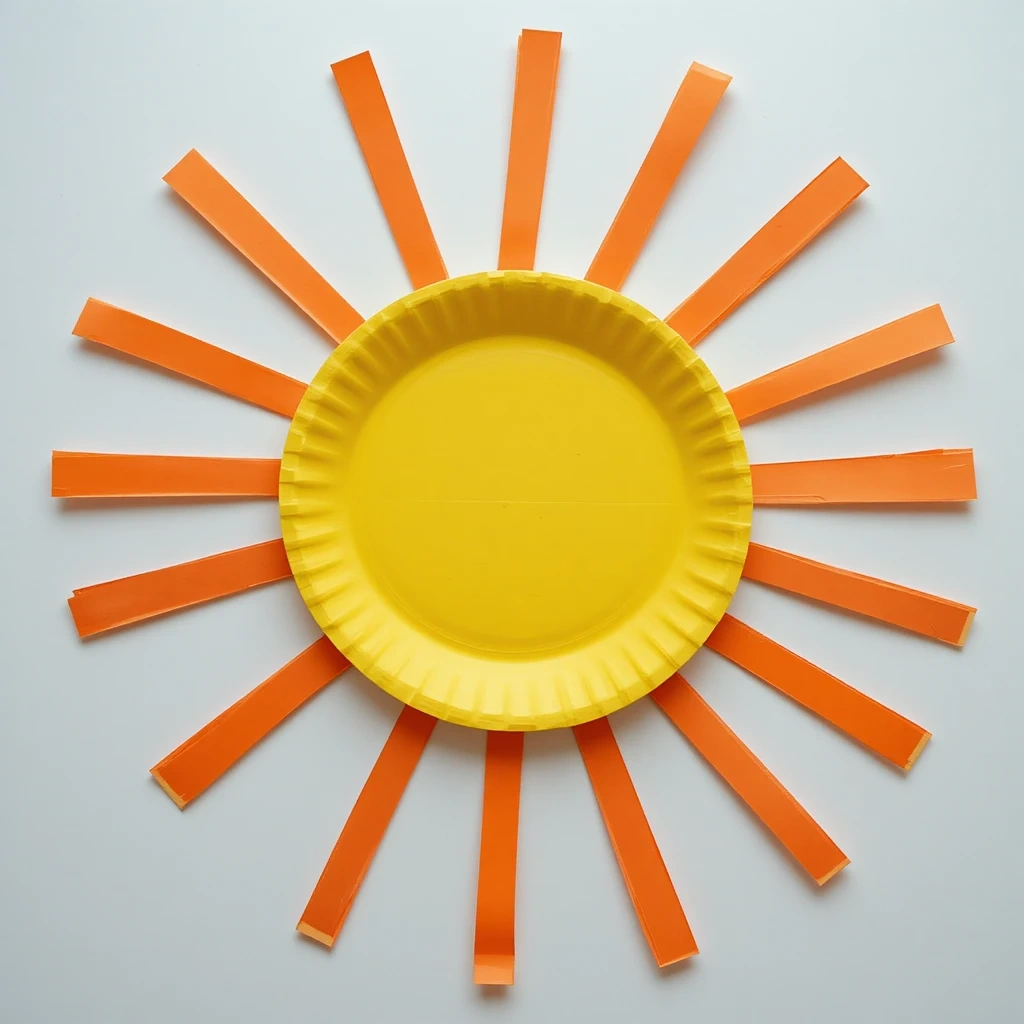
A cheerful craft that doubles as wall decor. Toddlers love painting and tearing — this project lets them do both at once.
Materials:
- Paper plate
- Yellow and orange paint
- Paintbrush or sponge
- Yellow construction paper strips
- Glue stick
Steps:
- Paint the paper plate yellow or orange. Let dry.
- Cut or pre-cut strips of construction paper for “rays.”
- Help your toddler glue the strips around the edge of the plate.
- Draw a simple smiley face or let them add sticker eyes.
Time: 15–20 minutes Difficulty: Easy
Tip: Use a sponge instead of a brush for less mess and more texture.
2. Handprint Butterfly
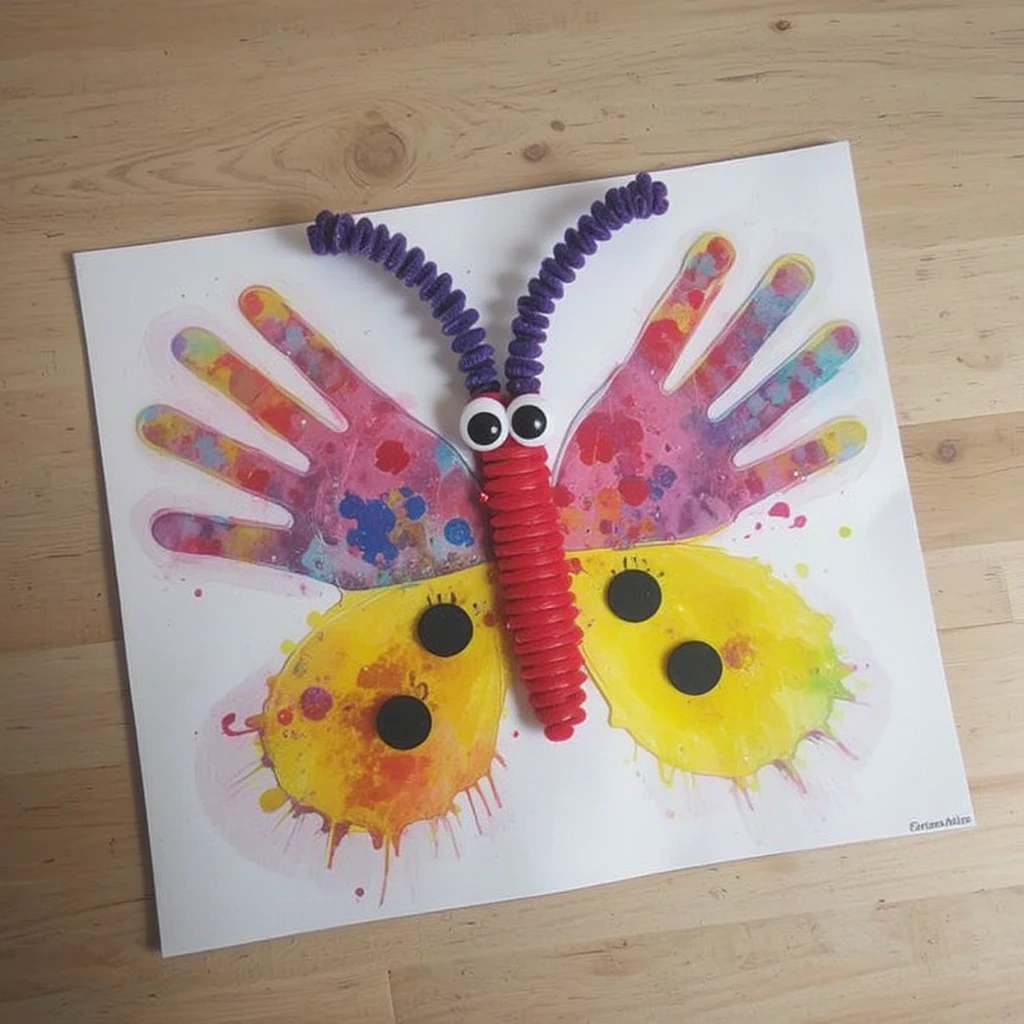
Turn tiny handprints into a beautiful butterfly. A keepsake craft parents will want to frame.
Materials:
- Washable paint (2–3 colors)
- White cardstock
- Black marker
- Googly eyes
- Pipe cleaner
Steps:
- Paint each of your toddler’s hands a different color.
- Press both hands side by side on the cardstock, fingers pointing outward.
- Let dry completely.
- Draw a body down the center with a black marker.
- Add googly eyes and curl a pipe cleaner for antennae.
Time: 10–15 minutes Difficulty: Easy
Tip: Have a wet cloth ready for quick hand wiping between colors.
3. Toddler Crafts with Cotton Balls — Cloud Collage
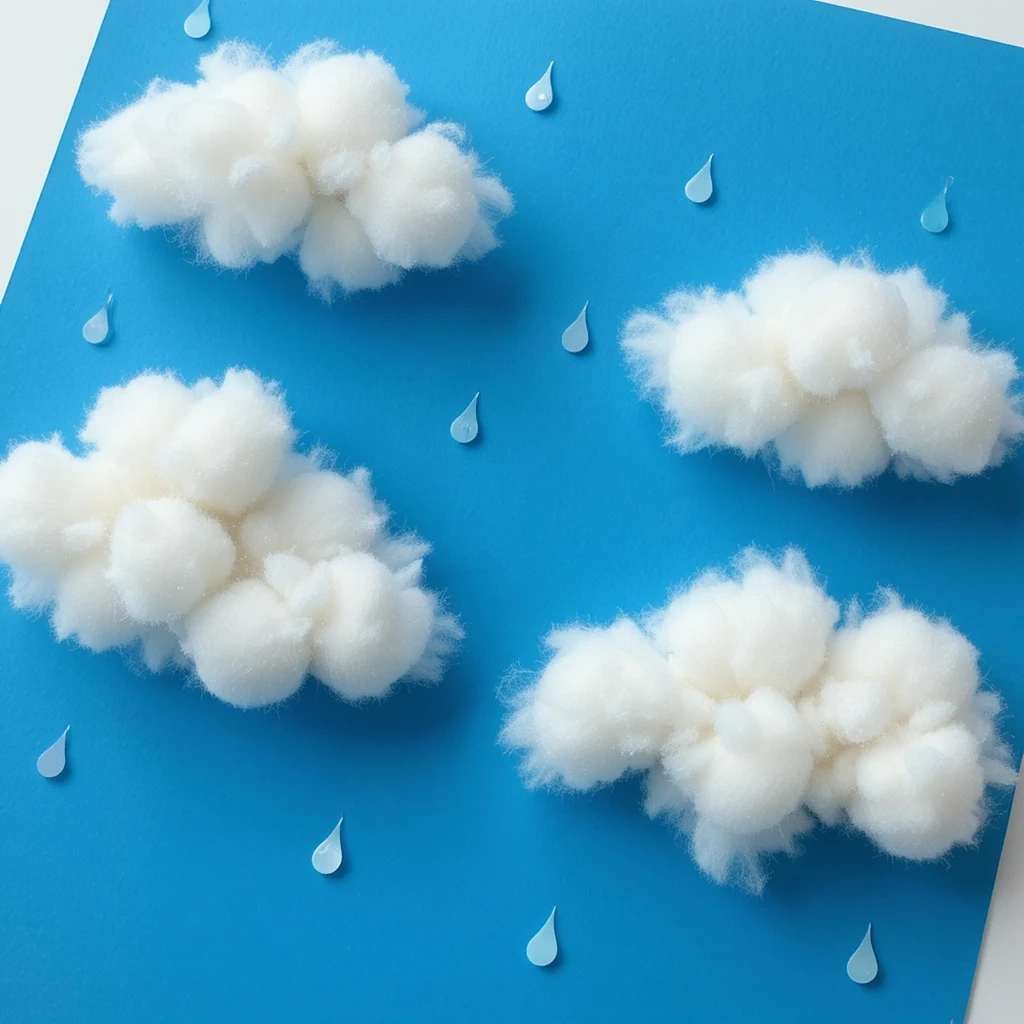
One of the most sensory-friendly toddler crafts you can make. Fluffy, tactile, and endlessly satisfying.
Materials:
- Blue construction paper
- Cotton balls
- Glue stick
- White and gray crayons (optional)
- Sticker raindrops or stars (optional)
Steps:
- Give your toddler a sheet of blue paper and a glue stick.
- Let them place and press cotton balls anywhere on the paper.
- Stretch some cotton balls thin to make wispy clouds.
- Add sticker raindrops or stars for extra fun.
Time: 10 minutes Difficulty: Easy
Tip: This is a great independent activity — toddlers can do almost all of it solo.
4. Recycled Cardboard Stamping
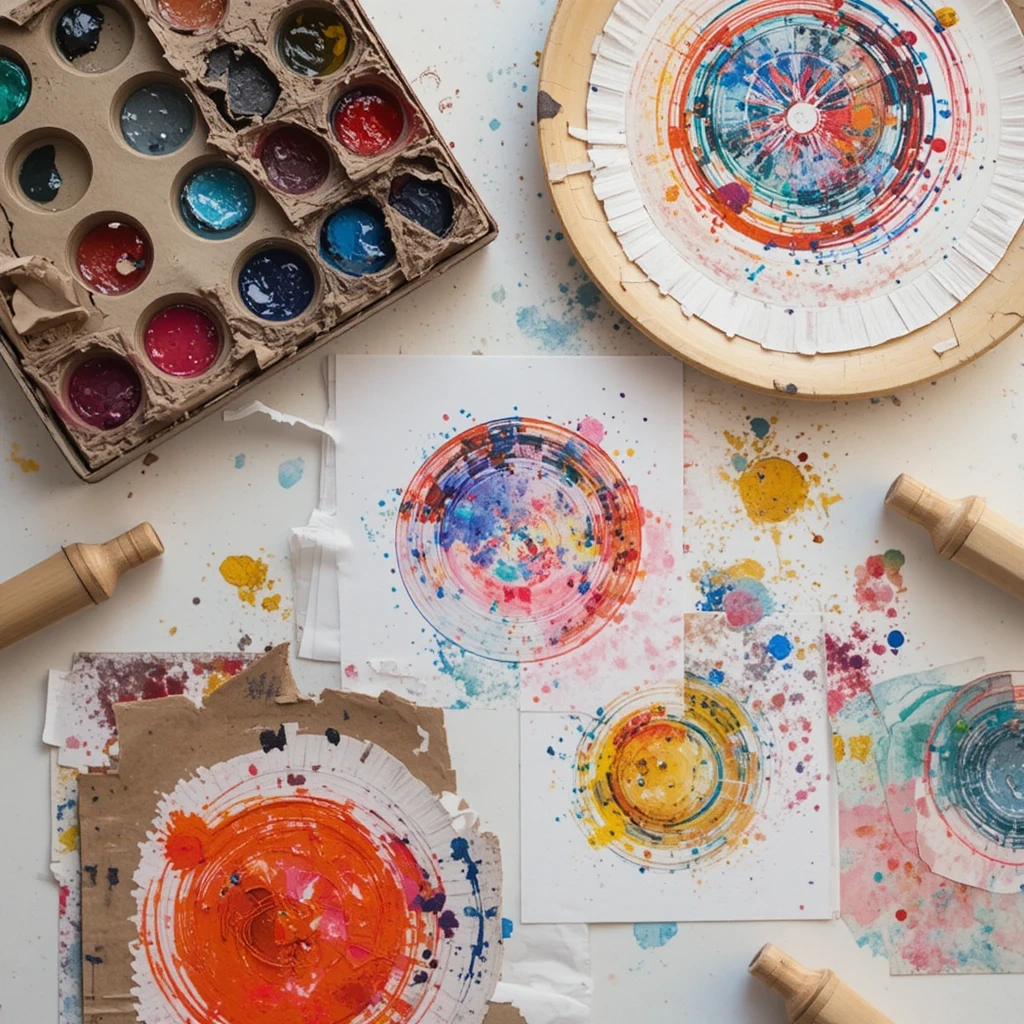
Raid the recycling bin for this one. Cardboard tubes and bottle caps make surprisingly beautiful prints.
Materials:
- Cardboard tubes (toilet paper or paper towel rolls)
- Bottle caps
- Washable paint
- Paper plates (for paint palettes)
- White paper
Steps:
- Pour paint onto paper plates.
- Show your toddler how to dip the end of the tube or cap into the paint.
- Press firmly onto white paper and lift.
- Repeat with different colors and shapes.
Time: 15 minutes Difficulty: Easy
Tip: Bend a cardboard tube into a heart shape before stamping for a fun variation.
6. Popsicle Stick Picture Frame
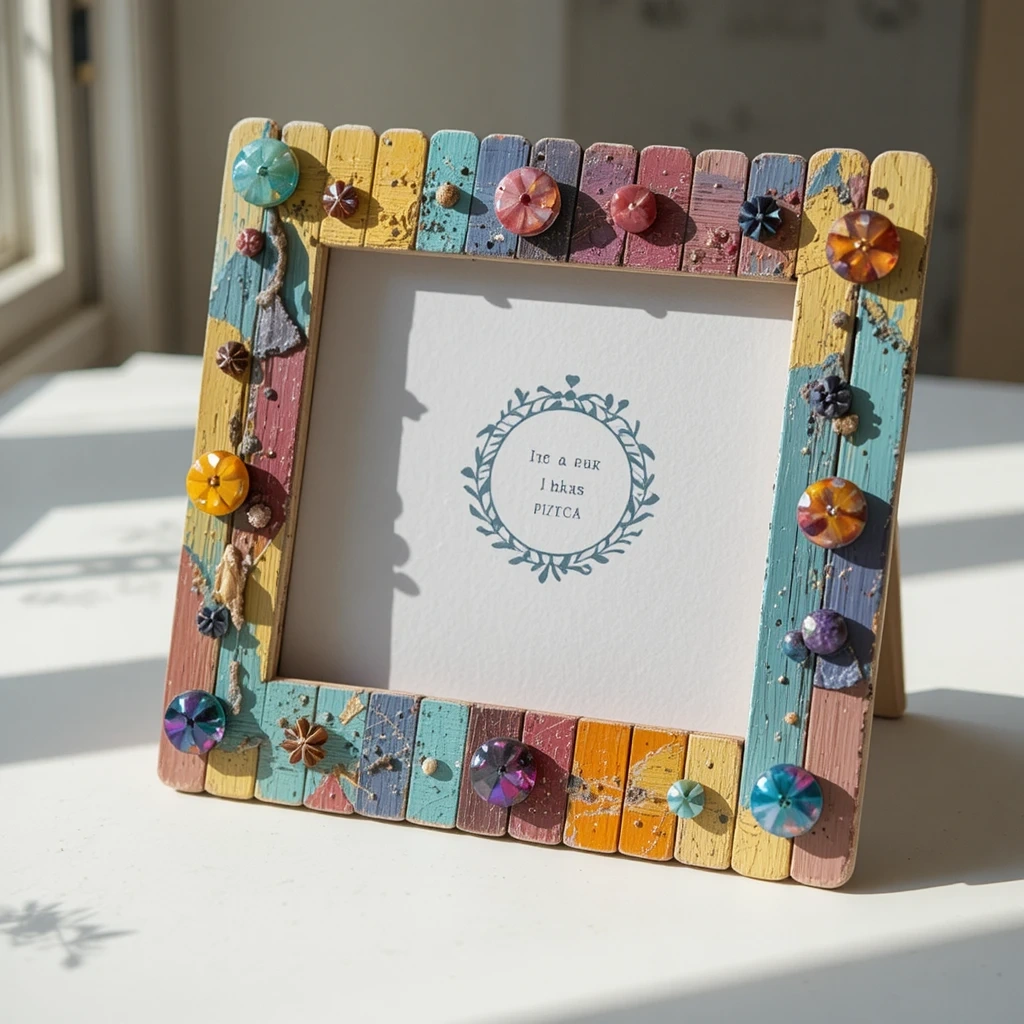
A practical craft toddlers will be proud of. Fill it with their photo or their own artwork.
Materials:
- 8 popsicle sticks
- Glue (school glue or hot glue for adults)
- Paint and brushes
- Gems, buttons, or stickers for decoration
- Photo or drawing to frame
Steps:
- Lay four popsicle sticks in a square and glue the corners. Let dry.
- Glue four more sticks on top for strength.
- Let your toddler paint the frame their favorite color.
- Decorate with gems, buttons, or foam stickers.
- Glue or tape a photo to the back.
Time: 20–25 minutes (plus drying time) Difficulty: Easy
Tip: Let adults handle the initial gluing so the frame is sturdy before decorating begins.
7. Sock Puppet
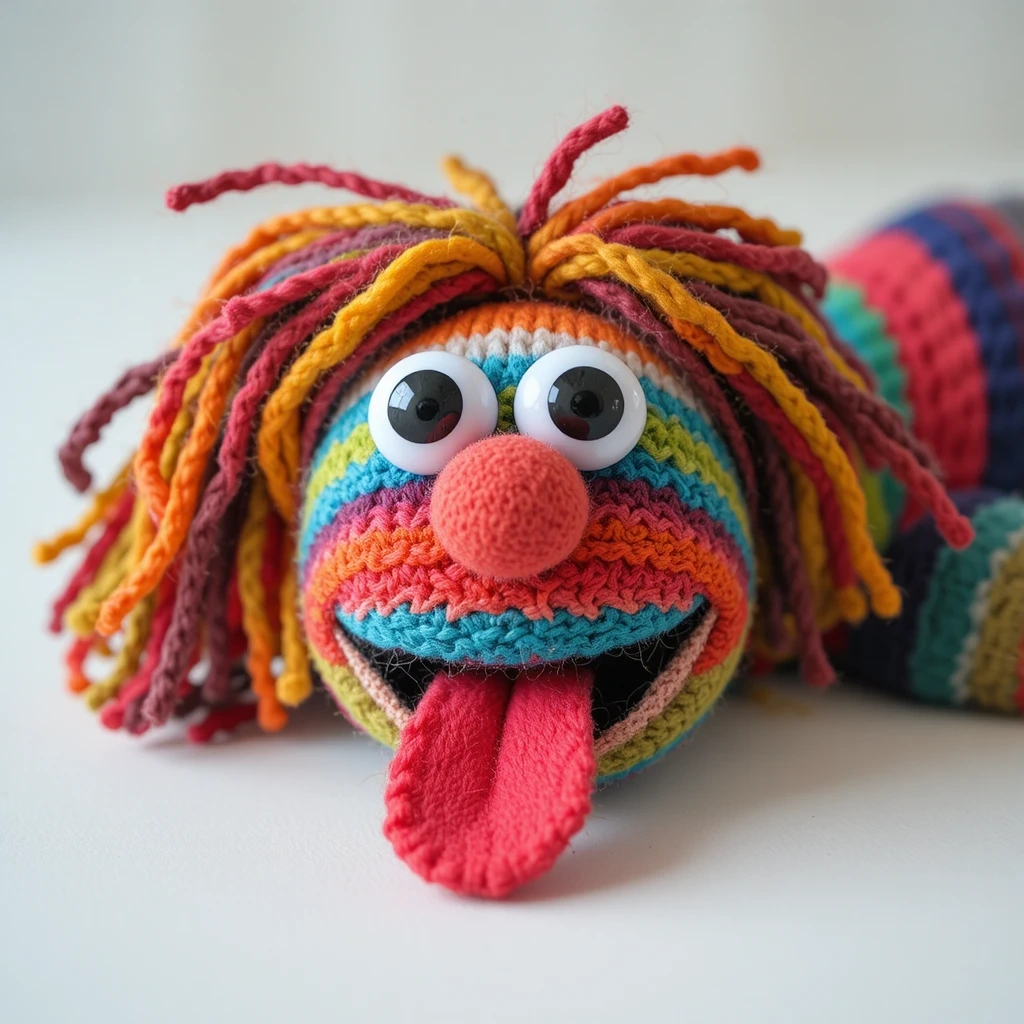
An easy craft that becomes an instant toy. Toddlers can put on a whole show once they’re done.
Materials:
- An old sock
- Googly eyes
- Felt scraps
- Glue (fabric glue or hot glue)
- Markers or yarn for hair
Steps:
- Slip the sock over your hand to check placement.
- Glue googly eyes near the toe of the sock.
- Cut a felt tongue and glue inside the “mouth” area.
- Add yarn for hair and felt shapes for ears or accessories.
- Let dry, then put on a puppet show!
Time: 15–20 minutes Difficulty: Easy
Tip: Use a bright-colored sock to make the puppet more visually exciting for your toddler.
8. Easy Toddler Crafts — Egg Carton Caterpillar
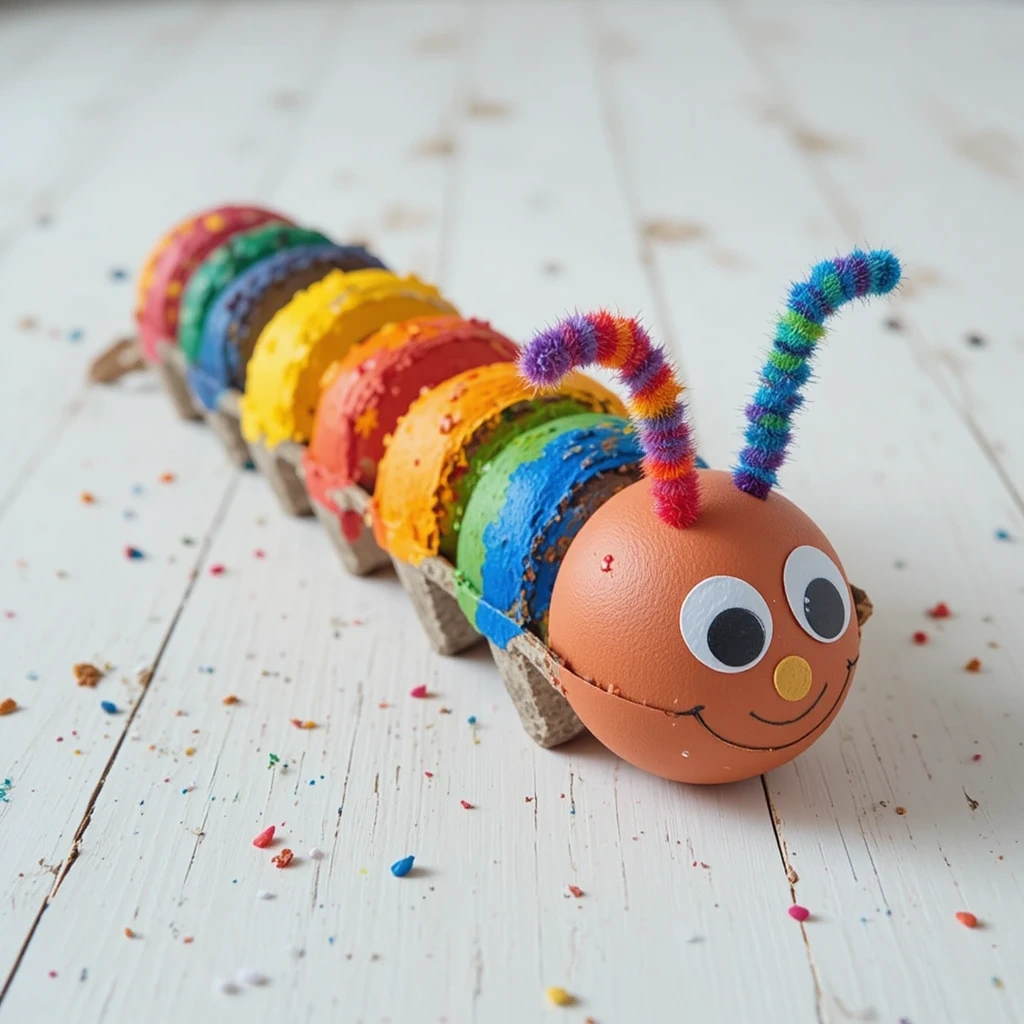
One of the most beloved easy toddler crafts around. It’s colorful, wiggly, and uses recycled materials.
Materials:
- Egg carton (cut into a single row of 6 cups)
- Paint (multiple colors)
- Googly eyes
- Pipe cleaner for antennae
- Glue
Steps:
- Cut the egg carton into a strip of 6 connected cups.
- Let your toddler paint each cup a different color. Let dry.
- Glue googly eyes on the front cup.
- Poke a pipe cleaner through the top of the head for antennae and curl the ends.
Time: 15–20 minutes (plus drying) Difficulty: Easy
Tip: Add a small magnet to the back to turn the caterpillar into a fridge decoration.
9. Sponge-Painted Flowers
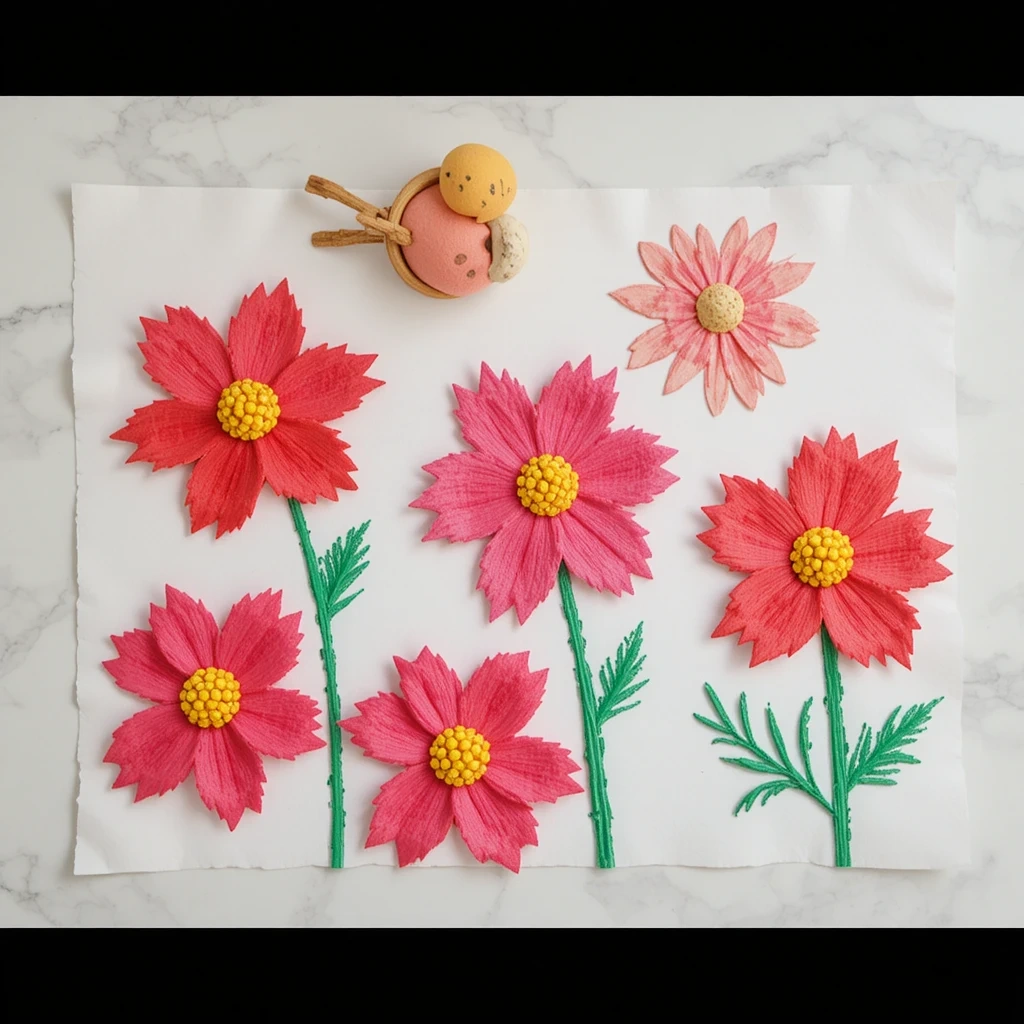
No artistic skill needed — just sponges, paint, and a happy toddler. The results always look amazing.
Materials:
- Kitchen sponges cut into flower and circle shapes
- Green, yellow, pink, and red washable paint
- White or light blue paper
- Paper plates for paint
Steps:
- Cut sponges into simple petal and circle shapes (adults do this part).
- Pour paint onto paper plates.
- Let your toddler dip the petal sponge and press it in a circle pattern.
- Use the round sponge for the center.
- Add a green sponge stem and leaves.
Time: 15 minutes Difficulty: Easy
Tip: Make a garden scene by printing multiple flowers across one large sheet.
10. Paper Bag Puppet

A classic that never gets old. Brown paper bags transform into characters in minutes.
Materials:
- Brown paper lunch bags
- Crayons or markers
- Construction paper scraps
- Googly eyes
- Glue stick
Steps:
- Flatten the bag with the folded bottom facing up — this becomes the mouth.
- Glue googly eyes above the fold.
- Cut and glue a tongue inside the fold.
- Add construction paper ears, hair, or accessories.
- Decorate the body of the bag with crayons or markers.
Time: 10–15 minutes Difficulty: Easy
Tip: Make a family of puppets together for a collaborative storytelling session.
11. Painted Rock Ladybugs
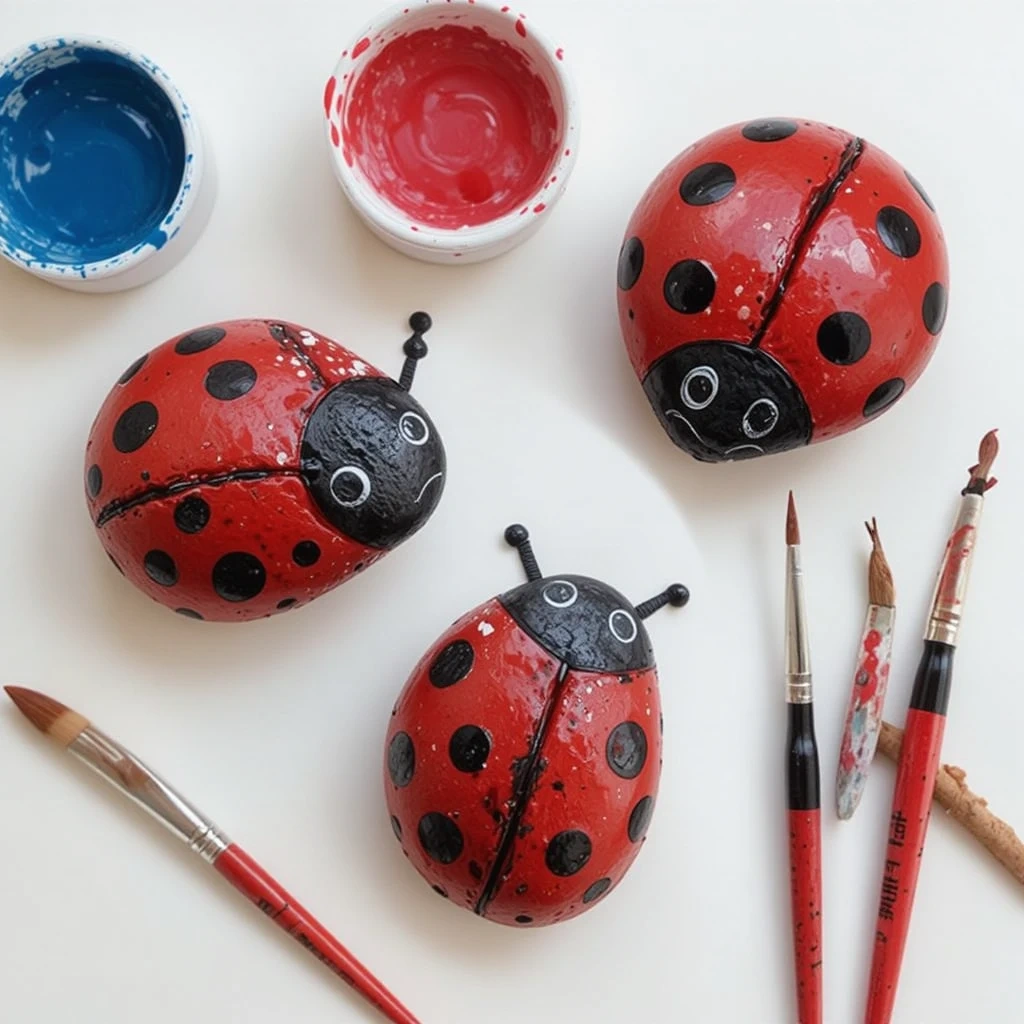
A simple outdoor activity you can bring inside. Painted rocks make wonderful keepsakes and garden decorations.
Materials:
- Smooth, flat rocks
- Red and black acrylic or washable paint
- Paintbrushes
- Black marker
- Clear sealant spray (optional, for adults)
Steps:
- Wash and dry the rocks completely.
- Paint the whole rock red. Let dry.
- Paint a black half-circle on one end for the head.
- Add a black line down the center of the back.
- Use a marker or paint to add dots. Let dry.
Time: 20 minutes (plus drying) Difficulty: Easy
Tip: Seal with a clear spray once dry so the paint lasts outdoors.
12. Torn Paper Mosaic
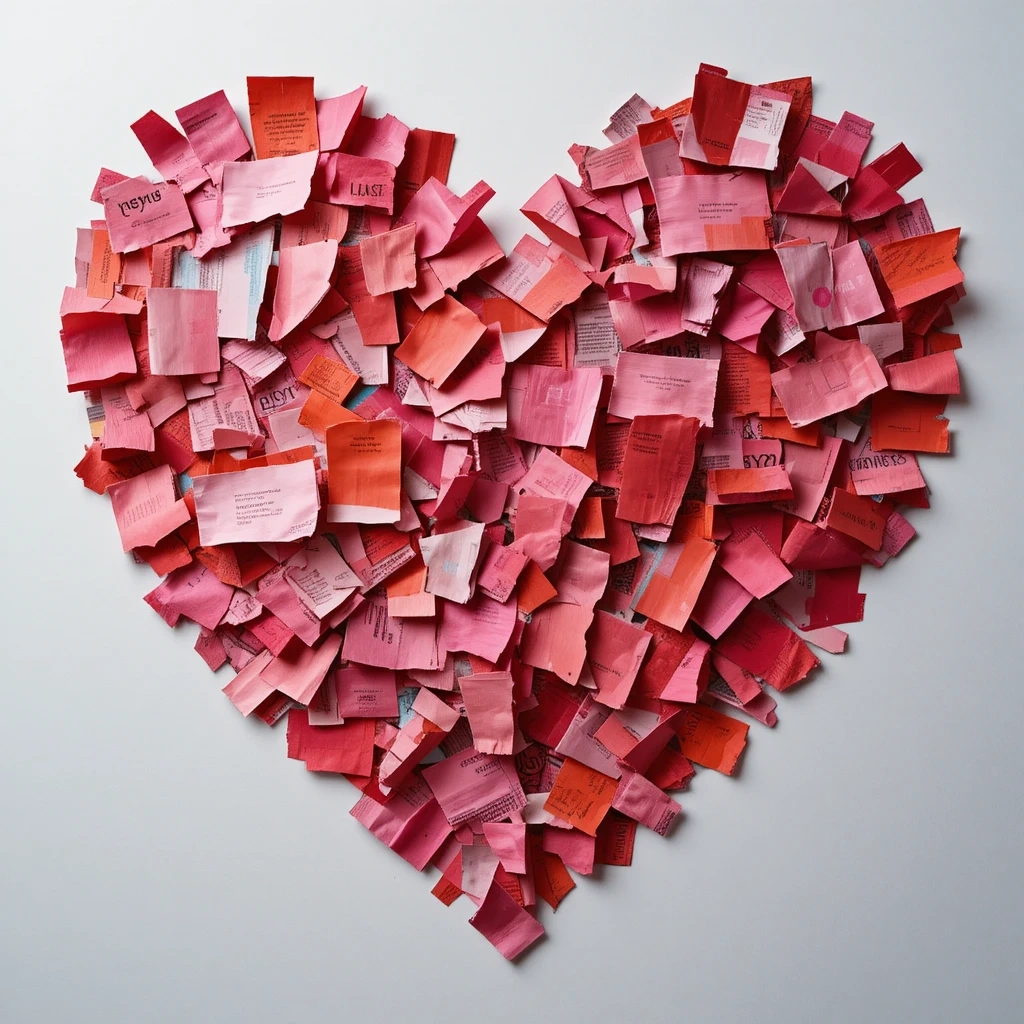
Building fine motor skills one torn piece at a time. This open-ended craft encourages creativity with no rules.
Materials:
- Old magazines or colored paper
- Glue stick
- White cardstock
- Simple outline drawing (heart, fish, sun)
Steps:
- Draw or print a simple shape outline on cardstock.
- Help your toddler tear colored paper or magazine pages into small pieces.
- Let them glue pieces inside the outline to fill in the shape.
- Overlap pieces for a mosaic effect.
Time: 20–30 minutes Difficulty: Easy–Medium
Tip: Pre-draw a few different shapes so your toddler can choose their favorite.
13. Toddler Crafts for Sensory Play — Pasta Necklace
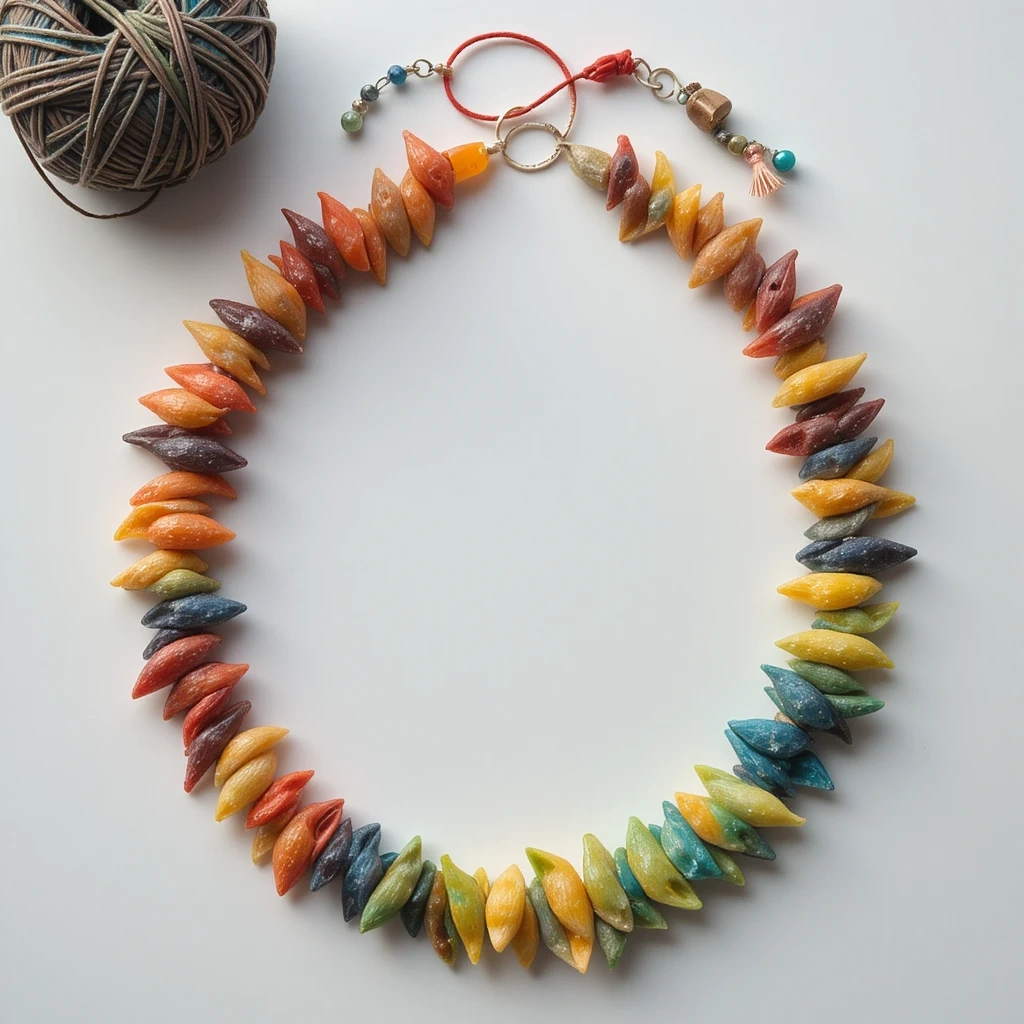
Threading pasta is one of the best toddler crafts for sensory play and fine motor development — and it makes a wearable result.
Materials:
- Large tubular pasta (penne or rigatoni)
- Food coloring or paint
- Yarn or shoelace
- Tape (to stiffen the yarn tip)
Steps:
- Dye pasta ahead of time using food coloring and let dry overnight.
- Wrap tape around one end of the yarn to make a stiff “needle.”
- Tie a piece of pasta to the other end to act as a stopper.
- Let your toddler thread pasta onto the yarn in any pattern they like.
- Tie ends together to finish the necklace.
Time: 15–20 minutes Difficulty: Easy–Medium
Tip: Use a shoelace instead of yarn — it’s stiffer and much easier for little fingers to thread.
14. Bubble Wrap Printing
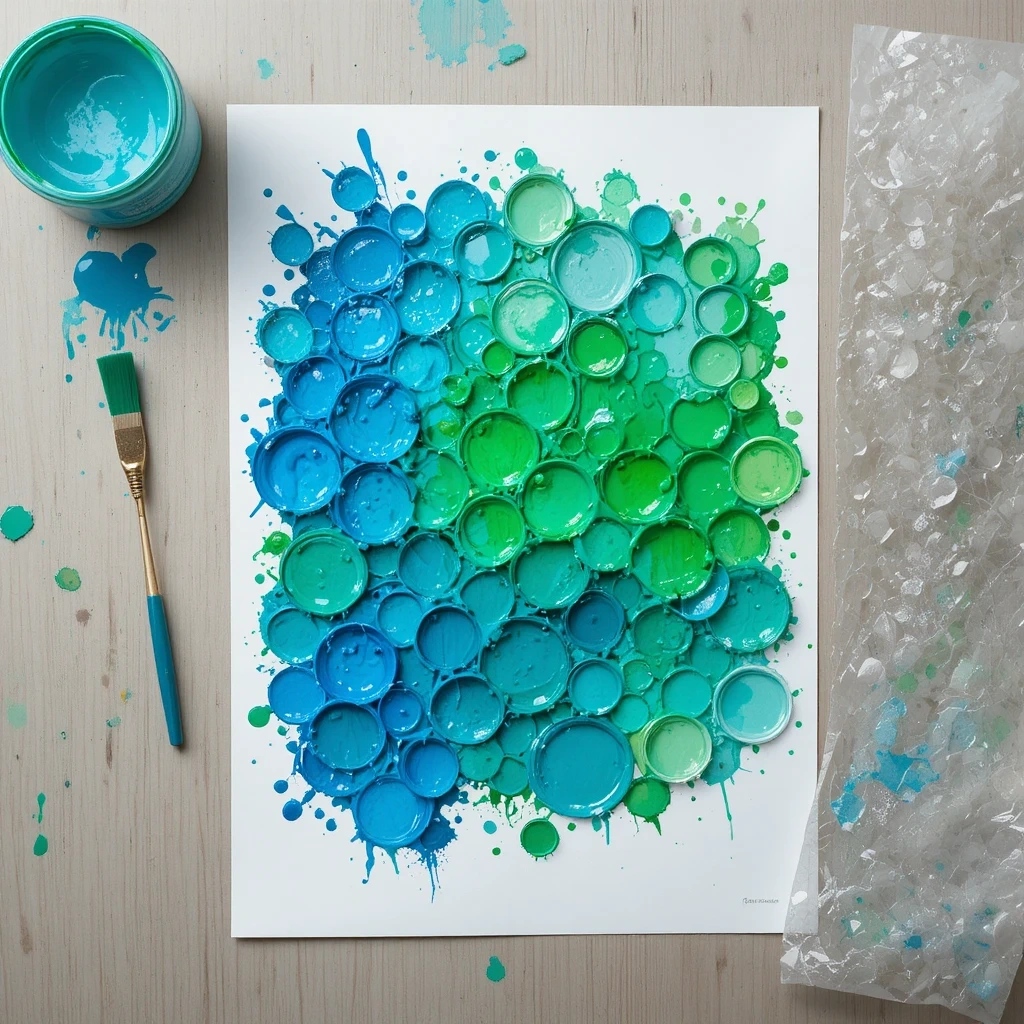
Pop it AND paint with it. Bubble wrap makes the most satisfying and unique textures in paint projects.
Materials:
- Bubble wrap (small bubbles work best)
- Washable paint
- Roller or brush to apply paint
- White paper
Steps:
- Lay bubble wrap flat, bubble side up.
- Roll or brush paint evenly across the bubbles.
- Press white paper firmly on top.
- Peel back slowly to reveal the dotted print.
- Try different colors for a layered effect.
Time: 10–15 minutes Difficulty: Easy
Tip: After printing, let your toddler pop the remaining bubbles — a satisfying bonus activity!
15. Paper Roll Telescope
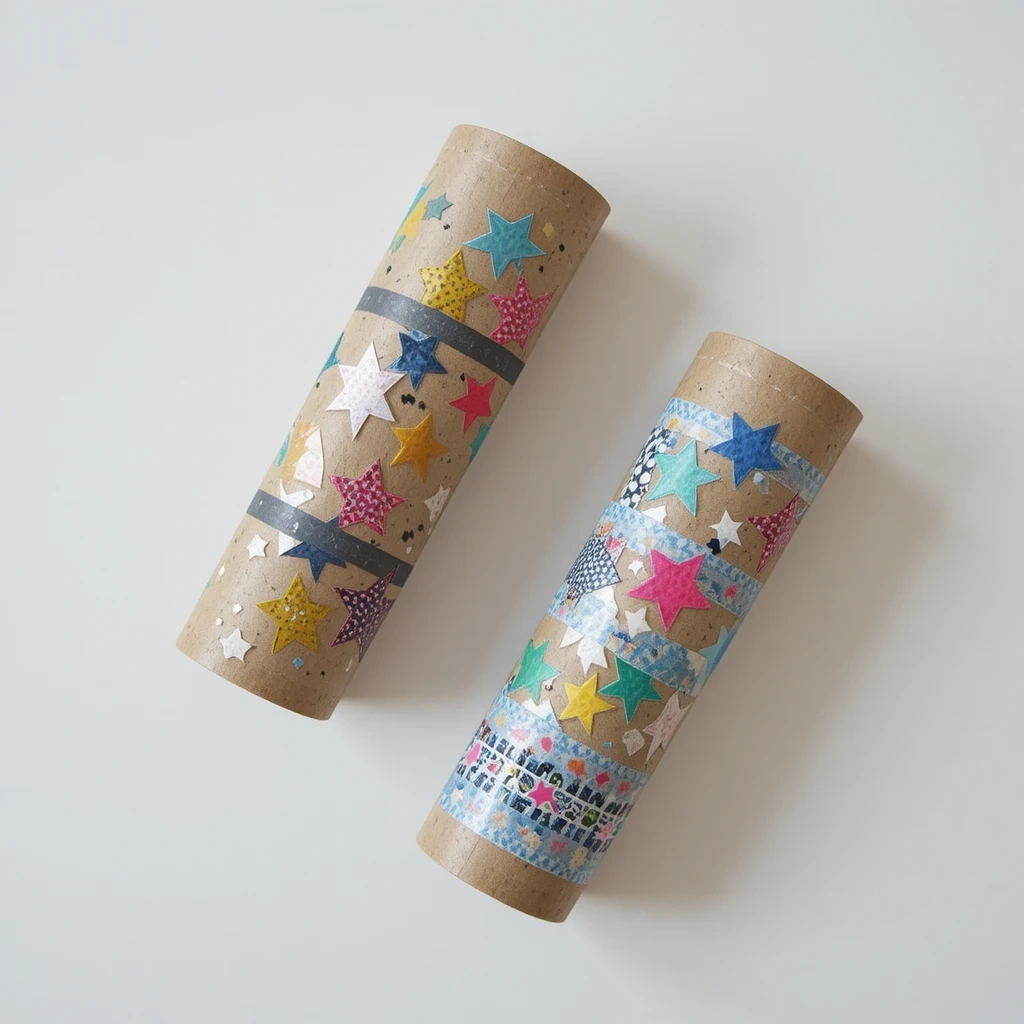
Turn imagination up to 11 with this easy make-believe toy. It’s quick to make and hours of fun to use.
Materials:
- 2 cardboard tubes (one slightly smaller than the other)
- Paint or decorative tape
- Stickers or markers
- Glue or tape
Steps:
- Paint or decorate both tubes. Let dry.
- Slide the smaller tube inside the larger one — it should slide in and out like a real telescope.
- Decorate with stickers, markers, or washi tape patterns.
- Let your little explorer start their adventure.
Time: 15 minutes Difficulty: Easy
Tip: Cover the end with colored cellophane to make the world look tinted — toddlers love this effect!
Common Mistakes to Avoid
- Using permanent or non-washable paint — Always use washable, non-toxic paint for toddlers. It saves clothes, tables, and your sanity.
- Making it too complicated — If a project has more than 5–6 steps, simplify it. Toddlers lose interest fast. Focus on the doing, not the finished product.
- Skipping the prep — Set up your workspace before inviting your toddler in. Pre-cut materials, open glue sticks, and pour paint in advance so momentum stays high once they sit down.
Tips for Best Results
- Protect surfaces first — A plastic tablecloth or newspaper makes cleanup fast and stress-free.
- Use a smock or old shirt — Even “washable” paint can stain with enough time on fabric.
- Follow their lead — If your toddler wants to do something differently, let them. Process over product.
- Work in small batches — Set out small amounts of paint and glue to reduce mess and waste.
- Celebrate everything — Praise effort, not perfection. Their version is always the right version.
- Store unfinished projects — If attention fades, seal paints and continue later. Most projects keep well overnight.
Frequently Asked Questions
Q: What age are these crafts suitable for? Most of these projects work well for toddlers aged 18 months to 4 years. For children under 2, focus on the painting and sticking activities and skip any small parts like googly eyes.
Q: What type of paint is safest for toddlers? Always use washable, non-toxic, water-based paint. Brands specifically labeled for children or finger painting are the safest choice.
Q: How do I keep my toddler engaged during a craft? Keep sessions short (10–20 minutes), have all materials ready before starting, and let them make their own choices — which color, where to glue, how many dots. Autonomy keeps them interested.
Q: Can I do these crafts with a group of toddlers? Absolutely! Most of these are easy to scale. Set up each material in a central spot so kids can share, and choose simpler projects like stamping or cotton ball collages for group settings.
Q: What do I do with all the finished crafts? Display them proudly! Tape them to a window, hang them on a string as a gallery wall, gift them to grandparents, or photograph them and compile a digital album as a keepsake.
Q: Do I need to buy special supplies? Not at all. Most of these crafts rely on things you already have — egg cartons, old socks, paper bags, cardboard tubes, and basic paint. Crafting on a budget is totally doable.
Conclusion
You don’t need fancy supplies or hours of spare time to make something magical with your toddler. A paper plate, some paint, and a few minutes of togetherness is more than enough.
Pick one project from this list today and just go for it — messy hands and all. The giggles and pride on their little faces will make every paint splatter worth it. Happy crafting!