13 Fall Wood Crafts to Cozy Up Your Home This Season
There’s something special about crafting with wood when the leaves start to turn. It feels warm, natural, and perfectly in sync with the season.
Whether you’re a total beginner or a seasoned DIYer, these fall wood crafts are fun, affordable, and easy to pull off at home.
1. Rustic Wooden Pumpkin Stack

A charming stacked pumpkin display made from scrap wood rounds — no carving required.
Materials:
- 3 wood slices (different sizes)
- Orange, green, and brown paint
- Wooden dowel or twig for the stem
- Wood glue
- Sandpaper
Steps:
- Sand each wood slice smooth.
- Paint each slice orange and let dry completely.
- Stack the slices from largest to smallest and glue together.
- Insert a twig or dowel into the top for a stem.
- Add green paint details for leaves if desired.
- Time: 30–45 minutes
- Difficulty: Easy
Tip: Use a burnt orange and deep red mix for a more realistic pumpkin look.
2. Fall Wood Crafts: Painted Leaf Coasters
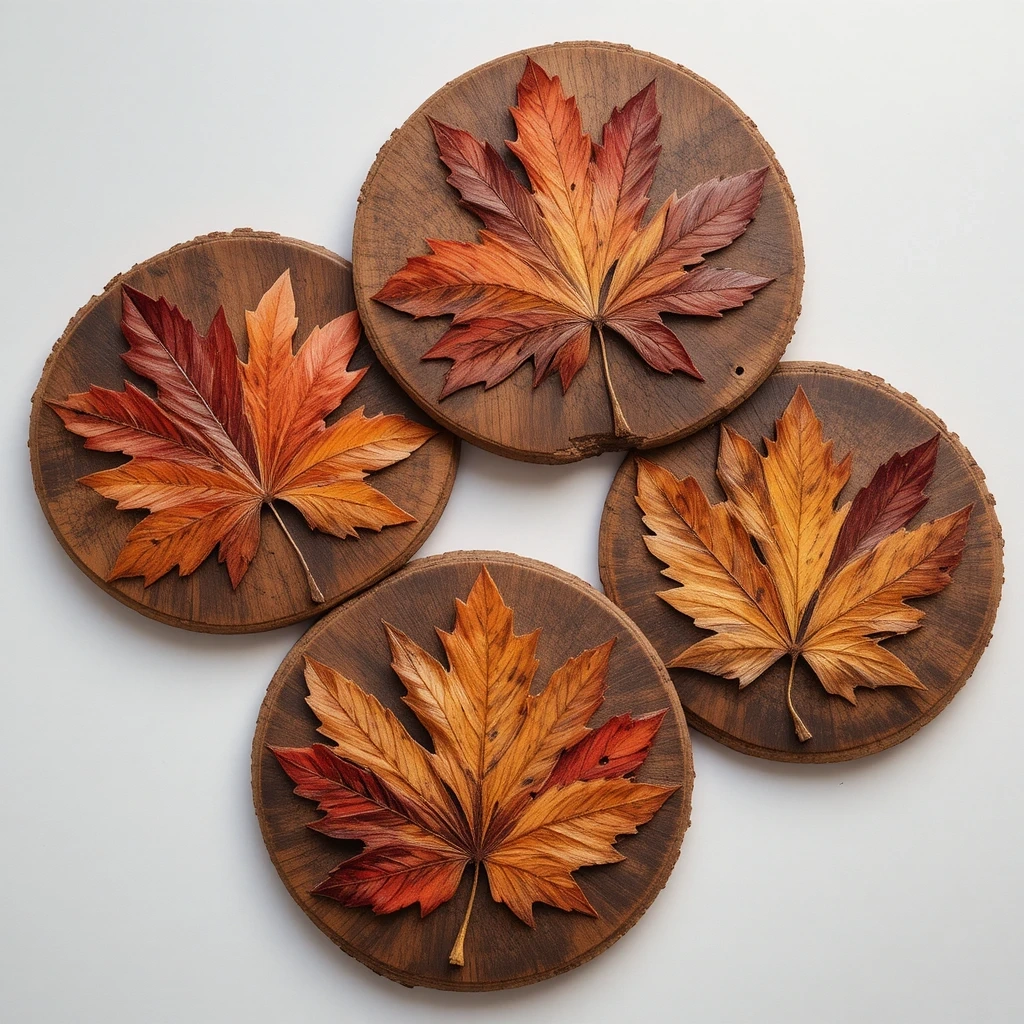
Turn plain wood slices into beautiful leaf-print coasters — functional and festive.
Materials:
- 4 round wood slices (3–4 inches)
- Acrylic paint (red, orange, yellow)
- Real leaves or leaf stencils
- Sponge brush
- Mod Podge or clear sealant
Steps:
- Sand and clean each wood slice.
- Paint the base a neutral tan or cream color.
- Press a real leaf into paint and stamp it onto the slice.
- Let dry for 30 minutes.
- Seal with Mod Podge for a waterproof finish.
- Time: 20–30 minutes
- Difficulty: Easy
Tip: Use actual fallen leaves for the most realistic texture and imprint.
3. Wooden Acorn Ornaments
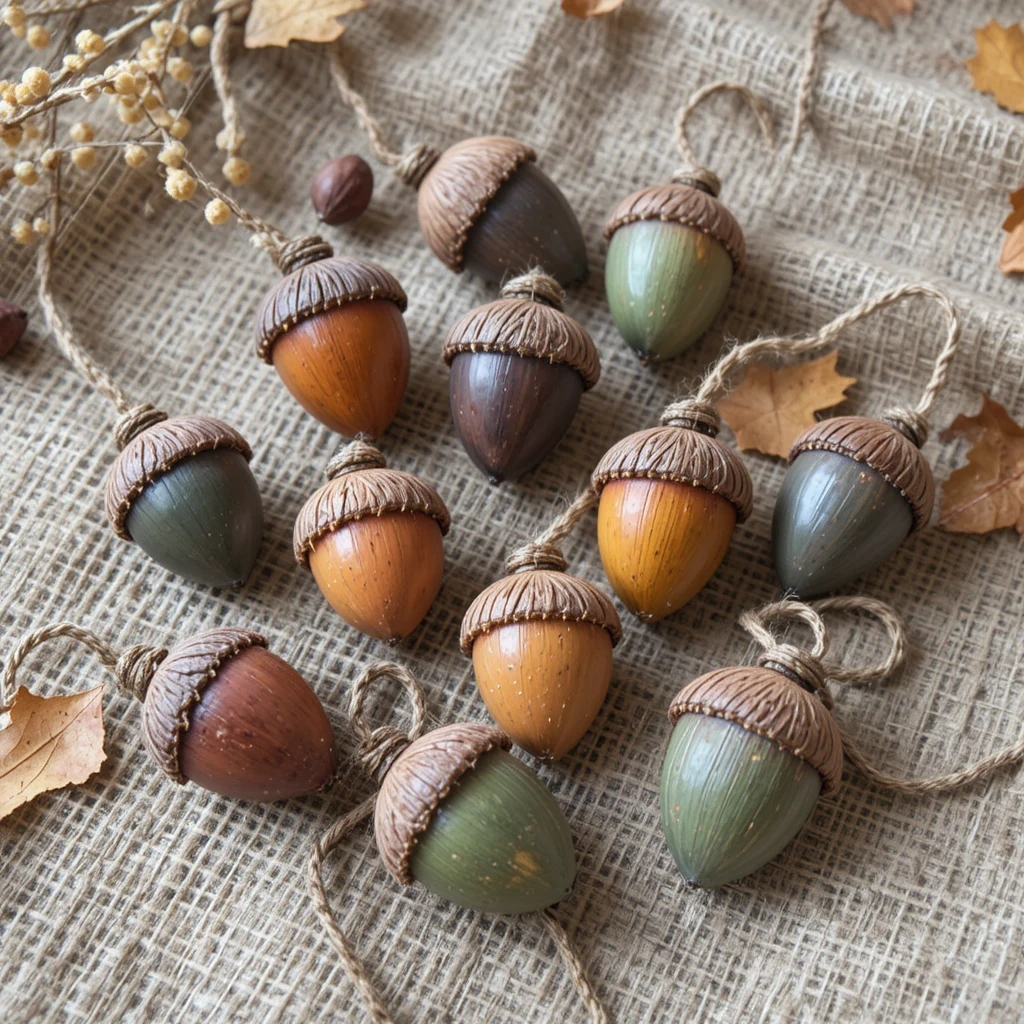
These little wooden acorns are perfect for hanging on a wreath or holiday tree.
Materials:
- Small wood beads or egg-shaped cutouts
- Brown and tan paint
- Twine or jute cord
- Hot glue gun
- Small wood caps (or felt)
Steps:
- Paint the bottom half of the bead tan and the top brown.
- Let dry fully.
- Glue a small loop of twine to the top for hanging.
- Add a tiny texture dot pattern to the cap with a toothpick.
- Seal with a matte finish spray.
- Time: 15–25 minutes
- Difficulty: Easy
4. Reclaimed Wood Fall Sign
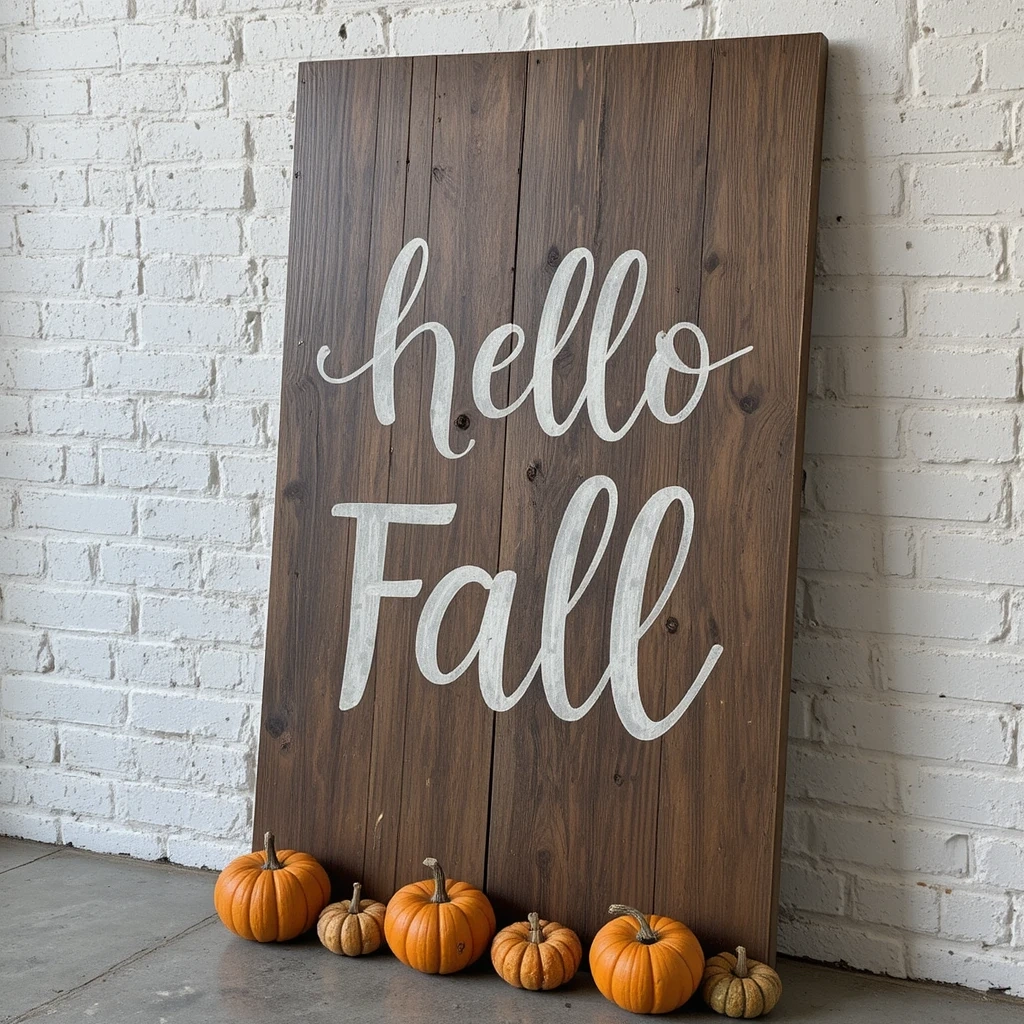
A warm “Hello Fall” or “Gather” sign made from pallet wood — great above a fireplace or on a porch.
Materials:
- 3–4 pallet wood planks
- Black or white chalk paint
- Letter stencils
- Sandpaper
- Picture hanging hardware
- Wood stain
Steps:
- Cut planks to the same length and sand rough edges.
- Stain planks in a warm walnut or cedar tone.
- Align planks side by side and secure with a horizontal brace on the back.
- Use stencils to paint your chosen word or phrase.
- Attach hanging hardware to the back.
- Time: 45–60 minutes
- Difficulty: Medium
Tip: Distress the edges with sandpaper after painting for a vintage farmhouse look.
5. Wooden Candleholder Centerpiece
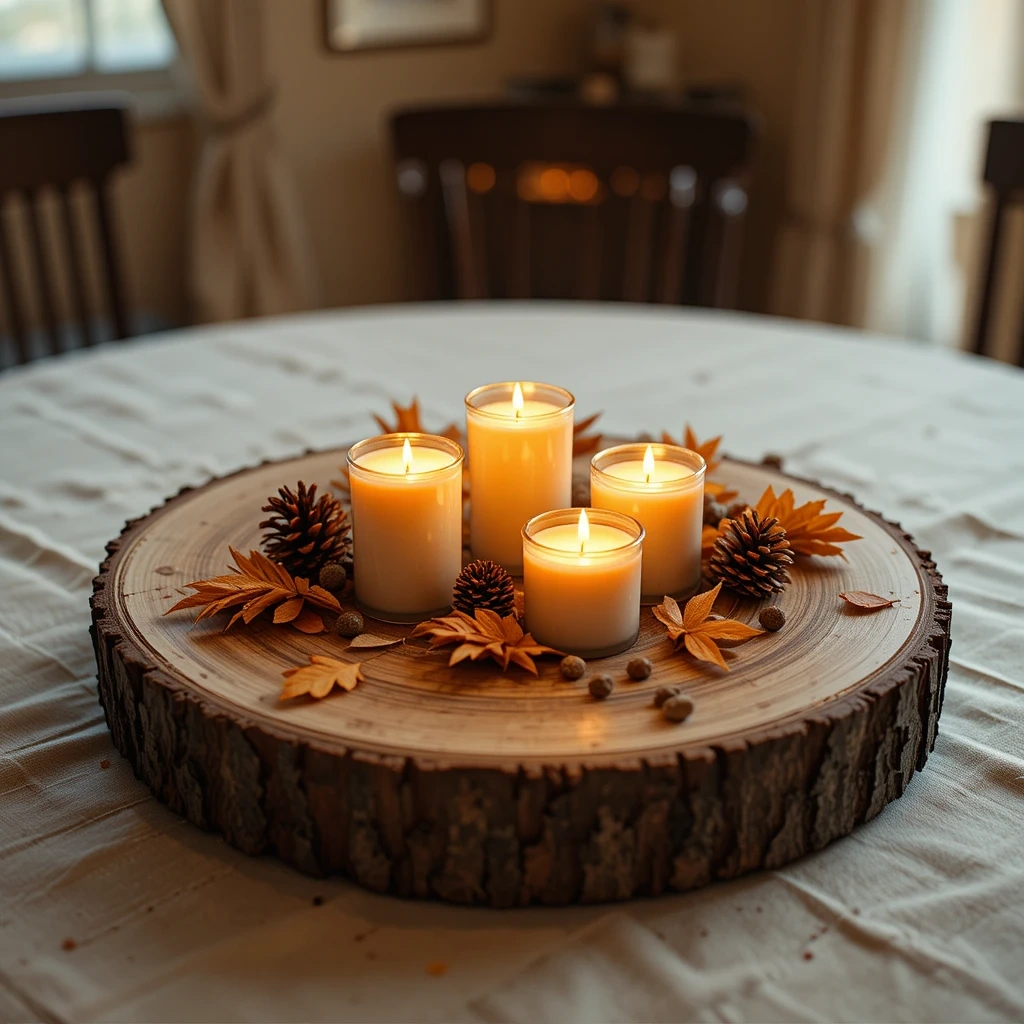
A simple log slice turned into a multi-candle centerpiece for your fall table.
Materials:
- Large flat log slice or wood plank
- Drill with spade bit
- Tea light candles
- Dried leaves, pinecones, or moss
- Wood stain
Steps:
- Stain or paint the log slice and let dry.
- Drill 3–5 evenly spaced holes sized for tea light candles.
- Place tea lights into each hole.
- Decorate around the candles with dried botanicals.
- Optionally add small twigs or cinnamon sticks for fragrance.
- Time: 30–40 minutes
- Difficulty: Medium
Tip: Use battery-operated tea lights for a safer, long-lasting display.
6. Fall Wood Crafts: Scarecrow Face Plaque
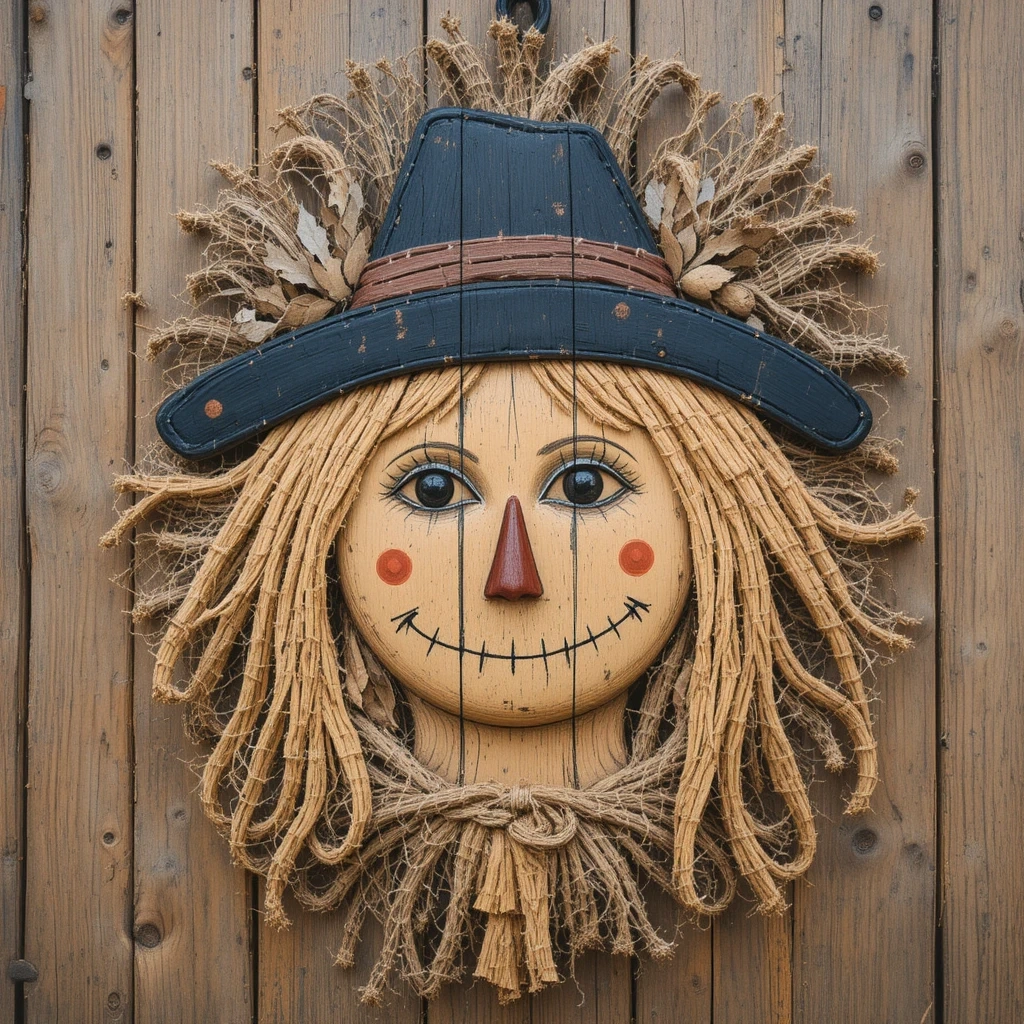
A fun and festive wood plaque painted to look like a cheerful scarecrow face.
Materials:
- Flat wood plaque (8×10 inches)
- Acrylic paints (tan, black, brown, red)
- Round sponge brush
- Raffia or burlap ribbon
- Hot glue gun
Steps:
- Paint the plaque tan as a base coat.
- Draw and paint a simple scarecrow face — triangle eyes, stitch mouth, rosy cheeks.
- Add a painted or real burlap hat shape at the top.
- Glue raffia around the edges to mimic straw.
- Add a hanging loop at the back.
- Time: 40–50 minutes
- Difficulty: Easy
7. Wood Slice Wreath
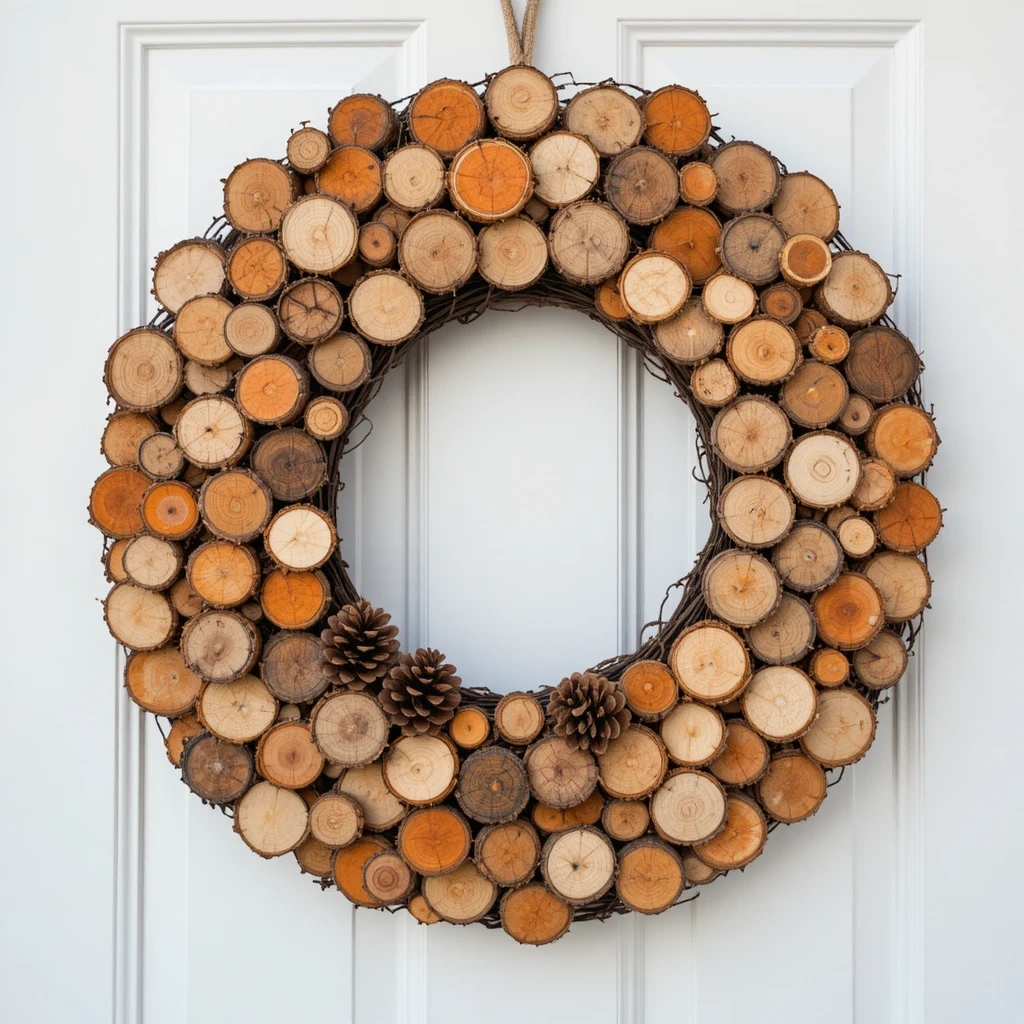
A stunning wreath made entirely of small wood slices layered in a circle — earthy and elegant.
Materials:
- 20–30 small wood slices (1–2 inches)
- Grapevine or foam wreath base
- Hot glue gun
- Burnt sienna and gold paint
- Ribbon for hanging
Steps:
- Paint some wood slices in fall tones — leave others natural.
- Hot glue slices onto the wreath base, overlapping slightly.
- Layer from the outside in for a full look.
- Fill gaps with painted slices or small pinecones.
- Attach a ribbon loop to the top for hanging.
- Time: 60–75 minutes
- Difficulty: Medium
Tip: Mix painted and unpainted slices for a more natural, textured finish.
8. Painted Wood Thankful Tree
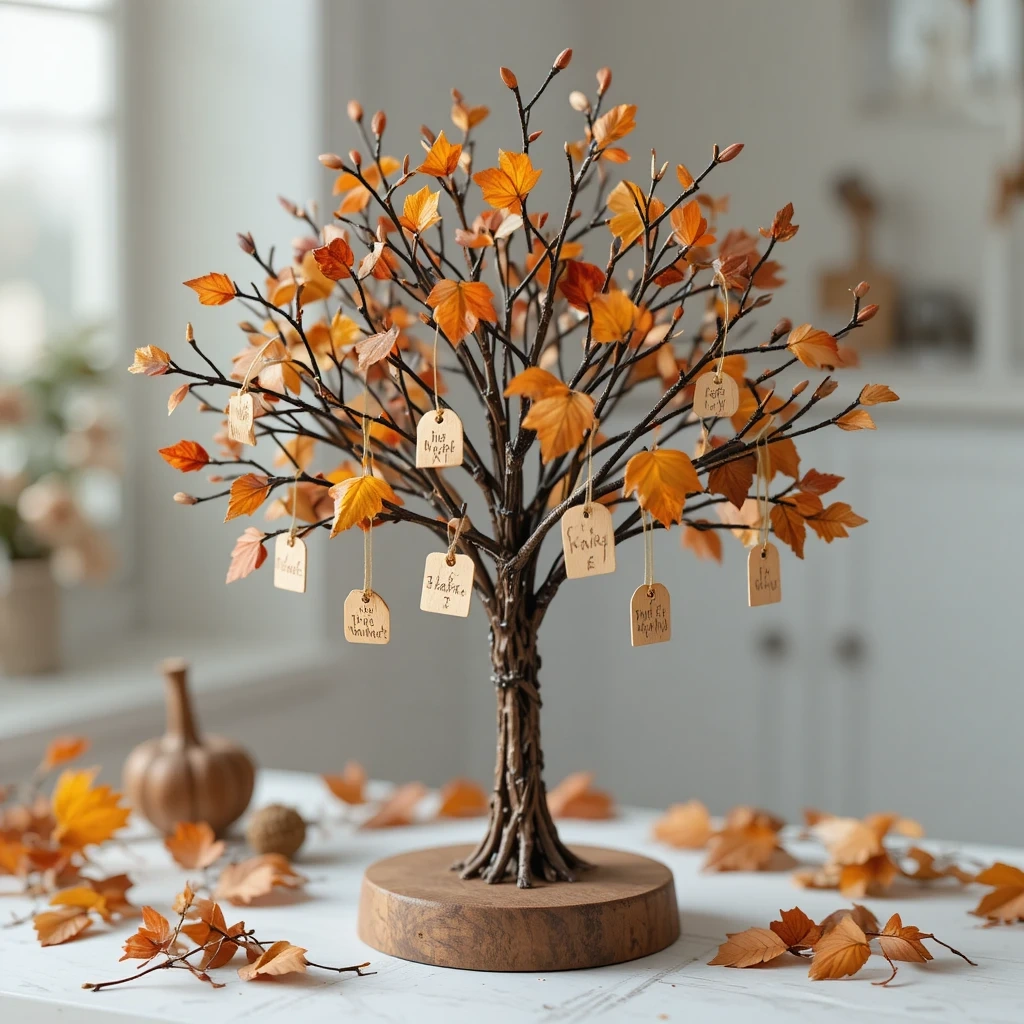
A beautiful tabletop tree with branches where family members write what they’re grateful for.
Materials:
- Flat wood board (base)
- Thin wooden branches or twigs
- Small wood tags or leaf cutouts
- Twine
- Brown paint and white chalk marker
Steps:
- Paint the wood board brown or stain it.
- Drill small holes and insert branches to form a tree shape.
- Secure branches with hot glue or floral foam at the base.
- Cut small wood tags in leaf shapes and punch holes at the top.
- Write thankful notes and hang with twine from branches.
- Time: 45–60 minutes
- Difficulty: Medium
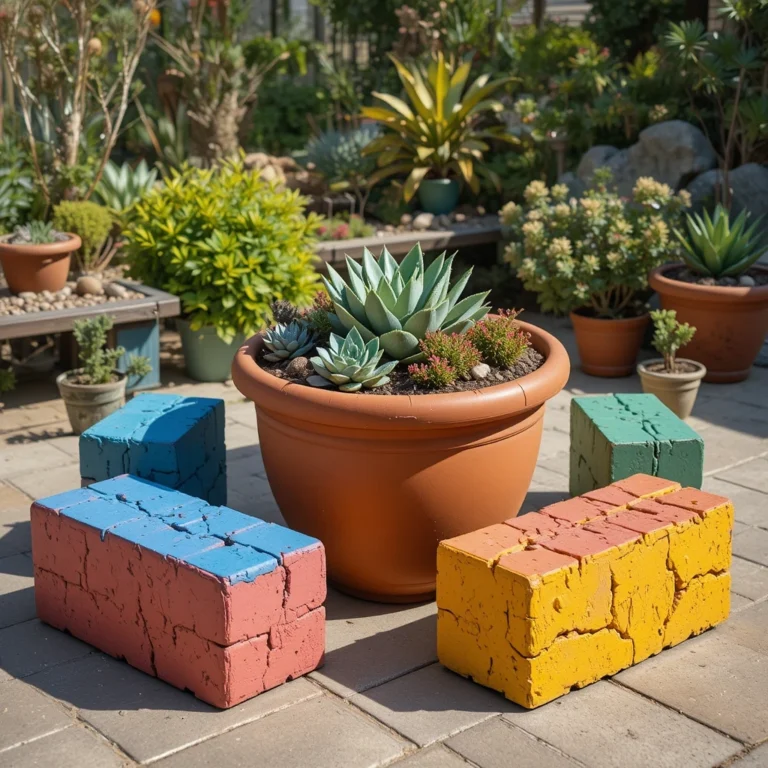
9. Mini Wooden Hay Bale Decor
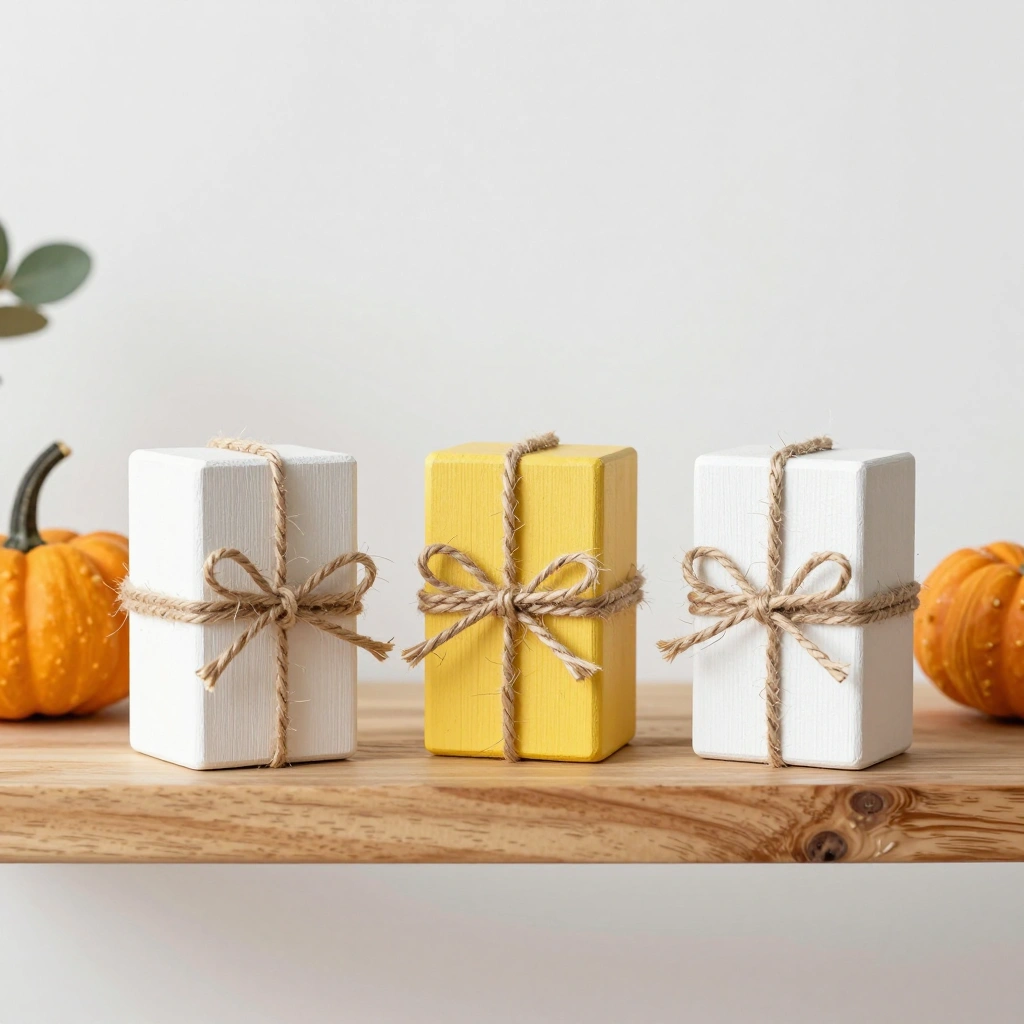
Adorable tiny hay bales built from wood blocks and twine — great for shelf or mantle styling.
Materials:
- Small rectangular wood blocks
- Natural jute twine
- Yellow and tan paint
- Hot glue gun
- Sandpaper
Steps:
- Sand all surfaces of the wood block smooth.
- Paint in a straw-yellow tone and let dry.
- Lightly dry-brush tan over the yellow for texture.
- Wrap twine around the block twice and tie a knot.
- Secure the twine with a dot of hot glue on the back.
- Time: 15–20 minutes
- Difficulty: Easy
Tip: Make a set of three in different sizes and arrange them together for a fuller display.
10. Driftwood Fall Mobile
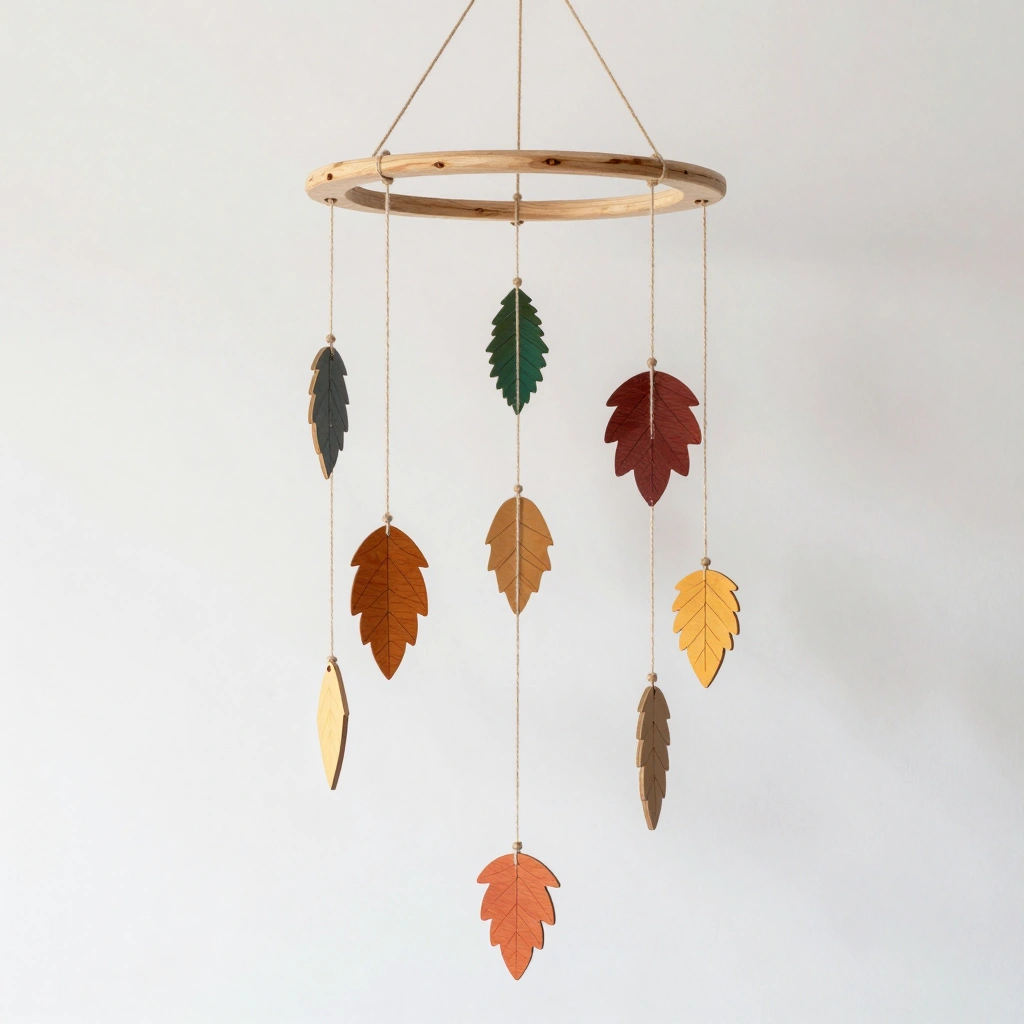
A breezy hanging mobile made from driftwood and autumn-colored dangling elements.
Materials:
- One long driftwood or thick branch piece
- Twine or fishing line
- Wooden leaves or laser-cut wood shapes
- Fall-colored paint
- Drill
Steps:
- Drill 4–5 small holes along the underside of the branch.
- Cut twine in varying lengths and thread through each hole.
- Paint wood leaf shapes in red, orange, and gold.
- Tie one painted leaf to the end of each twine length.
- Add a loop of twine at the top for hanging.
- Time: 30–40 minutes
- Difficulty: Easy
11. Wood Burned Autumn Coasters
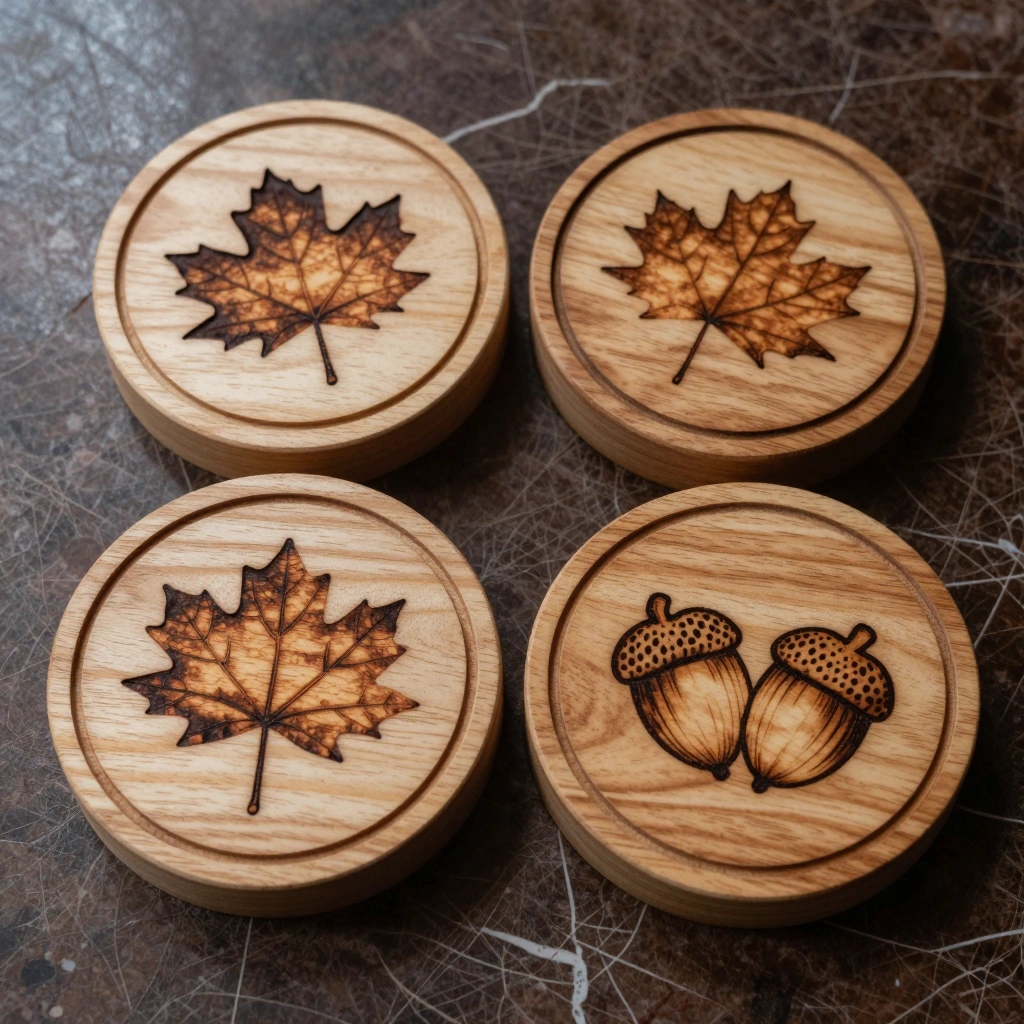
Use wood burning to etch beautiful autumn patterns onto wood coasters — timeless and personal.
Materials:
- 4 blank wood coasters
- Wood burning tool (pyrography pen)
- Pencil
- Fine sandpaper
- Matte sealant spray
Steps:
- Lightly pencil a leaf, acorn, or geometric pattern onto each coaster.
- Heat the pyrography pen and carefully trace the pencil lines.
- Use shading tips to add depth to the design.
- Let cool and sand away any rough raised areas.
- Spray with matte sealant to protect the design.
- Time: 45–60 minutes
- Difficulty: Medium
Tip: Practice your burns on scrap wood first before moving to the coasters.
12. Fall Wood Crafts: Harvest Moon Wall Art
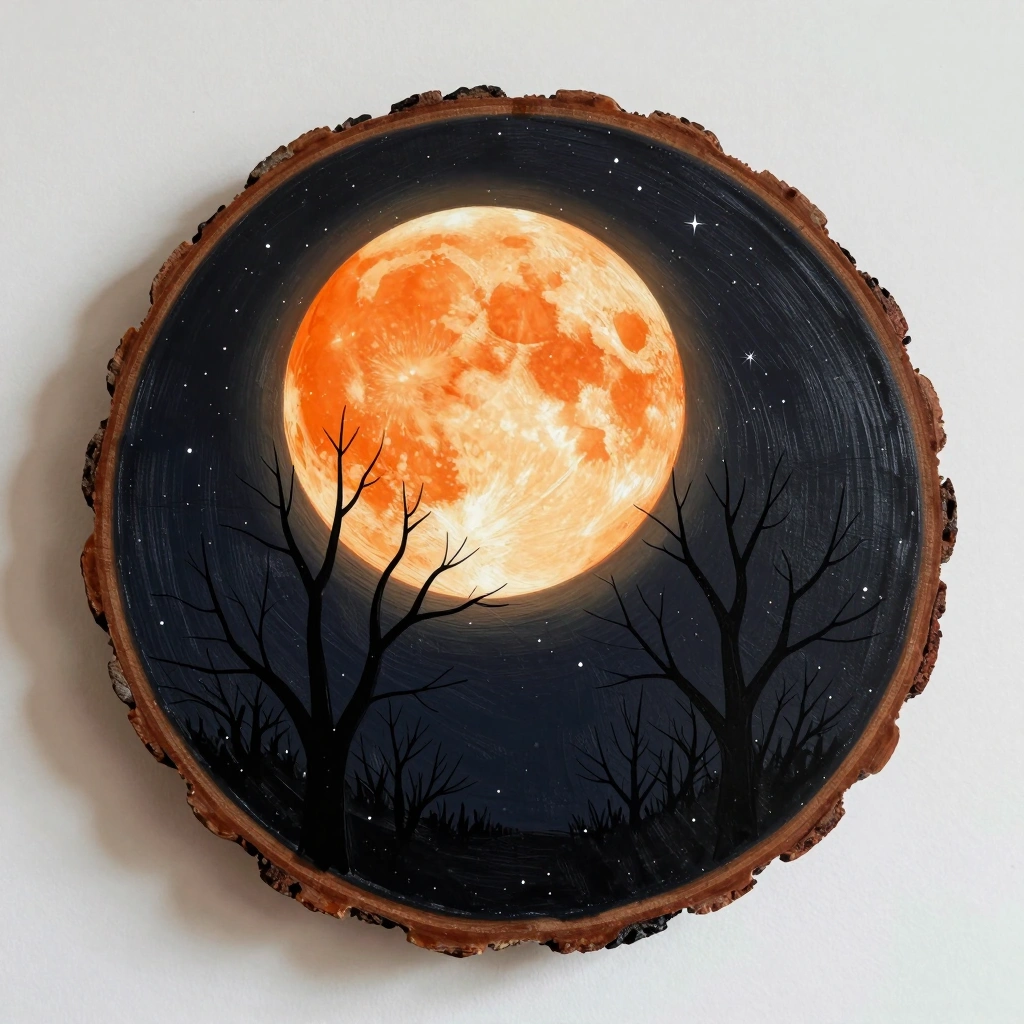
A large circular wood slice painted with a glowing harvest moon and silhouetted tree scene.
Materials:
- Large wood slice or round plywood cutout
- Black, deep blue, and orange acrylic paint
- Fine detail brush
- Matte sealant
- Hanging hardware
Steps:
- Paint the entire slice in a deep navy or dark blue.
- While still slightly wet, blend in a large orange circle for the moon.
- Let dry fully, then paint bare tree silhouettes in black along the bottom.
- Add tiny dots of white for stars using a toothpick.
- Seal and attach hanging hardware to the back.
- Time: 60–90 minutes
- Difficulty: Medium
13. Wooden Blessing Box
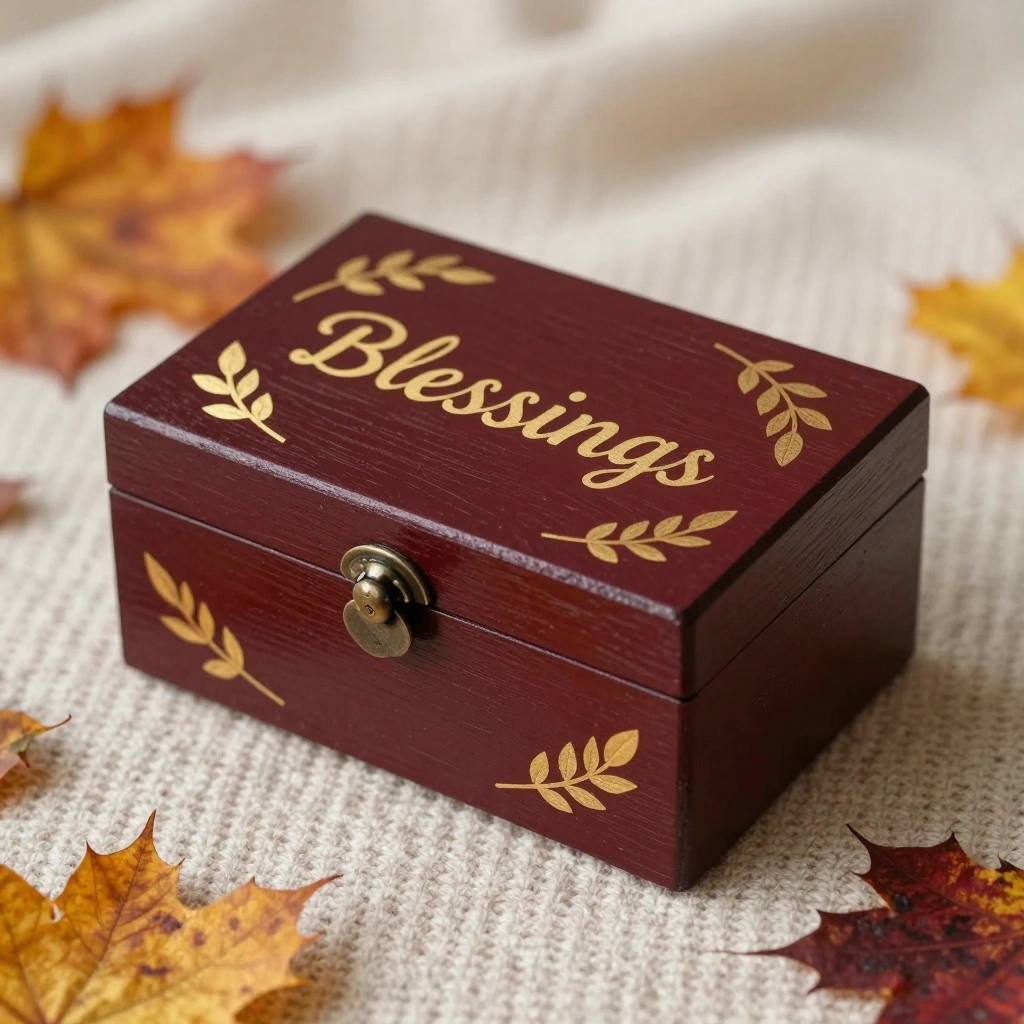
A small keepsake box decorated with fall motifs — perfect for storing handwritten gratitude notes.
Materials:
- Unfinished wood box (craft store)
- Acrylic paint (deep burgundy, gold, green)
- Fine brush
- Mod Podge
- Letter stickers or stencil
Steps:
- Paint the entire box in a deep burgundy base coat.
- Paint small fall leaves or a wreath around the lid.
- Use gold paint or stickers for a word like “Blessings” or “Grateful.”
- Let dry fully — at least one hour.
- Seal the entire box with Mod Podge for a smooth finish.
- Time: 40–55 minutes
- Difficulty: Easy
Tip: Line the inside with a small square of felt for an extra polished look.
Common Mistakes to Avoid
- Skipping the sanding step — Unsanded wood soaks up paint unevenly and leaves a rough finish. Always sand before painting, even if the surface looks smooth.
- Not sealing finished pieces — Paint without a sealant chips and fades fast, especially for items used outdoors or as coasters. Always finish with Mod Podge or a clear spray sealant.
- Using too much glue at once — Hot glue dries in seconds and applying too much creates visible lumps. Work in small sections for cleaner results.
Tips for Best Results
- Work in layers — Let each coat of paint dry fully before adding the next. Rushing causes streaks and muddy colors.
- Use chalk paint for a matte, farmhouse finish — It requires no priming and sticks beautifully to raw wood.
- Embrace imperfection — Handmade wood crafts are meant to look organic. Small quirks add charm.
- Buy in bulk — Wood slices, twine, and acrylic paints are much cheaper in multipacks online.
- Prep your workspace — Cover your table with a plastic sheet or newspaper before starting to make cleanup easy.
- Label your paint colors — When making sets like coasters, note the exact paint names so you can recreate the look consistently.
Frequently Asked Questions
Q: What type of wood is best for beginner fall crafts? Balsa wood, pine, and pre-cut wood slices from craft stores are ideal for beginners. They’re soft, affordable, and easy to paint or burn.
Q: Do I need special tools for wood crafts? Most of these projects require only basic tools — a hot glue gun, sandpaper, and acrylic paint. A wood burning tool is needed for pyrography projects but is inexpensive and easy to use.
Q: Can kids do these fall wood crafts? Yes! Projects like wooden acorn ornaments, leaf coasters, and the thankful tree are very kid-friendly. Avoid wood burning projects for children under 12.
Q: Where can I buy unfinished wood pieces? Craft stores like Michaels or Hobby Lobby carry a wide range. You can also find great deals on Amazon or Etsy for bulk wood slices and shapes.
Q: How do I make painted wood pieces last longer? Always finish with two coats of Mod Podge or a clear sealant spray. For outdoor pieces, use an exterior-grade sealant or polyurethane.
Q: Can I use leftover pallet wood for these projects? Absolutely. Pallet wood adds a rustic charm that’s perfect for fall aesthetics. Just sand it well and check for splinters or nails before use.
Conclusion
Fall is the perfect season to slow down, get creative, and fill your home with warmth. These 13 projects cover everything from quick and easy ornaments to more involved wall art — so there’s something for every skill level.
Pick one project this weekend and enjoy the process. A little wood, some paint, and a cozy afternoon is all you need to bring the beauty of autumn indoors.