10 Fun Outer Space Crafts for Kids for Creative Learning Time
Rainy afternoon? Looking for something fun that sparks imagination? These 10 outer space crafts for kids are the perfect way to combine creativity with a love of the cosmos. From rockets to alien planets, each project is simple, affordable, and seriously impressive.
Kids of all ages can dive in. Most projects use materials you already have at home.
1. Toilet Roll Rocket Ship

Outer Space Crafts for Kids: Classic Rocket Build
A toilet roll rocket is one of the most beloved outer space crafts for kids — and for good reason. It’s quick, easy, and uses recycled materials. Kids can personalize their rockets with colors, stickers, and flames.
Materials:
- Toilet paper roll
- Red, orange, and yellow tissue paper or crepe paper
- Construction paper (any color)
- Markers or paint
- Glue stick or craft glue
- Scissors
Steps:
- Paint or color the toilet roll in your favorite rocket colors. Let it dry.
- Cut a cone shape from construction paper and glue it to the top of the roll.
- Cut two small fins from construction paper and glue them to the bottom sides.
- Scrunch strips of red, orange, and yellow tissue paper and glue them inside the bottom opening to look like flames.
- Add windows, stars, or a flag design with markers.
Time: 20–30 minutes Difficulty: Easy
💡 Tip: Use metallic paint or aluminum foil for a shiny, realistic rocket effect.
Image Prompt: A colorful toilet roll rocket standing upright with orange and yellow tissue paper flames at the bottom, against a clean white background, Pinterest-style flat lay, craft photography.
2. Paper Plate Solar System Mobile
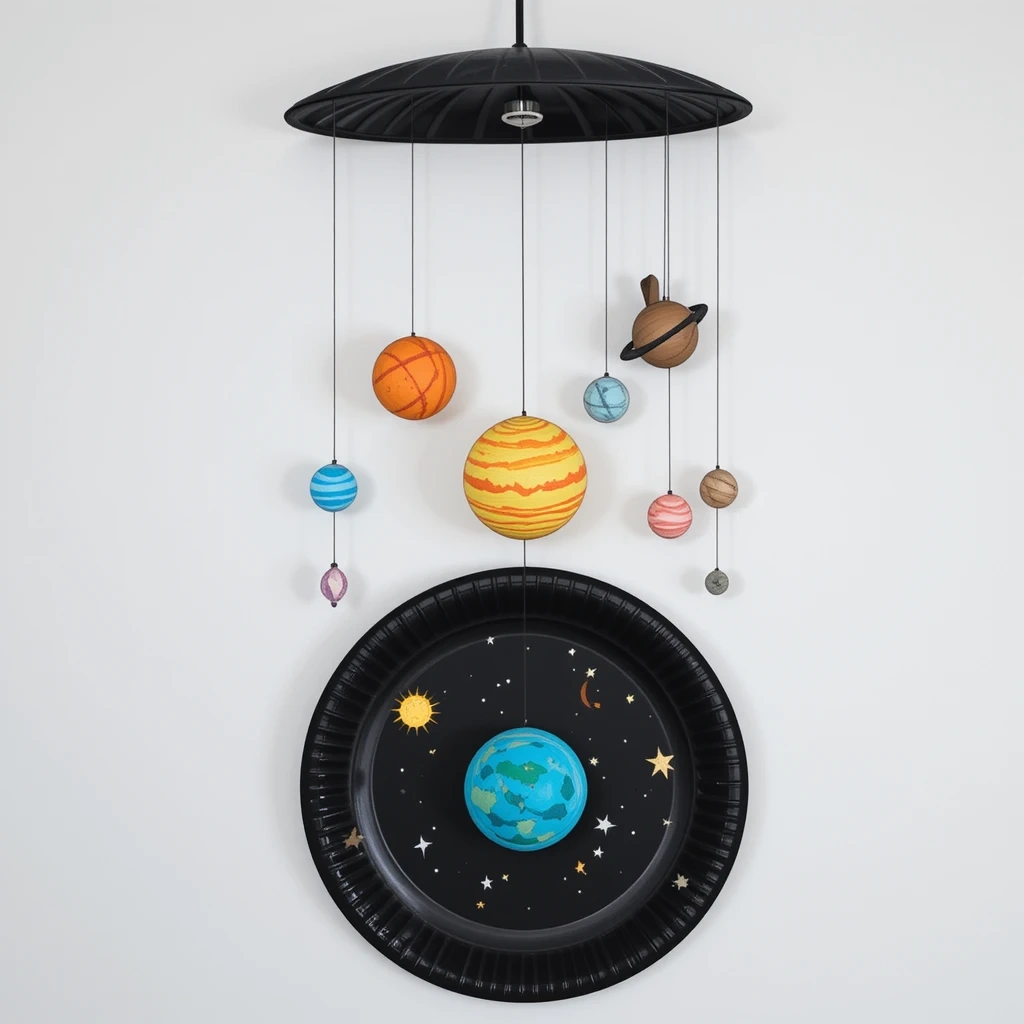
Outer Space Crafts for Kids: Hanging Solar System
This hanging mobile teaches kids about the planets while keeping their hands busy. It looks stunning above a bed or in a classroom.
Materials:
- 1 large paper plate
- 9 small paper circles (cut from cardstock)
- String or yarn
- Paints in various colors (red, blue, brown, orange, yellow)
- Hole punch
- Markers
- Scissors
Steps:
- Paint the large paper plate black and sprinkle white paint dots for stars while wet. Let dry.
- Paint each small circle to represent a planet (blue/green for Earth, red for Mars, orange/beige for Saturn, etc.).
- Add rings to Saturn using a strip of cardstock glued around the circle.
- Punch holes around the edge of the plate and tie strings of varying lengths.
- Attach each planet to a string. Add a label with the planet name using a marker.
- Punch two holes at the top and thread a longer piece of string to hang the mobile.
Time: 45–60 minutes Difficulty: Medium
💡 Tip: Use foam balls painted instead of paper circles for a 3D mobile effect.
3. Styrofoam Ball Planets
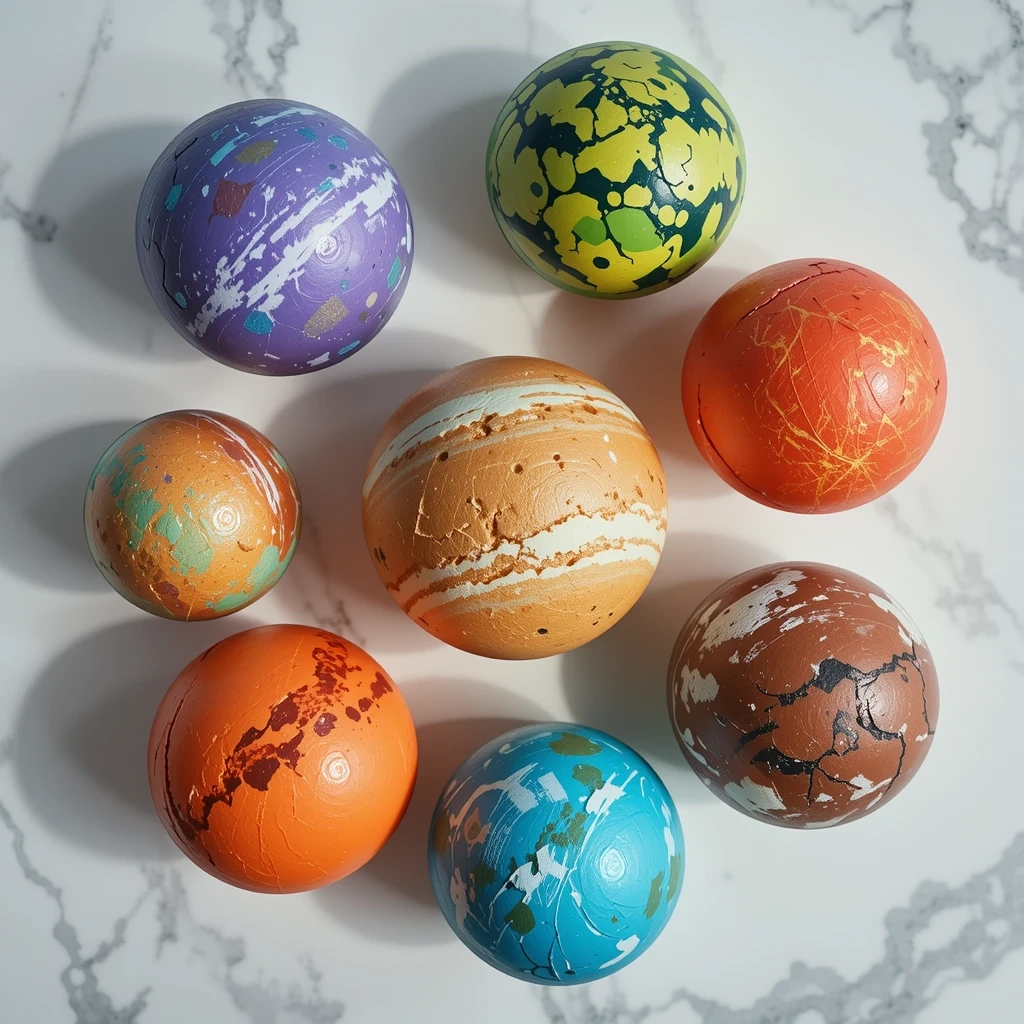
Space-Themed Craft: Planet Decorations
These painted Styrofoam planets make great bedroom décor or science fair props. They’re satisfying to make and look amazing as a group display.
Materials:
- Styrofoam balls (various sizes)
- Acrylic paints
- Paintbrushes
- Skewer sticks or toothpicks (for holding while painting)
- Glitter or glitter glue (optional)
- String for hanging
Steps:
- Push a skewer stick into each Styrofoam ball to use as a handle while painting.
- Apply a base coat of color to each planet. Let dry completely.
- Add details: swirls for Jupiter, rings for Saturn, craters for the Moon.
- Add glitter while the paint is still slightly wet for a sparkly effect.
- Once dry, remove the skewer and thread a string through with a needle for hanging.
Time: 30–45 minutes Difficulty: Easy
💡 Tip: Layer two or three paint colors while still wet to create a realistic planetary texture.
4. Cardboard Box Rocket Ship (Wearable!)
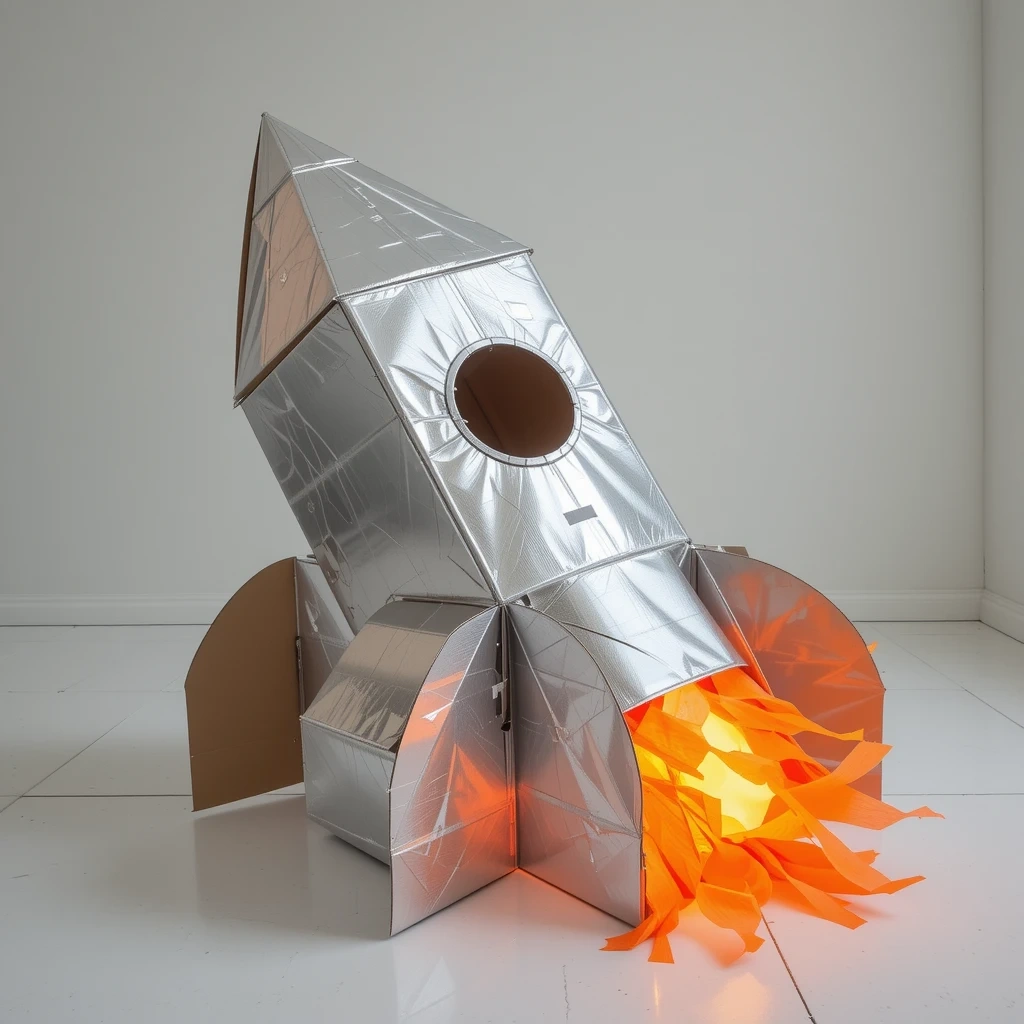
Galaxy-Themed DIY: Wearable Rocket Costume Box
Turn a large cardboard box into a wearable rocket ship. Kids can wear it around the house and blast off on imaginary missions — this is a next-level activity.
Materials:
- Large cardboard box (big enough to fit around a child’s waist)
- Silver and metallic paint or aluminum foil
- Red and orange tissue paper
- Cardstock for fins and nose cone
- Scissors and craft knife (adult use)
- Tape and hot glue
Steps:
- Cut shoulder straps from cardboard and attach them inside the box so it hangs around the child’s waist.
- Cover the box in aluminum foil or silver paint.
- Cut and attach large fins to the bottom sides.
- Add tissue paper “flames” hanging from the bottom.
- Decorate with buttons, dials, and mission patches drawn with markers.
Time: 60–90 minutes Difficulty: Medium
💡 Tip: Add a small cardboard “control panel” inside the box with drawn buttons and a speedometer for extra fun.
5. Salt Dough Alien Faces

Fun Outer Space Crafts for Kids: Alien Sculptures
Let kids create their own aliens from scratch using salt dough. This tactile project encourages wild creativity — no two aliens will ever look the same.
Materials:
- 1 cup flour
- ½ cup salt
- ½ cup water
- Green, purple, and blue paint
- Googly eyes
- Pipe cleaners
- Craft glue
Steps:
- Mix flour, salt, and water together until a smooth dough forms.
- Shape a round or oval face. Add bumps, noses, or multiple eye sockets by pressing in the dough.
- Bake at 250°F (120°C) for 2–3 hours until hard.
- Once cool, paint in alien colors — green, purple, teal, or neon.
- Glue on googly eyes and poke pipe cleaner antennae through small holes.
Time: 3–4 hours (includes baking and drying) Difficulty: Medium
💡 Tip: Air-dry clay works as a faster alternative if you want to skip the oven.
6. Glitter Jar Galaxy Sensory Bottle
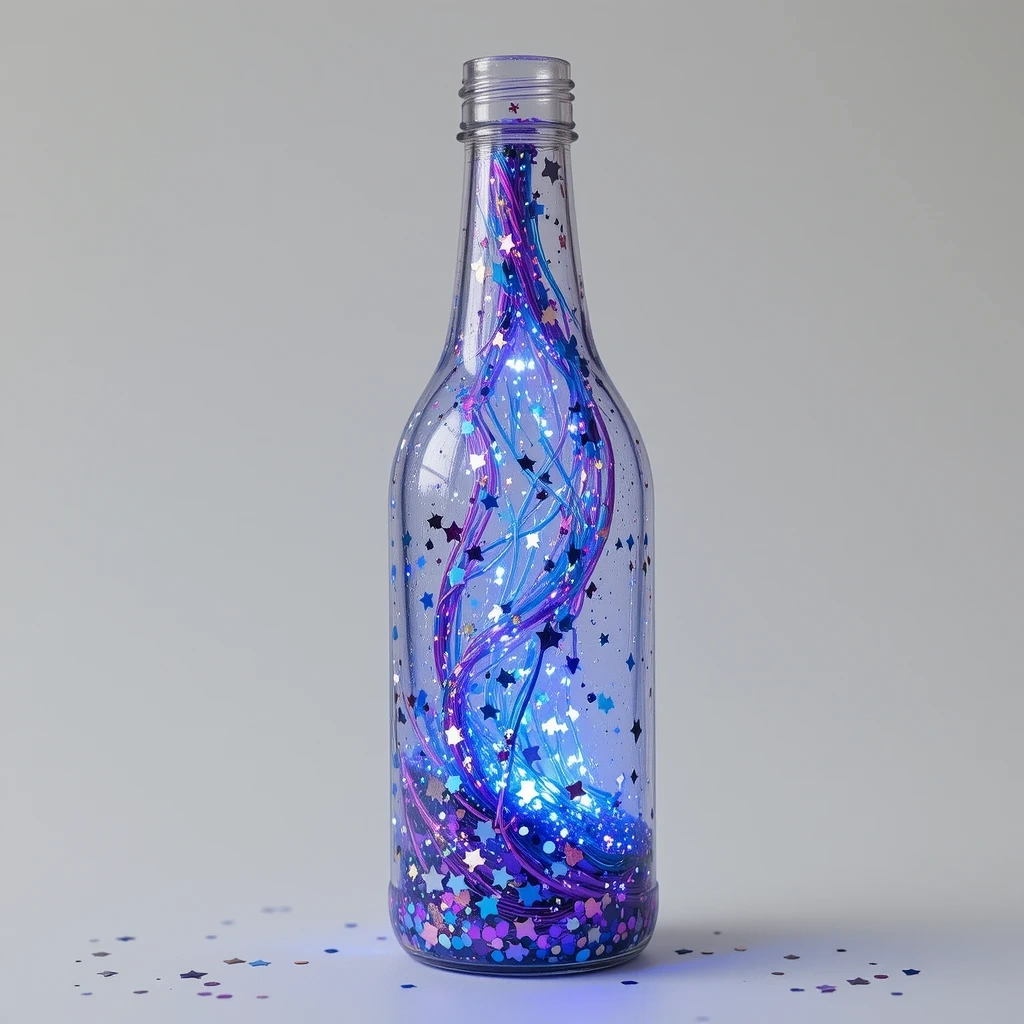
Cosmic Craft Idea: Galaxy Sensory Bottle
This calming, mesmerizing craft doubles as a sensory toy. Shake it and watch galaxies swirl inside — it’s magical for kids of all ages.
Materials:
- Clear plastic bottle with tight lid
- Clear school glue
- Water
- Fine glitter in purple, blue, silver, and pink
- Small star-shaped sequins
- Superglue to seal the lid
Steps:
- Fill the bottle halfway with clear school glue.
- Add water until nearly full and stir gently.
- Pour in glitter in multiple colors — be generous.
- Add star sequins or small foam stars.
- Seal the lid tightly with superglue and let dry before shaking.
Time: 15–20 minutes Difficulty: Easy
💡 Tip: Add a tiny drop of dish soap to help the glitter swirl more slowly and beautifully.
7. Black Paper Constellation Art
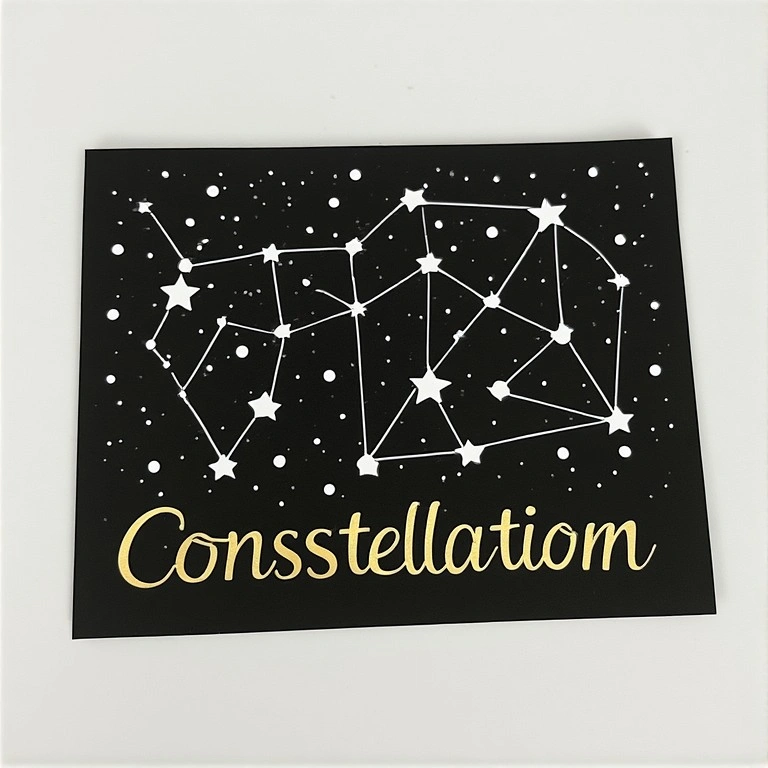
Night Sky Kids’ Craft: Constellation Drawing
Simple, stunning, and educational — this constellation craft teaches kids about stars while creating gallery-worthy wall art.
Materials:
- Black or dark blue cardstock
- White paint pen or white gel pen
- Gold or silver metallic paint
- Small round sticker dots (white or gold)
- Printed constellation reference sheet (optional)
Steps:
- Lay the black cardstock on a flat surface.
- Place small round sticker dots where the stars of a constellation go (use Orion, Big Dipper, or Cassiopeia as a guide).
- Use a white paint pen to connect the dots with straight lines.
- Add extra tiny dots around the page for background stars using the paint pen.
- Optionally, write the constellation name in gold pen at the bottom.
Time: 20–30 minutes Difficulty: Easy
💡 Tip: Frame the finished artwork for an instant, beautiful bedroom decoration.
8. Paper Bag Astronaut Puppet
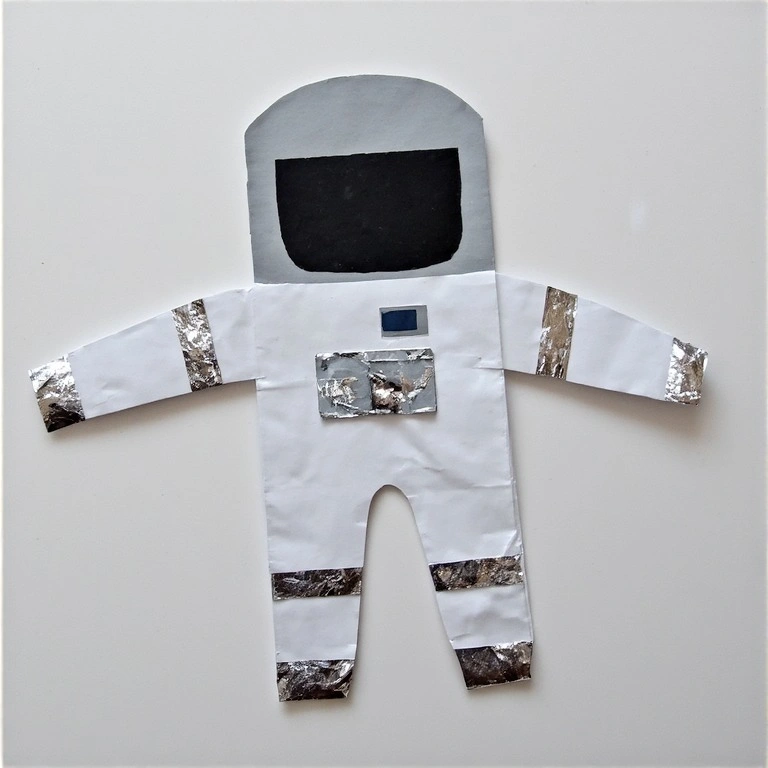
Rocket and Space Crafts: Astronaut Puppet
This paper bag astronaut puppet is perfect for storytelling and imaginative play. Kids can put on their own space missions right at home.
Materials:
- White paper lunch bag
- Gray and silver paper
- Black and white markers
- Googly eyes
- Aluminum foil
- Glue stick
Steps:
- Place the paper bag flat with the folded bottom facing up — this becomes the puppet’s head.
- Cut a helmet shape from gray paper and glue it around the top of the bag.
- Cut a rectangular visor from black paper and glue it in the center of the helmet.
- Add googly eyes inside the visor area.
- Draw a suit, buttons, and an oxygen tank on the body of the bag using markers.
- Add small aluminum foil details for a metallic look.
Time: 20–30 minutes Difficulty: Easy
💡 Tip: Make a whole crew of astronauts and aliens for a puppet show!
9. Tin Can Rocket Pencil Holder
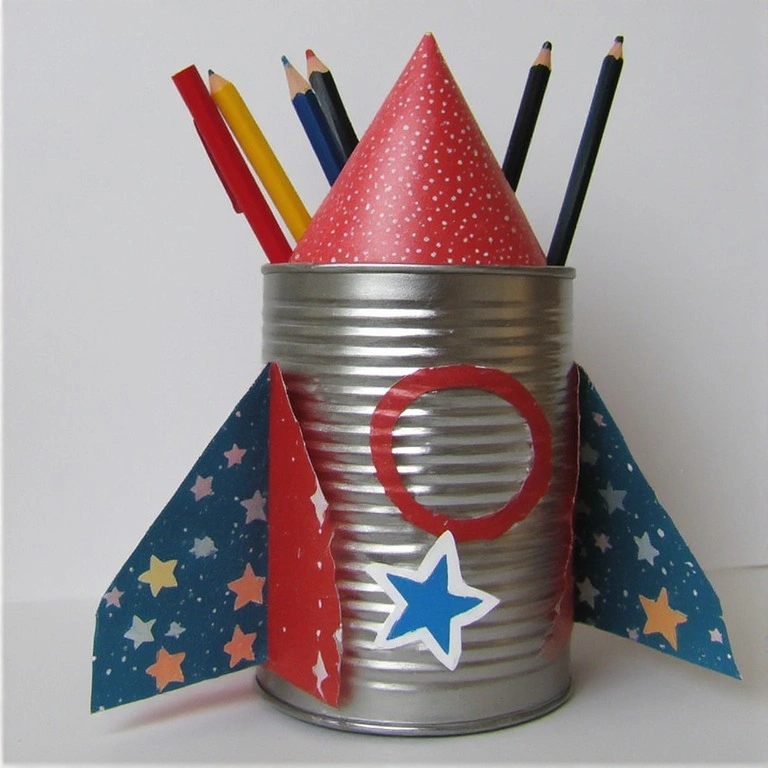
Space Craft for Kids: Upcycled Rocket Organizer
This practical craft turns an old tin can into a rocket-shaped pencil holder. It’s a great desk accessory and a fun way to upcycle.
Materials:
- Clean tin can (bean can or similar)
- Silver or metallic spray paint (adult use) or metallic acrylic paint
- Cardstock for cone and fins
- Stickers, foam shapes, or markers for decoration
- Hot glue or strong craft glue
Steps:
- Paint the tin can silver or your chosen rocket color. Let it dry fully.
- Roll a piece of cardstock into a cone shape sized for the top of the can, and glue it closed.
- Cut three small triangular fins from cardstock and fold a tab at the base of each.
- Glue the fins around the bottom of the can using the folded tabs.
- Glue the cone to the top of the can.
- Decorate with star stickers, drawn-on windows, and a mission name.
Time: 30–40 minutes Difficulty: Medium
💡 Tip: Use foam sheets instead of cardstock for fins — they’re sturdier and easier to cut.
10. Outer Space Crafts for Kids: Starry Night Watercolor Painting
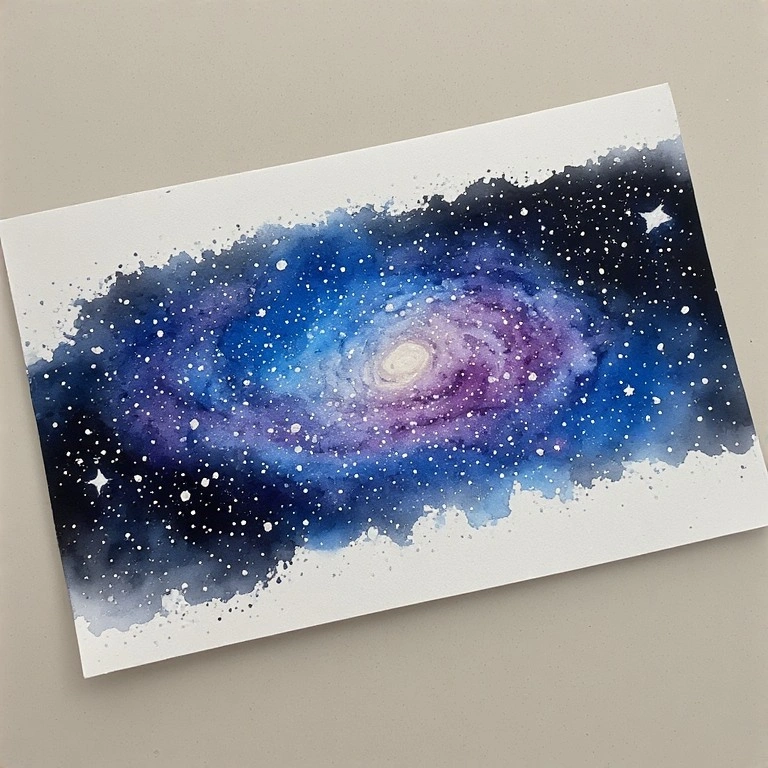
Watercolor Galaxy Art for Kids
End the list with something genuinely beautiful. This watercolor technique creates a dreamy, glowing galaxy effect that looks far more advanced than it actually is.
Materials:
- Watercolor paper or thick white cardstock
- Watercolor paints (dark blue, purple, black, pink)
- White gouache or white acrylic paint
- Fine paintbrush
- Old toothbrush
- Water cup and palette
Steps:
- Wet the entire paper with clean water using a wide brush.
- While still wet, apply dark blue, purple, and black watercolor paints across the paper in sweeping strokes. Let them blend naturally.
- Add a touch of pink or teal for color variation.
- Let the paper dry completely.
- Dip a fine brush in white gouache and paint small dots and clusters for stars.
- Load an old toothbrush with white paint and flick it over the painting for a galaxy splatter effect.
Time: 30–45 minutes (plus drying time) Difficulty: Medium
💡 Tip: Work quickly while the paper is wet — the colors blend best before the water starts drying.
Common Mistakes to Avoid
1. Not letting layers dry fully between steps. Many of these projects involve glue, paint, or both. Rushing to the next step while things are still wet leads to smearing, peeling, and frustrated kids. Always wait for each layer to dry.
2. Using too little glue on lightweight materials. Tissue paper, foil, and paper cones love to pop off. Use enough glue and hold pieces in place for 30–60 seconds to ensure a solid bond. A glue gun (with adult supervision) is always more reliable for heavier pieces.
3. Skipping the prep work. Cutting all materials before painting or assembling makes everything smoother. Trying to cut while glue is drying or paint is wet causes mistakes and mess. Prep everything first.
Tips for Best Results
- Protect your surface. Lay down newspaper, a plastic tablecloth, or a silicone mat before starting any paint-heavy project.
- Use acrylic paint for most surfaces. It dries faster, stays bright, and works on cardboard, Styrofoam, tin, and paper.
- Keep a damp cloth nearby. For quick cleanup of small spills before they set.
- Let kids lead on design choices. The colors don’t have to be realistic — a purple rocket or a pink solar system is just as valid.
- Display finished work. Tape it up, hang it, or frame it. Seeing their work displayed motivates kids to create more.
- Batch similar steps. If making multiple crafts at once, do all the painting together, then all the cutting, then all the gluing.
Frequently Asked Questions
What age group are these outer space crafts suitable for? Most of these crafts are designed for kids ages 4–12. Simpler projects like the constellation art and glitter jar are great for younger children, while the watercolor painting and salt dough aliens suit slightly older kids. Adult supervision is recommended for steps involving scissors, hot glue, or the oven.
What if I don’t have all the materials listed? Most materials are interchangeable. No Styrofoam balls? Use crumpled newspaper covered in papier-mâché. No watercolor paper? Thick printer paper works in a pinch. The projects are flexible — use what you have.
How do I make the crafts last longer? Seal finished projects with a clear mod podge or craft varnish. This protects paint from chipping and makes paper crafts more durable. It also adds a nice polished finish.
Can these crafts be used for a school project or classroom activity? Absolutely. The solar system mobile, constellation art, and planet sculptures all tie directly into science curriculum. They’re excellent for classroom demonstrations, science fairs, or take-home projects.
How do I store unfinished projects? Place them in a large ziplock bag or a shallow cardboard tray covered loosely with plastic wrap. Label the bag with the child’s name and keep it in a cool, dry spot away from direct sunlight.
Are these crafts budget-friendly? Yes — most of these projects use materials costing under $5 or items already found at home (toilet rolls, tin cans, cardboard, tissue paper). A basic craft supply kit with glue, paint, and scissors covers nearly all ten projects.
Conclusion
There’s no better way to spark curiosity about the universe than getting creative with it. Whether your child builds a wearable rocket, paints a swirling galaxy, or sculpts their own alien — each project is a little adventure of its own.
Pick one, gather your supplies, and blast off. The stars are waiting. 🚀