15 Creative Superhero Crafts ideas Your Kids Will Love
Making crafts at home just got a whole lot more heroic. These 15 superhero crafts ideas cover everything from simple paper masks to decorated capes — perfect for birthday parties, rainy days, or just unleashing your inner hero.
Whether you’re crafting with toddlers or teens, every project here is beginner-friendly, budget-conscious, and seriously fun to make.
Quick & Fun: 15 Superhero Crafts ideas to Save Playtime
1. DIY Superhero Cape
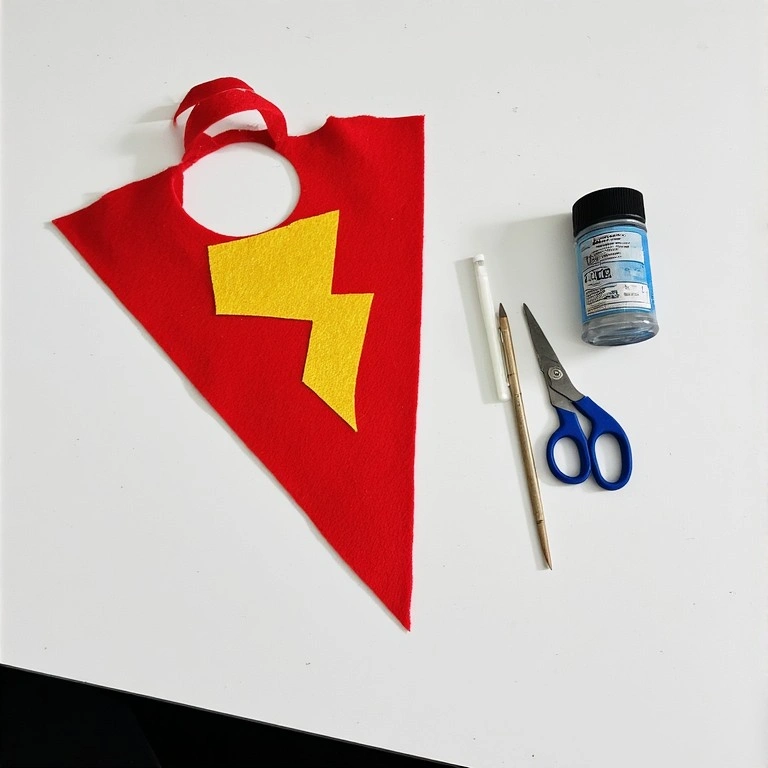
One of the most classic superhero crafts you can make. A no-sew felt cape comes together in under 30 minutes and lets kids customize their hero identity from scratch.
Materials:
- Felt fabric (any color)
- Fabric scissors
- Iron-on letters or fabric paint
- Velcro strips or ribbon (for neck tie)
- Ruler and chalk
Steps:
- Cut felt into a large triangle or rounded cape shape (about 24″ x 20″).
- Fold the top edge over 1 inch and glue or sew a ribbon through it for tying.
- Use iron-on letters or fabric paint to add the hero’s symbol or initials.
- Let dry completely before wearing.
Time: 20–30 minutes Difficulty: Easy
Tip: Use two contrasting colors of felt — one for the main cape and one for a logo appliqué — for a polished, layered look.
2. Superhero Mask from Craft Foam
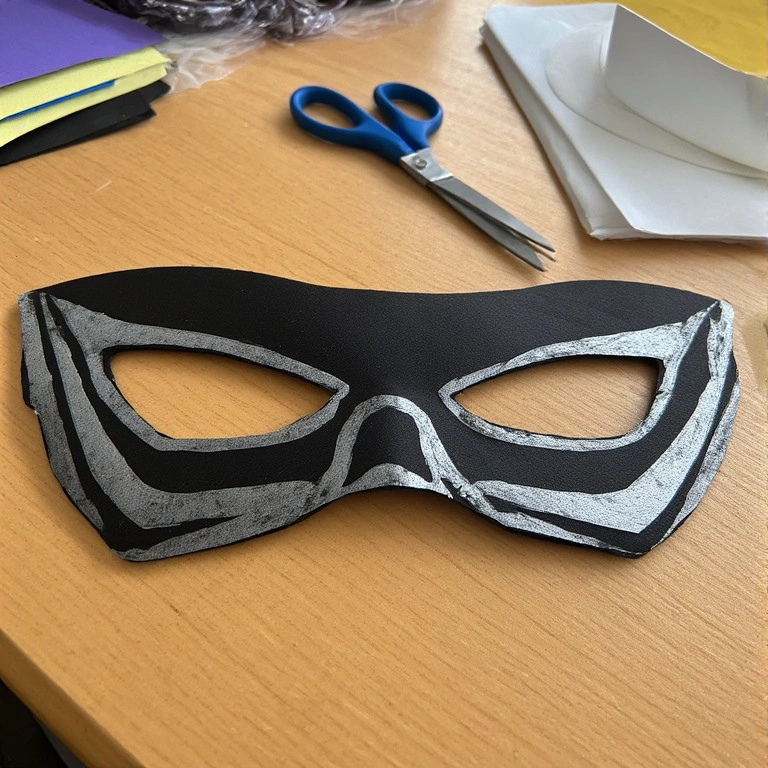
Craft foam is the ideal material for masks — lightweight, flexible, and easy to cut into any shape. This project works great for Spider-Man, Batman, or an original hero.
Materials:
- Craft foam sheets (black, red, or blue)
- Elastic string
- Hole punch
- Pencil and scissors
- Acrylic paint or metallic markers
Steps:
- Draw a mask shape on craft foam that covers the eyes and nose bridge.
- Cut out two eye holes.
- Punch a hole on each side and thread elastic through, knotting to secure.
- Decorate with paint or markers and let dry.
Time: 15–20 minutes Difficulty: Easy
Tip: Hold the foam up to the child’s face before cutting eye holes to ensure proper placement.
3. Toilet Paper Roll Superhero Figures
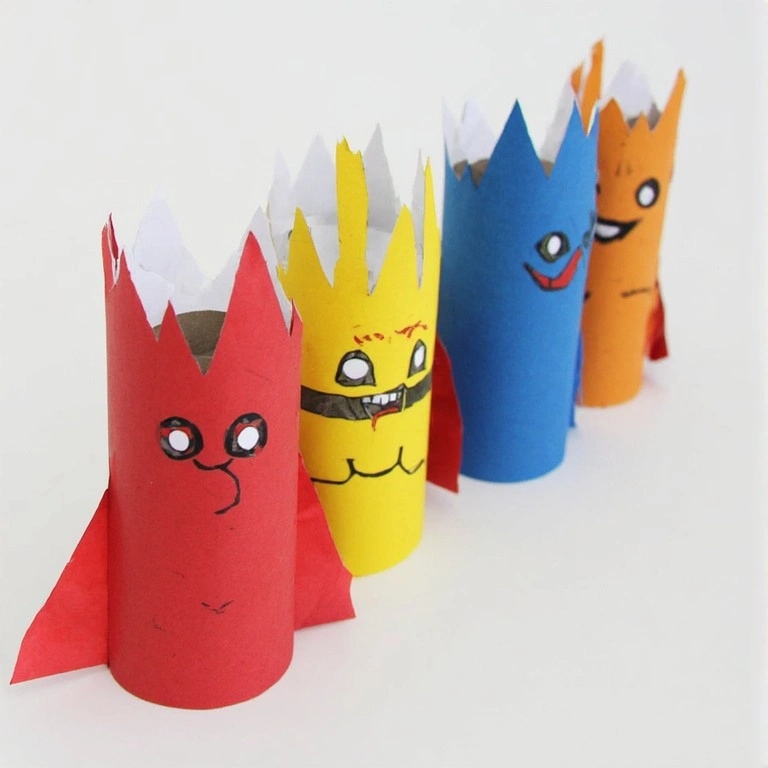
Don’t throw away those empty rolls! Toilet paper roll crafts are some of the best budget-friendly superhero crafts for young kids, turning recycled materials into action figures.
Materials:
- Toilet paper rolls
- Colored construction paper
- Markers
- Glue stick
- Scissors
- Googly eyes (optional)
Steps:
- Wrap the roll with colored construction paper and glue in place.
- Draw or cut out a face and glue it to the top of the roll.
- Cut small capes from paper and glue to the back.
- Add googly eyes and draw details with markers.
Time: 10–15 minutes Difficulty: Easy
Tip: Make a whole team — assign each roll a different hero color and accessory.
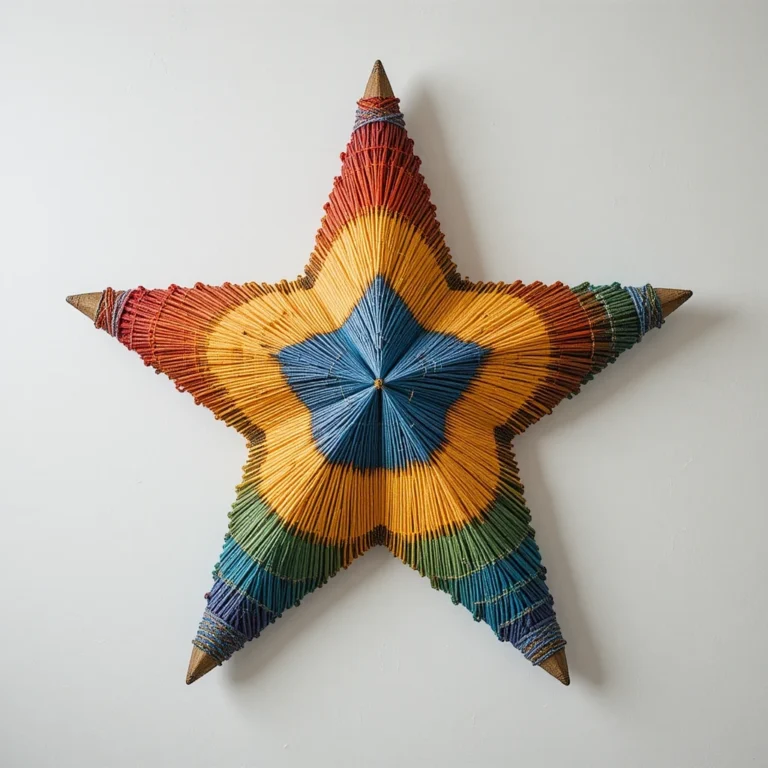
4. Superhero Shield from Cardboard
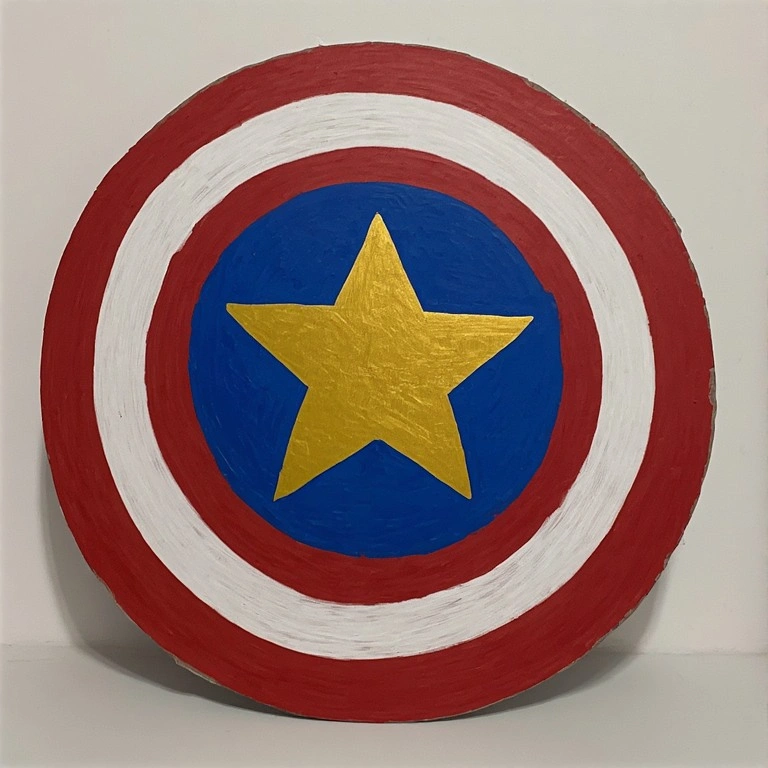
Captain America’s shield is iconic — and surprisingly easy to recreate at home. This cardboard craft teaches kids about shapes, painting, and design.
Materials:
- Large cardboard piece
- Compass or round bowl (for tracing)
- Acrylic paint (red, white, blue)
- Duct tape or ribbon (for handle)
- Scissors or craft knife
Steps:
- Trace and cut a large circle from cardboard.
- Paint concentric rings in blue, red, and white.
- Let dry completely, then add a star in the center.
- Attach a ribbon or duct tape loop to the back as a handle.
Time: 30–45 minutes (includes drying) Difficulty: Medium
Tip: Apply two coats of paint for a vibrant, opaque finish.
5. Superhero Handprint Art
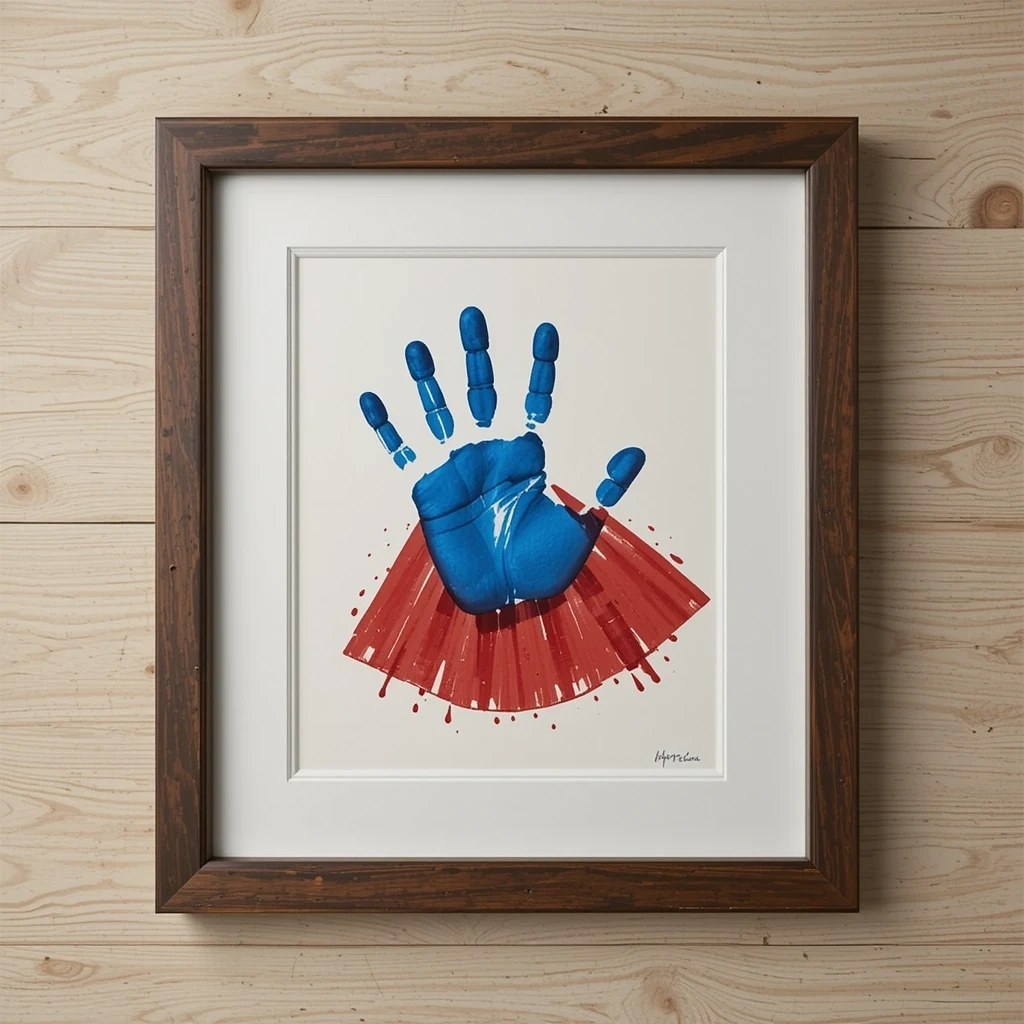
This sweet keepsake turns little handprints into superhero characters — perfect for framing or gifting. It’s one of the most popular superhero crafts ideas for toddlers.
Materials:
- Washable paint
- White cardstock or canvas
- Fine-tip black marker
- Paintbrushes
- Wet wipes for cleanup
Steps:
- Paint the child’s palm and fingers in the hero’s colors.
- Press firmly onto cardstock and lift carefully.
- Once dry, use a black marker to add a face, mask, cape, and details.
- Write the date and child’s name at the bottom.
Time: 10–15 minutes Difficulty: Easy
Tip: Do a practice print on scrap paper first so the real one comes out perfectly shaped.
6. Superhero Emblem T-Shirt
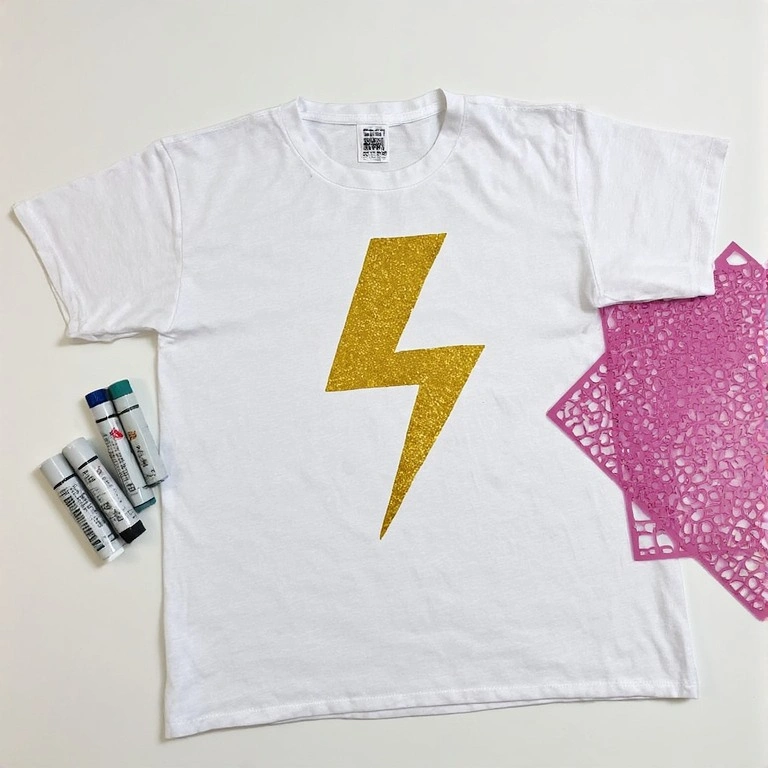
Wearable crafts are always a hit. Using fabric paint or iron-on transfers, kids can design their very own superhero chest emblem on a plain t-shirt.
Materials:
- Plain white or colored t-shirt
- Fabric paint or fabric markers
- Cardboard (to stuff inside shirt while painting)
- Painter’s tape
- Stencils (optional)
Steps:
- Insert cardboard inside the shirt to prevent bleed-through.
- Sketch or stencil the emblem design lightly with chalk.
- Fill in with fabric paint and let dry 1–2 hours.
- Heat-set with an iron (per paint instructions) for lasting results.
Time: 20–30 minutes + drying time Difficulty: Medium
7. Paper Plate Superhero Mask
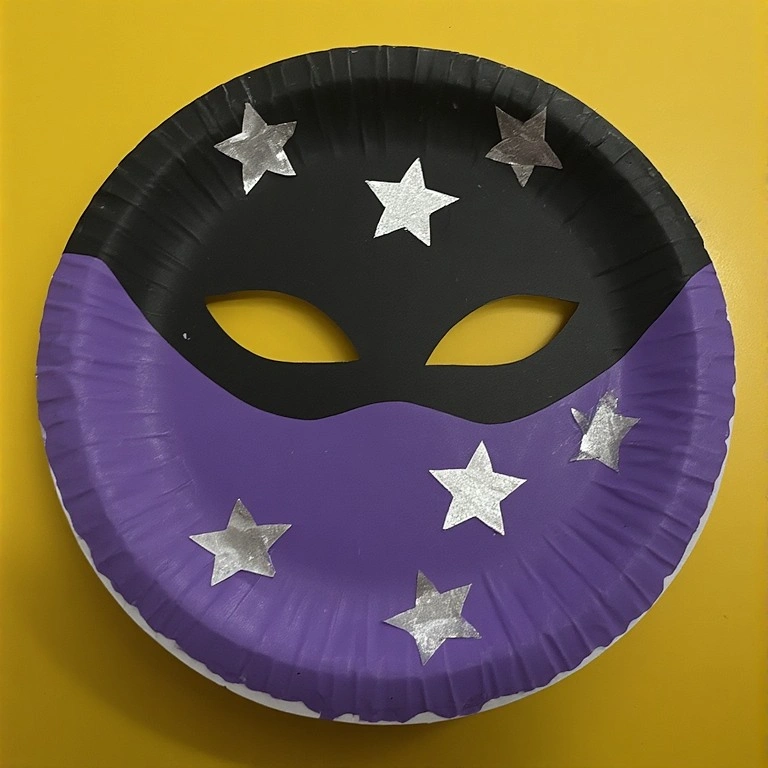
Paper plates make mask-making incredibly simple and safe for very young children. This is a go-to craft for preschool superhero themes or last-minute party activities.
Materials:
- Large paper plate
- Craft paint or markers
- Scissors
- Elastic string or popsicle stick
- Hole punch
- Craft feathers or foam stickers (optional)
Steps:
- Hold the plate up to the child’s face and mark where the eyes fall.
- Cut out eye holes with scissors.
- Paint and decorate the mask in any hero style.
- Attach elastic through punched holes or tape a popsicle stick handle.
Time: 10–15 minutes Difficulty: Easy
8. Superhero Utility Belt from Paper Bags
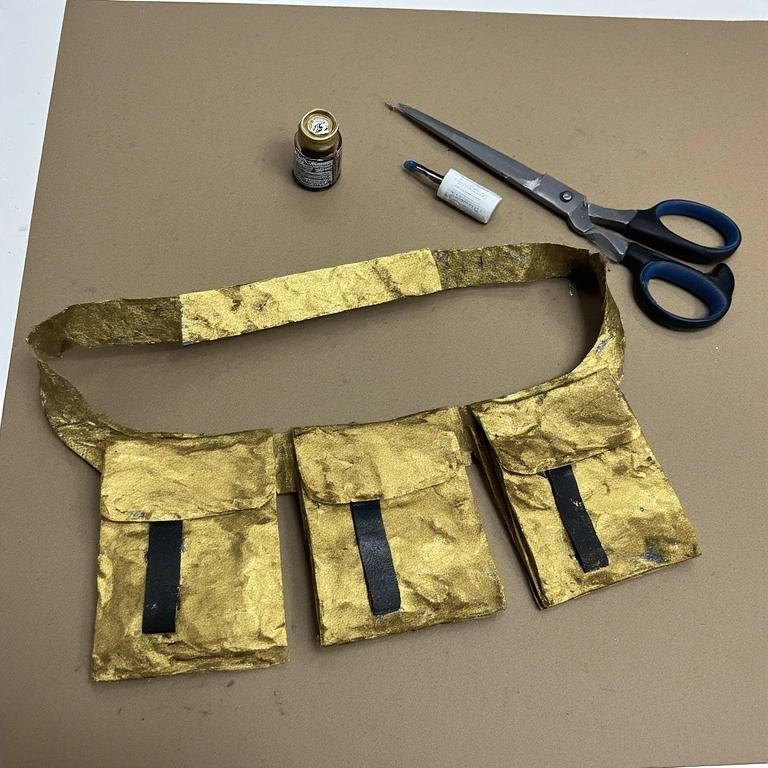
Every hero needs a utility belt! This craft uses brown paper bags to create a wearable belt with pockets — great for imaginative play after the craft session is done.
Materials:
- Brown paper bag
- Scissors
- Gold or silver paint
- Tape or stapler
- Elastic or ribbon
Steps:
- Cut the paper bag into a long strip wide enough to wrap around the waist.
- Fold small pockets from extra paper and staple or tape them to the strip.
- Paint the belt gold or silver and let dry.
- Punch holes at each end and thread ribbon or elastic through.
Time: 20–25 minutes Difficulty: Easy
Tip: Add small craft foam “gadgets” tucked into the pockets for extra flair.
9. Superhero Bookmark Set
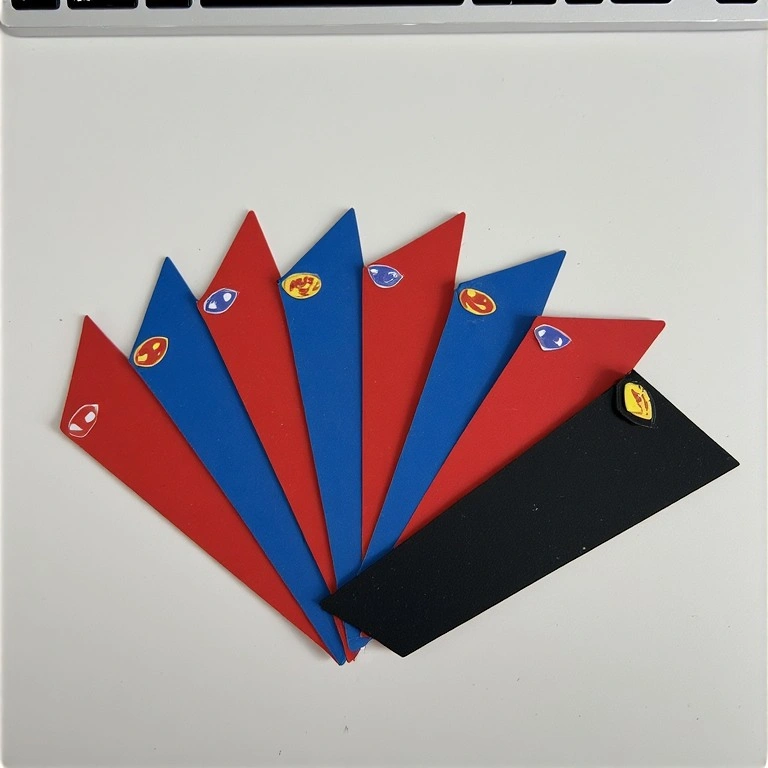
A creative way to bring the hero theme into reading time. These simple paper bookmarks are shaped like superhero capes or masks and make great party favors too.
Materials:
- Colored cardstock
- Scissors
- Markers
- Corner bookmark template (triangle shape)
- Laminator (optional, for durability)
Steps:
- Cut cardstock into 3″ x 3″ squares.
- Fold diagonally to form a triangle pocket.
- Glue two sides together, leaving one open as the page corner slot.
- Decorate with hero logos, colors, and names using markers.
Time: 10 minutes per bookmark Difficulty: Easy
10. Superhero Slime
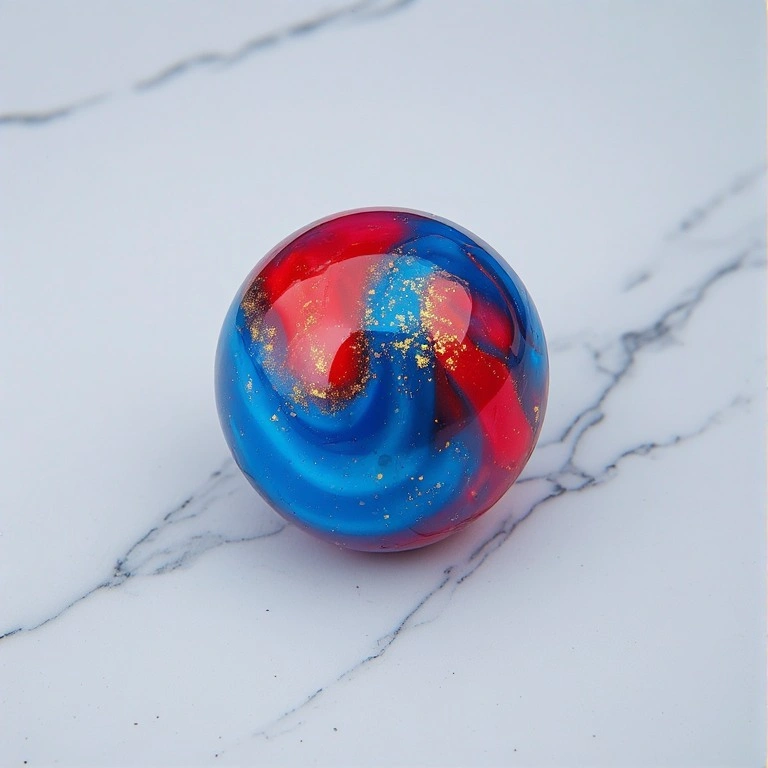
Slime meets superheroes in this sensory craft that kids go absolutely crazy for. Color it in hero-themed shades and add glitter for a truly super effect.
Materials:
- White school glue
- Baking soda
- Contact lens solution
- Food coloring (red, blue, black, or gold)
- Glitter (optional)
- Mixing bowl and spoon
Steps:
- Pour ½ cup of glue into a bowl.
- Add a pinch of baking soda and your chosen food coloring.
- Stir in glitter if using.
- Add contact lens solution 1 tsp at a time, mixing until slime forms.
- Knead until smooth and stretchy.
Time: 10–15 minutes Difficulty: Easy
Tip: Use metallic gold or silver food coloring for a “Iron Man” or “Thor” themed slime
11. Superhero Crayon Melted Art
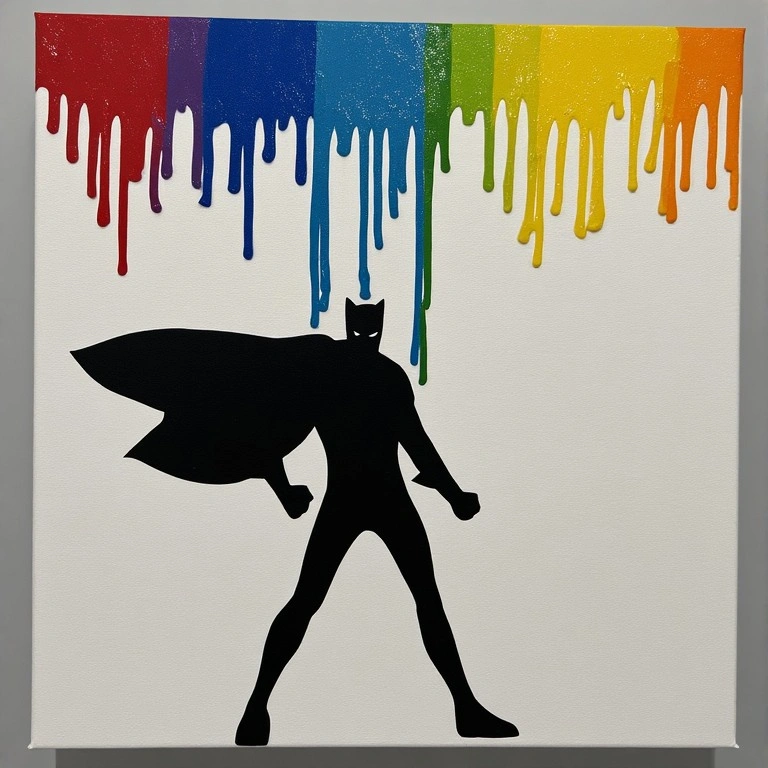
Melted crayon art looks stunning and requires minimal skill. Arrange crayons in superhero colors and use heat to create a dramatic drip effect behind a silhouette.
Materials:
- Canvas board
- Crayons (peeled)
- Hot glue gun
- Hair dryer or heat gun
- Black construction paper (for silhouette)
- Scissors
Steps:
- Glue crayons in hero colors along the top edge of the canvas.
- Tilt the canvas and apply heat from the hair dryer until crayons melt downward.
- Let cool completely.
- Cut a superhero silhouette from black paper and glue over the drips.
Time: 30–45 minutes Difficulty: Medium
Tip: Cover your workspace with newspaper — melted crayon drips are difficult to clean up.
12. Superhero Pencil Toppers
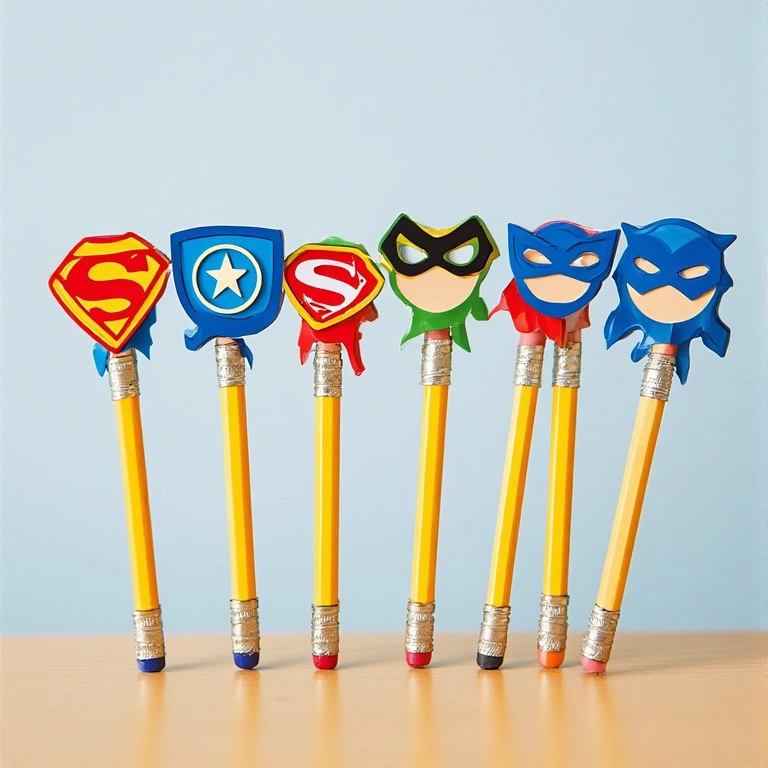
These tiny crafts are big on fun. Foam or paper pencil toppers shaped like masks, shields, or logos make back-to-school supplies instantly heroic.
Materials:
- Craft foam or thick cardstock
- Scissors
- Markers
- Hot glue or tape
- Pencils
Steps:
- Draw small mask or shield shapes (2–3 inches wide) on foam or cardstock.
- Cut them out carefully.
- Decorate with markers or paint.
- Fold a small tab at the bottom and tape or glue it around the pencil eraser end.
Time: 5–10 minutes each Difficulty: Easy
13. Superhero Rock Painting
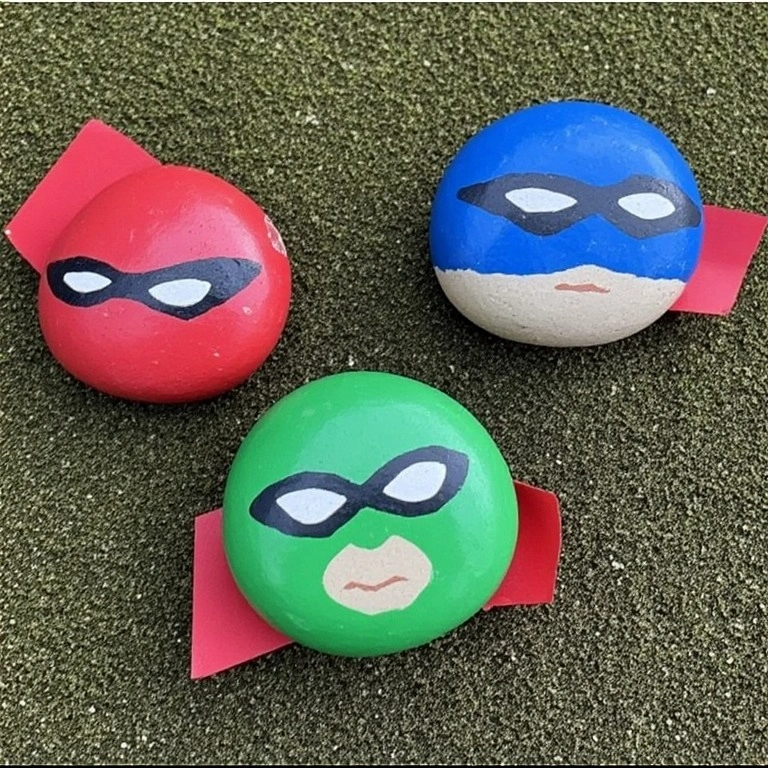
Painted rocks are a timeless craft. Painting them as miniature superheroes creates adorable desk decorations or garden ornaments that last for years.
Materials:
- Smooth flat rocks
- Acrylic paint
- Fine detail brushes
- Mod Podge or clear sealant
- Black paint pen for outlines
Steps:
- Clean and dry rocks thoroughly.
- Paint a base color and let dry.
- Add a face, mask, and costume details using thin brushes.
- Outline with a black paint pen for crisp definition.
- Seal with Mod Podge once fully dry.
Time: 30–40 minutes + drying Difficulty: Medium
Tip: Start with simple characters like a red/blue Spider-Man rock before attempting detailed faces.
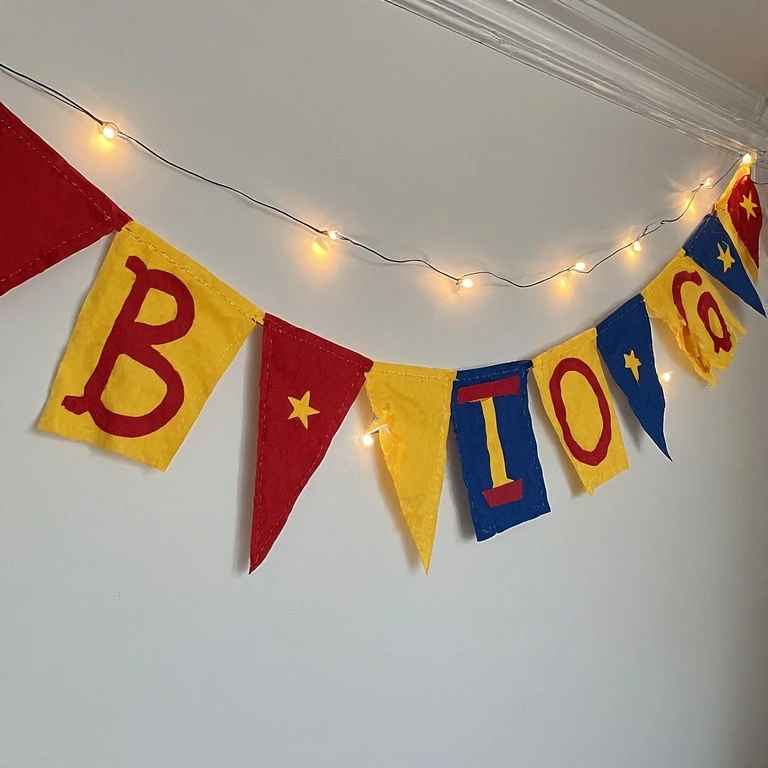
14. Superhero Gift Wrap & Tags
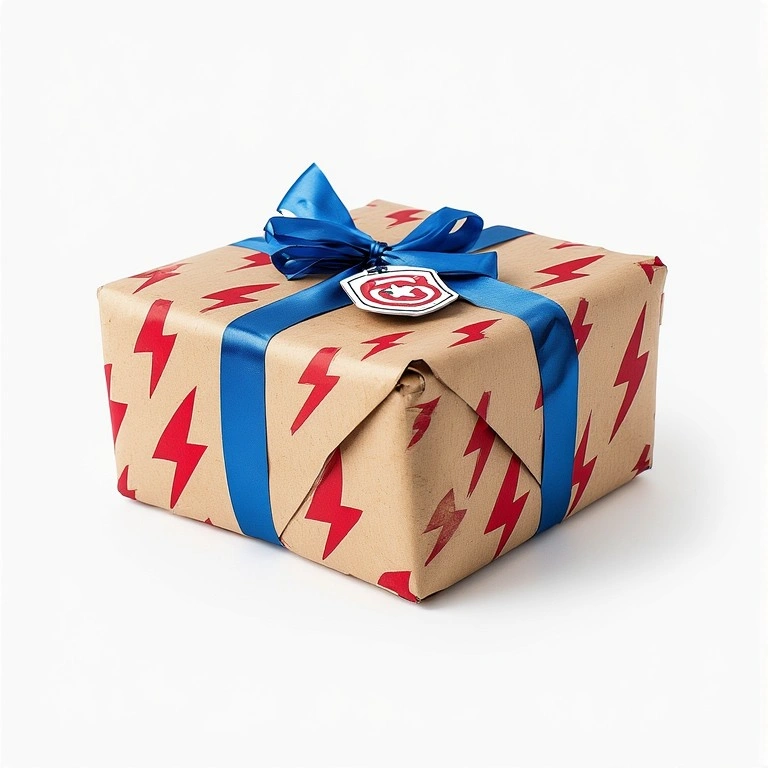
Turn gift-giving into a craft project. Custom superhero-themed wrapping paper and gift tags add a handmade touch to birthday presents and party favors.
Materials:
- Plain kraft paper or white butcher paper
- Stamps or stencils (star, lightning bolt, shield shapes)
- Ink pads or acrylic paint
- Cardstock (for tags)
- Hole punch and ribbon
Steps:
- Lay kraft paper flat and stamp or stencil repeat patterns in bold colors.
- Let dry before wrapping gifts.
- Cut gift tags from cardstock in shield or burst shapes.
- Decorate tags with markers and punch a hole for ribbon.
Time: 15–20 minutes Difficulty: Easy
15. Superhero Crafts: DIY Wristbands
Round out your hero costume with DIY wristbands. Made from duct tape or felt, these are quick to assemble and totally customizable — a perfect finishing touch to any of these superhero crafts projects.
Materials:
- Duct tape (metallic silver, red, or gold)
- Foam strip or cardboard base
- Scissors
- Velcro dots
- Markers or stickers
Steps:
- Cut a foam strip or cardboard to wrist width (about 2″ wide, 6–7″ long).
- Wrap completely with duct tape, smoothing as you go.
- Decorate with stickers, drawn-on designs, or cut tape shapes.
- Attach velcro dots on each end to fasten around the wrist.
Time: 10–15 minutes Difficulty: Easy
Tip: Make matching wristbands and a belt for a complete costume look.
Common Mistakes to Avoid
- Skipping the drying time. Rushing through paint drying steps leads to smudged designs and peeling details. Always wait the full recommended time before adding the next layer or wearing the craft.
- Cutting eye holes without measuring. For masks especially, always hold the material to the wearer’s face and mark eye placement before cutting. Holes that are too high or too low ruin the fit completely.
- Using the wrong glue. Regular school glue doesn’t bond felt, foam, or fabric well. Use a hot glue gun for foam and fabric projects, and fabric glue for anything that will be worn or washed.
Tips for Best Results
- Prep your workspace before starting — lay down newspaper or a plastic sheet for messy projects like slime and melted crayon art.
- Pre-cut materials for younger children so they can focus on the creative decorating steps.
- Use a pencil first — always sketch designs lightly before applying permanent paint or markers.
- Work in batches — if making multiple crafts for a party, assemble all bases first, then decorate as a group.
- Seal painted crafts with Mod Podge or clear acrylic spray to make them last much longer.
- Let kids lead the design — resist the urge to make it “perfect.” The most memorable crafts are the ones that reflect the child’s own creativity.
FAQs
Q: What age group are these superhero crafts best for? Most projects here are designed for ages 4–12, but with adult supervision and prep work, even 3-year-olds can enjoy the handprint art and paper plate mask activities.
Q: How much do these crafts typically cost to make? Most projects cost between $1–$5 in materials, especially if you already have basics like paint, scissors, and paper at home. Buying materials in bulk or using craft store coupons keeps costs very low.
Q: Can these crafts be made for a superhero birthday party? Absolutely. Projects like the paper plate masks, pencil toppers, and wristbands are especially great as party activities or take-home favors. Pre-cut materials ahead of time for a smooth group craft session.
Q: Do I need any special tools? Most crafts only require basic supplies — scissors, glue, and paint. A hot glue gun speeds up several projects but is not required for all of them. Always supervise children around heat tools.
Q: How can I make these crafts more durable? Sealing painted surfaces with Mod Podge, using foam instead of paper for masks and accessories, and ironing fabric paint to set it will all significantly extend the life of finished crafts.
Q: Can these be turned into school projects? Yes! The shield painting, handprint art, and rock painting all work beautifully as classroom crafts. Many can tie into lessons about storytelling, character design, or recycled art.
Conclusion
There’s something genuinely magical about watching a child put on a cape they made themselves. These 15 ideas prove that the best superhero gear doesn’t come from a store — it comes from your own hands.
Pick one project today, gather your supplies, and get crafting. Your hero origin story starts right here.